
The Maidesite T2 Pro Plus is a height adjustable standing desk that relies on a dual-motor lifting mechanism to quickly lower or increase the height of the desk at the most suitable position. By quick, I mean 40mm/s which is a bit faster than some of the other popular standing desks (including Uplift V2 and the Fully Jarvis Standing Desks).
| Maidesite T2 Pro Plus | |
|---|---|
| Maidesite.co.uk | Check Offer |
The 275lbs (125kg) support is also a nice touch, although you’ll be hard pressed to actually getting near that weight and the height range can accommodate both taller people (up to 6.3-feet tall) and shorter people or children (5 foot-tall or less). All this sounds great, especially considering the price tag of the device (it’s far more accessible than it was a few years ago), but why should invest in a standing desk?
I know that a lot more people are working from home and, while your boss doesn’t really care about your well being when you’re in the office, you do get the option to improve your health while you’re at home with a standing desk. The idea is to stay for about a quarter of an hour seated and then the rest on your feet to avoid early-set heart diseases or the formation blood cloths. It’s not healthy to sit for 8 hours a day, so yes, you need a standing desk, but is the Maidesite T2 Pro Plus up to the task? Let’s find out.
The Assembly
The Maidesite T2 Pro Plus comes in a fairly compact box, but don’t let that fool you, it’s a heavy package that, ideally, should be operated by two people. Inside the box, everything is neatly packed, but I took everything out. That was fine according to the user manual, so, on the second step, I detached the five parts of the control box section.

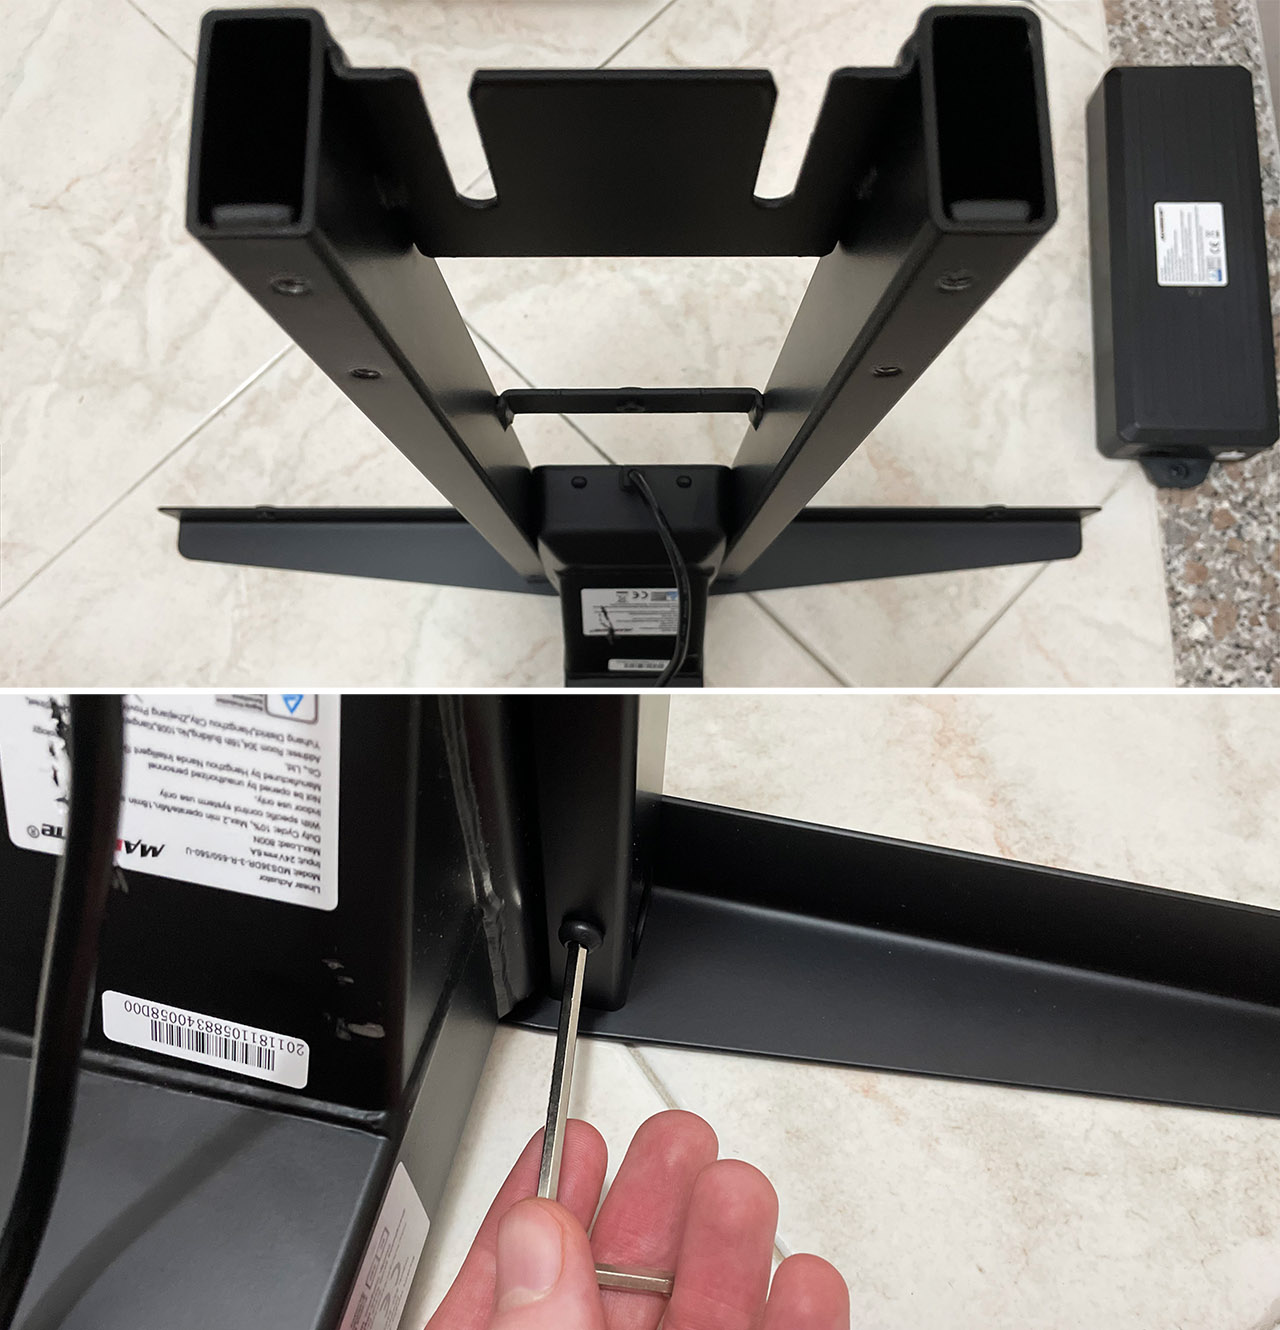
There should be two rods, the control box, the section to which the box was attached and the section from the opposite side. I also took out the cable since it was detachable. Afterwards, take one of the two legs (any of them) and the metallic frame from which you slid off the control box. Use four M6x10 screws to attach the leg to the frame.

I need to point out a couple of things. I really liked the way the screws are put in separate pockets that are very clearly labeled (made everything much easier). Also, I found it easier to put the frame and the leg on the side when inserting the screws, even though the manual shows it upright. Do the same thing for the second leg (using the other frame) and then identify the side brackets (the metallic pieces that get placed immediately underneath the countertop). Slide the side brackets at the top of each leg and then tighten it up using two M6x14 screws.
On the next step, we need to insert the two center rails (I called them rods previously) back and it’s important that the slots face inwards. After that’s done, take the two metallic feet and attach them to the lower end of the leg using four M6x14 screws. From this point on, I did things a bit differently than what the manual said and the reason why I did so was because I already had a desk to which I wanted to add the height adjustment possibility.
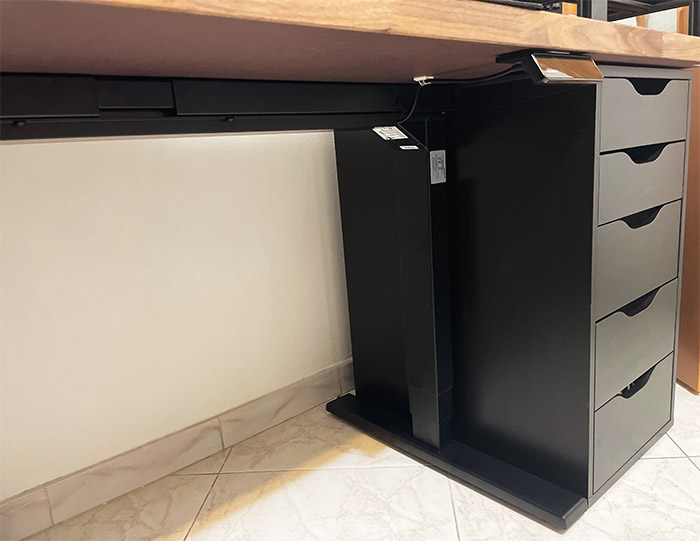
The countertop is from Ikea and it’s called Karlby (weighs about 67 pounds) and it currently simply stays on top of two Alex drawers (incredibly original, I know). So, while the manual says to put the countertop or desktop on its back and then lay the Maidesite T2 Pro Plus on top of it, I did the opposite. I slid the Maidesite T2 Pro Plus underneath the desk while it was still at a lower height adjustment. At this point, you should drill the necessary holes into the top and then connect it to the standing table using M5x20 wood screws.
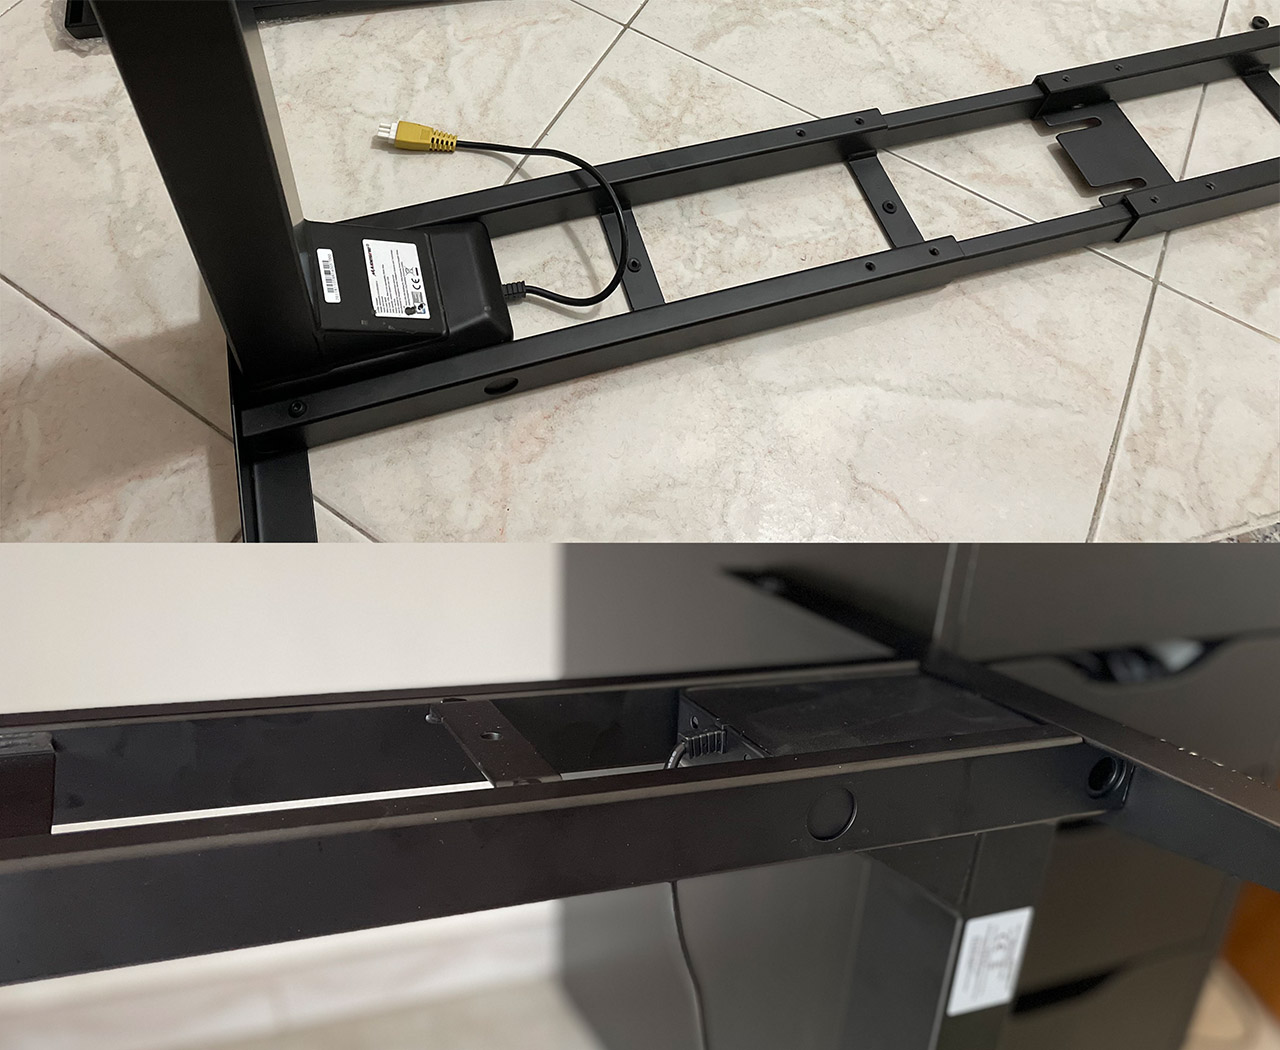
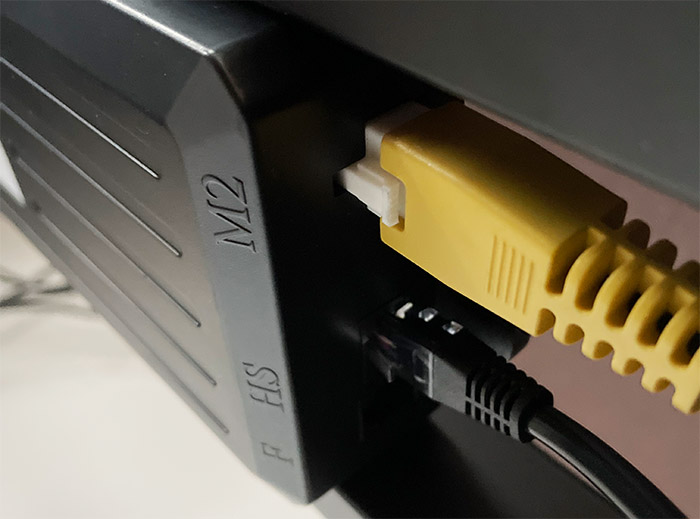
Now it’s also a good time to attach the handset anywhere near the front edge of the table. Slide the control box back into place and then attach the two cables from the legs to the left and right side of the control box. Afterwards, take the cable from the handset (controller) and attach it to the right side of the control box – the cable has an Ethernet-like connector, so it’s easy to find the right spot where to insert it. Lastly, I attached the power cord back into its place.
The maximum length that you can extend the legs of the Maidesite T2 Pro Plus is 5.9 feet which means that the connector from the left leg may not reach the control box. To alleviate this problem, the manufacturer has included an adapter to increase the length of the cable, so all is good.
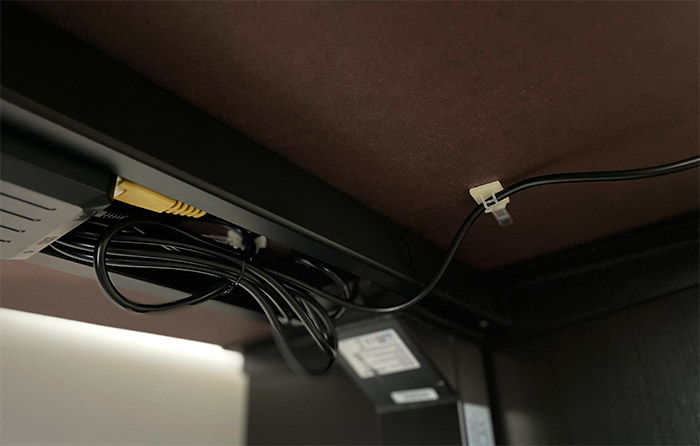
The manufacturer focused a lot on cable management, so we’re not going to let all those cables to hang from underneath, right? No, it’s best to use the cable clips to keep everything nice and tidy. And then take the metallic cover and use some M6x14 screws to attach it underneath the rails in a manner as to properly hide all the cables, except the one for the power.
The Build Quality
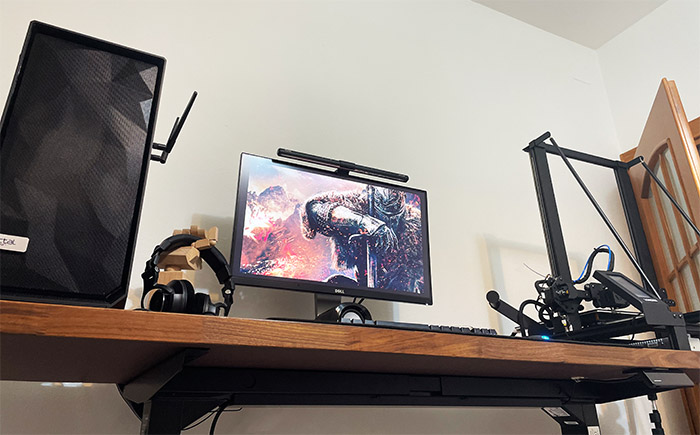
If the heaviness of the package didn’t give it away already, well, know that almost the entire Maidesite T2 Pro Plus is made of metal and you will need two people to move it around, especially after adding the countertop. So yes, the standing desk does feel solid and strong enough to handle heavier objects. And I did left the Desktop PC on the tabletop, as well as a fairly heavy 3d printer, both being lifted with ease by the Maidesite T2 Pro Plus.
I don’t really have a formed eye for welding, but I have encountered issues over the years where some metallic devices weren’t properly welded together which resulted in failure over the years. I checked the bars and the frames, and the welding job seems to have been done properly, so no complaints there.
The holes were properly aligned, so I had no issue inserting screws and the entire assembly process shouldn’t take more than an hour (with an ice cream break in the middle since it was so hot in the room). The control box is one of the few pieces made of plastic and it’s easy to slide it into and out of the frame (you’ll need to do both). The cable connectors allowed for a snugged fit and the cables themselves were long enough to reach the box.
In case the left leg is too far off, you do get a cable extender, so it’s still fine. The controller for the Maidesite T2 Pro Plus standing desk that I got is touch-sensitive and it is actually modular, so you can replace it for the controller with buttons.
I do think that the touch-sensitive controller works fine as well, it’s just that you do have to keep your finger for a couple of seconds before the icons turn on. It’s also nice that you can mount it pretty much anywhere and you do have screws to attach it to the tabletop. I decided to use a couple of double-tape strips and it worked fine considering that the controller is made of plastic and doesn’t weight that much. Also, be aware that the touch-sensitive area is glossy, so it’s going to be a fingerprint magnet (especially due to the black finish).
The Controller
The touch-sensitive controller is actually very easy to use, but I do admit that after connecting everything and powering on the Maidesite T2 Pro standing desk, I was worried that something went wrong since there was no LED or any other visual notification to assure me that everything was fine.
But, tapping on the touch-sensitive area brought it to life, showing the current height on the left (it’s in cm), followed by the two arrows that allow you to manually adjust how high or low you want the standing desk. You can reset the device by long pressing the Down arrow for 5 seconds, release it and then long pressing it again until the display shows ‘RST’.
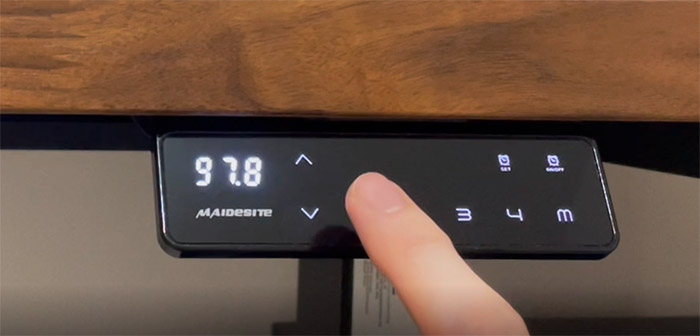
You will see the 1 to 4 numbers followed by an M and you can use these to set a preferred height, so you don’t have to adjust it manually all the time. To do so, go to the height you want, press on M and then choose from one to four. Lastly, I need to mention the timer. You will see a couple of small clock icons which you can tap to select between half an hour and two hours. This way, after the set period of time, the table will vibrate to let you know that it’s time to sit up. I am guilty of getting caught up into work for hours, so this is a nice feature to remind me that I need to move.
The Maidesite T2 Pro Plus Performance
As we saw in the previous sections, the Maidesite T2 Pro Plus is built well and fairly solid, enough to handle a fairly large weight. Indeed, the device should be able to rise and lower up to 275lbs (125kg) and the monitor weighs about 13lbs, the Desktop PC is about 50lbs, the 3D printer weighed 30lbs and the countertop was 67-lbs heavy.
In total, it was about half the maximum recommended, so even if I added another monitor, it wouldn’t have made that much of a difference. I know what you’re going to immediately ask.
Does it wobble when raised up to the maximum?
It does a little bit if you’re typing violently as I do, otherwise not that much. I mean, you can move the countertop and it will wobble when pushed, but as I said before, just from typing, it should be minimal.
How smooth is the movement of the motors?
I thought it was smooth and fairly quiet, but you can check the video to see for yourself. I put a glass of water and then I raised and lowered the standing desk as to see the water movement inside the glass. There were some faint ripples, but nothing more than that. Moving the desk up or down will not spill your drink.
What happens if there is an obstacle in the way?
If you haven’t seen the video on the official website, know that the manufacturer showed that in case there’s an obstacle in the way, the motor will stop pushing down (or up). This way, the motors will have a longer life and it won’t accidentally push on the head of your children or on your pets. It still needs some resistance since it’s not going to stop if you only lightly hold onto the countertop.
Should you consider the Maidesite T2 Pro Plus standing desk?
If you’re concerns are whether you actually need a standing desk if you stand 8 hours a day in front of your computer, then the answer is yes. You do need a standing desk and a good chair, otherwise you’re doomed in the long run. If you should consider this specific model, though? I would still say yes because the price is right for what you actually get.
The metallic frame is solid, the legs move smoothly up and down, there is an obstacle sensor and it’s not really that difficult to put together. The cable management is a nice touch and the touch-sensitive controller may not always seem that responsive the first time you tap on it. But that’s really a minor complaint, so, overall the Maidesite T2 Pro Plus is a solid option which you can consider if you want to purchase a standing desk.
Maidesite T2 Pro Plus
-
Pros
- The up and down movements are smooth
- Can select up to four pre-set positions
- Easy to install
- Can handle a lot of weight
- Cable management
Cons
- Some light wobble when raised close to the maximum
Mark is a graduate in Computer Science, having gathered valuable experience over the years working in IT as a programmer. Mark is also the main tech writer for MBReviews.com, covering not only his passion, the networking devices, but also other cool electronic gadgets that you may find useful for your every day life.