
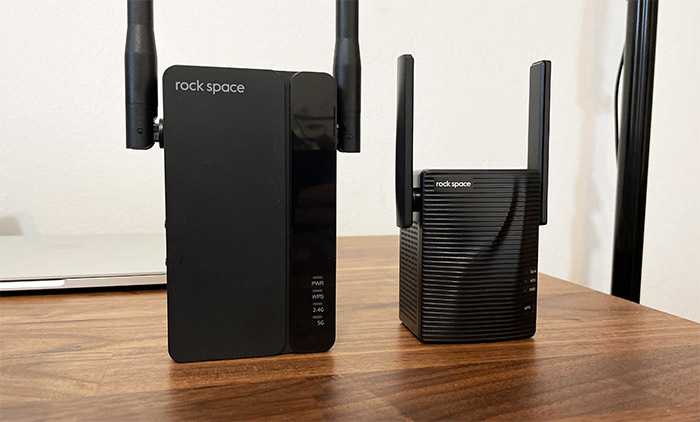
I know that the first thing that everyone’s thinking is to use a WiFi extender to extend the WiFi (I mean, it’s in the name), but this is actually the worst way to do it and it should only be used as the last resort. That is unless you don’t mind less than half the bandwidth, an unstable connection, lots of noise and other unwanted phenomena.
Instead, understand that a lot of times, it is possible to push the signal farther by tweaking a few settings in regards to the WiFi networks from within your router (or access point) and, if that’s not enough, such as the case when trying to push the signal outdoors, then you should try to find some hardware solutions. These can include keeping your existing router/AP or a complete replacement if the budget allows it.
Extend the WiFi range by optimizing the WiFi networks
1. Analyze your surroundings
Some access points do have a site survey tool built into their native software (Ubiquiti and EnGenius APs do), but most commercial wireless routers do not. The good news is that there are lots of tools available for free which will show the necessary info about the WiFi networks in the vicinity. Let’s take the WiFiAnalyzer app for Android as a example. This app will show a list of the WiFi networks in the vicinity of the smartphone (those that are strong enough to be in the client device’s range) and each will display some of its main stats.
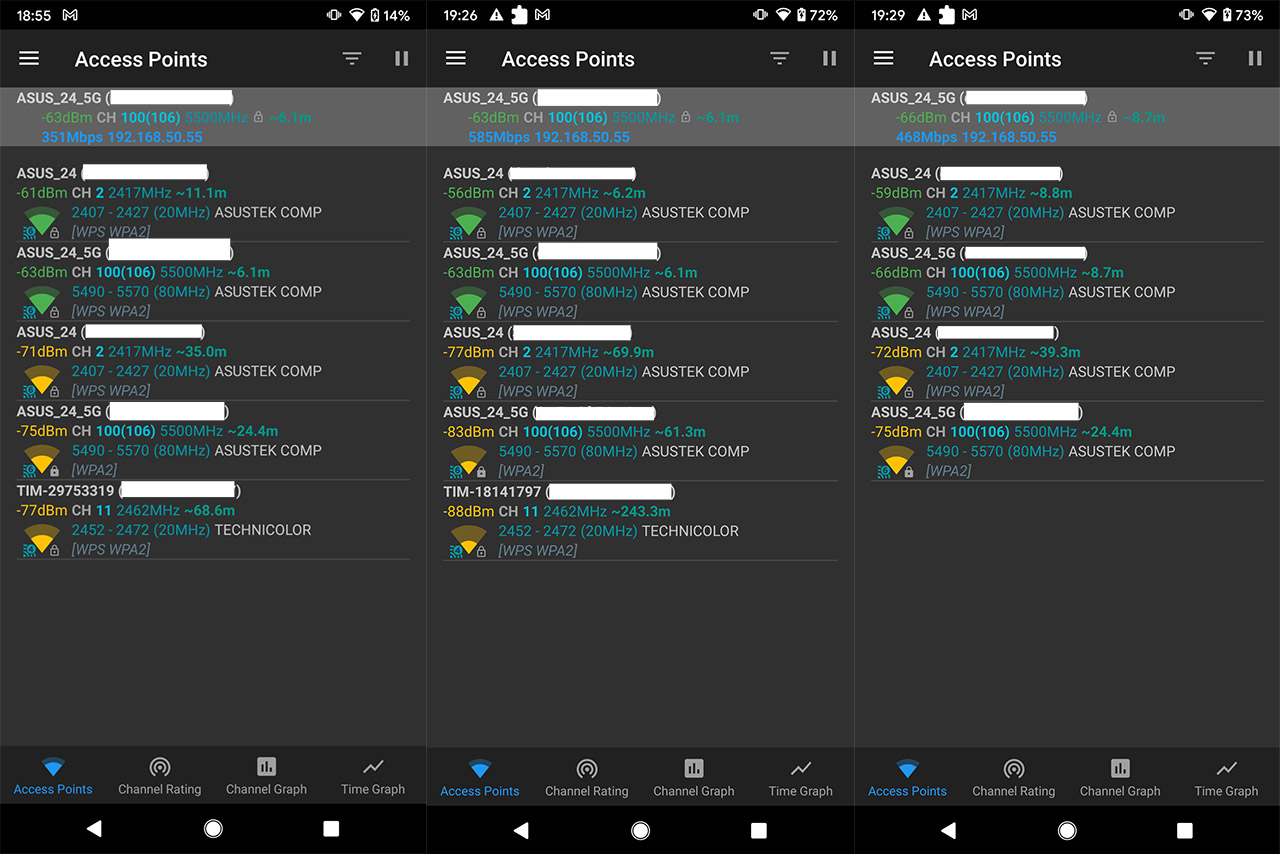
Let’s go through them because they are important.
- The signal strength: this value is represented in -dBm and, the closer to zero, the stronger the signal.
For example, -63dBm on the 5GHz WiFi network shows that the access point is fairly near and, as I tested various devices over the years, I can tell that it’s somewhere between 30 to 45 feet, so quite close, usually in the same building as the client device. The -88dBm shows that the access point is somewhere outside the house and most likely from your neighbors. So, if there are any networks that are not your own, but the -dBm is not too high, keep an eye on them because they will influence the performance of your own WiFi networks a lot more than you think.
- The channel (CH): as you can see from the screenshot, the nearby WiFi networks use the channel 2 for the 2.4GHz radio band and the channel 100 for the 5GHz radio.
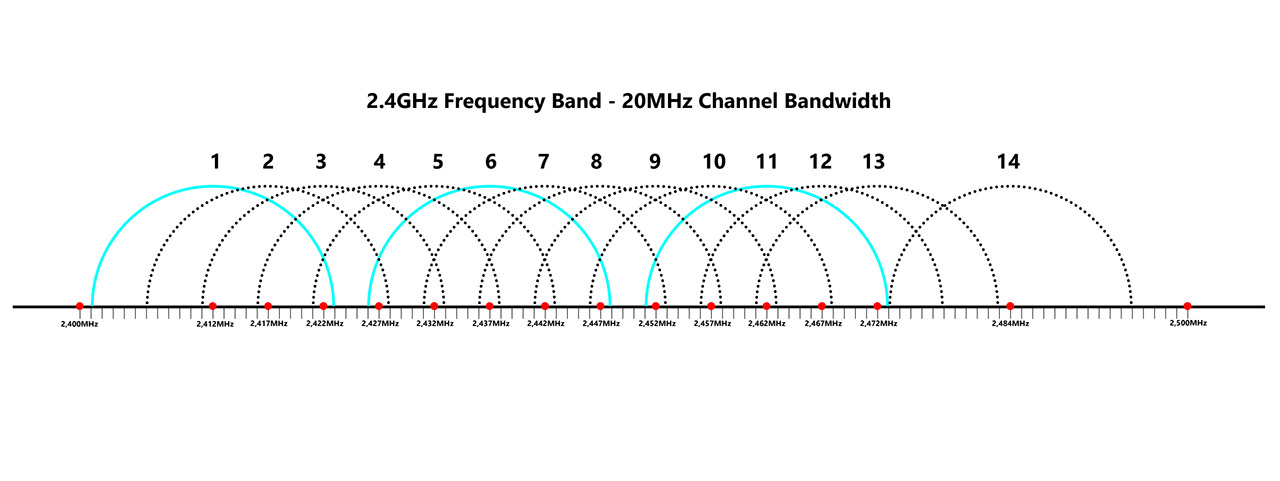
The farther WiFi network (-88dBm) uses the channel 11 (2.4GHz) and this is not really the ideal scenario because the channel 2 is not non-overlapping, but in my case, channel 11 was far enough as to not cause any interference. So, if you have the choice, then always choose between 1, 6 and 11 for the 2.4GHz network channel, as long as it’s not used by the neighboring APs. If they are, try to see how powerful the signal is and match the farthest one. That’s because in this case, you will be sharing the bandwidth, but with overlapping channels, you’re most likely experience dropped packets.
Choosing the suitable channel can extend the signal strength and boost the throughput, leading to a better range.
2. Optimize the network
The usual steps to optimize a WiFi network is to make sure that the channel is properly set (choose non-overlapping), the channel bandwidth is the suitable one and that the transmit power is not too low or too high. In a crowded environment, you may have to use a lower channel bandwidth than the more appealing 80MHz or even 160MHz.
And the transmit power is also tricky because while it’s best to push the 5GHz to the maximum and the 2.4GHz to the minimum to limit the bleeding towards your neighbors, you rarely get the same courtesy back. So, how exactly would these changes help extend the WiFi range? I suppose only the transmit power would have an actual effect, but what I aim at is the perceived range. Let me explain. Say your router could potentially reach 100 feet with more than 100Mbps on both 2.4GHz and the 5GHz networks.

Add a dozen or more access points from your neighbors and your farther out client devices will start having trouble maintaining a proper connection. So, you immediately think that it’s a range issue when it’s actually the outside APs that are messing with your network. So, trying to keep the signal cleaner inside your house should offer a better overall performance.
Now, if interference is not that bad and you do want to reach a far away under-served corner of your house, then ramping up the transmit power may not be that bad of an idea, just be careful with older, legacy devices, since these can hog up the network (especially when Airtime Fairness is enabled).
Extend the WiFi range using additional hardware, but not an extender
1. Higher gain antennas
Using higher gain antennas makes the most sense to push the signal farther, right? It does, but there are a few factors to keep in mind, because the gained performance can be a lot less impressive than expected. That’s because the antennas won’t really increase the power themselves, that’s the router’s or AP’s role, so it’s most likely that the antennas which are already provided by the manufacturer are good enough for most use cases.

This usually means 360 degrees. Obviously, there is a set limit (by FCC) so you can’t really go above it, but it is possible to alter the way the signal is broadcasted. Higher gain antennas are usually more directional, so you will loose some range towards a certain directions, while you will gain more in others. If you manage to correctly point it at the far-away client device, then it should connect to the router or access point, due to the better range.
But, there’s a very big but. The client device also has a limit to how far it can communicate with an access point. And this is the tricky part because you may see the WiFi network, connect to it, but there will be no Internet – no error or anything of the sorts, things just won’t work. So, ideally, the client device should also receive some sort of boost, otherwise, there are some other options to explore.
2. More access points
If your WiFi networks are properly set and optimized, and higher gain antennas won’t add much to the table, then perhaps using some access points to reach a far-away area is a good idea.
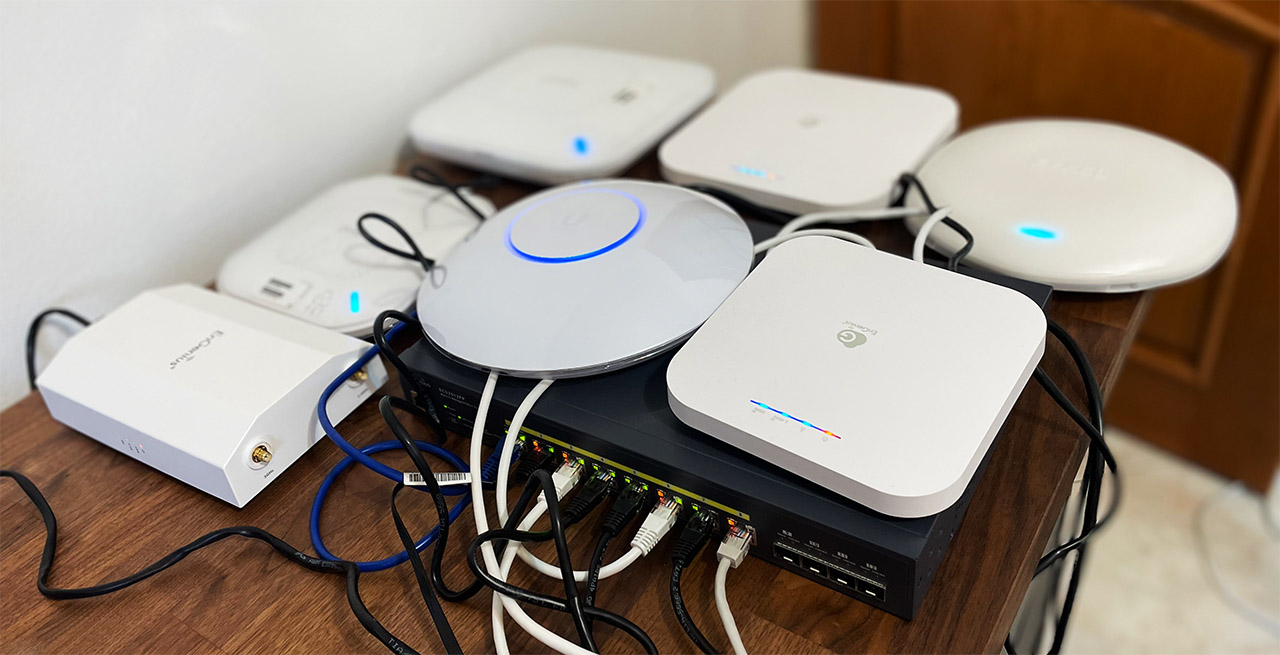
I have explored several instances where an access point could add an additional of at least 70 feet to the network, depending how far you’re willing to add the Ethernet cable, and there was also the option to rely on outdoors access points to cover a patio or larger areas. In the open, the signal travels way farther – some APs would reach 500 feet and still be able to communicate with some client devices, which is amazing.
Obviously, the drawback is the Ethernet and the power cables which need to be installed either into the walls or outside.
The PoE APs do solve half the problem by being powered via the Ethernet cable, but it’s still annoying considering that a WiFi extender doesn’t have these issues. Before going ahead and halving your bandwidth, know that there are other solutions and they’re wireless, just like the extender.
3. Mesh networks
While I don’t mind dedicated mesh networks, I think they took a wrong turn somewhere in their pursuit for simplicity and minimalism. And I get that a lot of people prefer this approach, but I still believe that being able to control your hardware and set it up the way you want it, should not be taken away from the user.
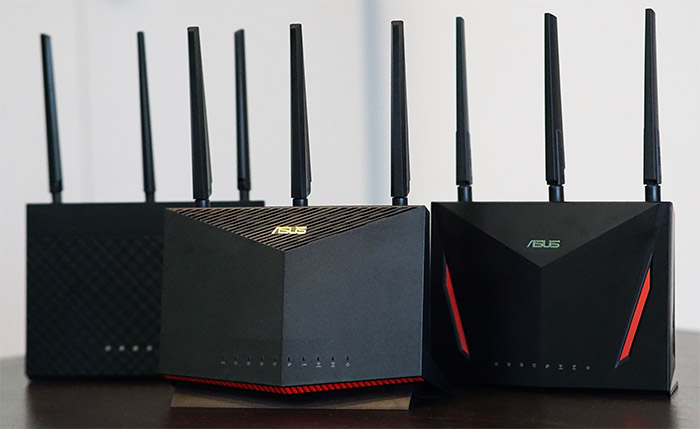
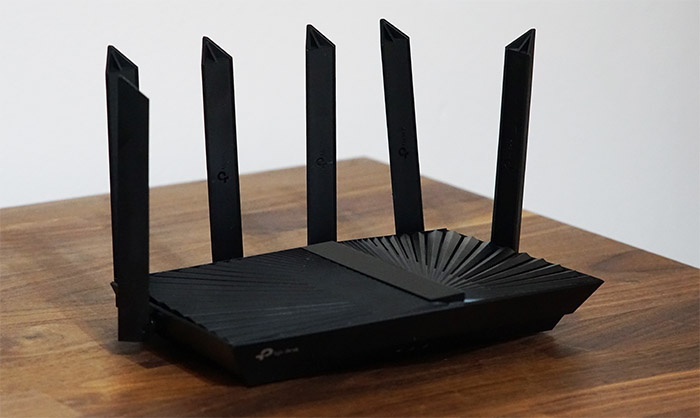
That’s why systems such as the AiMesh or the OneMesh are superior in my opinion. And perhaps the best way to cover a large area with WiFi is by using multiple access points in a mesh configuration. let’s first talk about AiMesh and OneMesh. The former was developed by Asus, while the latter was created by TP-Link, but the concept is the same: inter-connect multiple routers which can be different models and even from across generations to form a mesh network.
Why I like this approach is because you can keep an existing router, if you were lucky enough to get a compatible one, and just add a second unit near the area where you want the range to grow bigger. And you’re set. Curiously enough, I did recently run a test to check how seamless the transition between nodes is when using an Aimesh systems, and it worked better than expected.
So, not only is it possible to extend the range of the main router, you can also get a single large network, where the client devices will move without experiencing an impactful temporary disconnection.
The access points perform very similarly, but the advantage is that you usually get a dedicated platform where you can set up all your APs globally, or just individually, plus the seamless roaming is usually a given on most modern devices. They’re also more stable since access points target SMBs, in most cases.
Mark is a graduate in Computer Science, having gathered valuable experience over the years working in IT as a programmer. Mark is also the main tech writer for MBReviews.com, covering not only his passion, the networking devices, but also other cool electronic gadgets that you may find useful for your every day life.