
It took a bit longer than expected, but the Reolink Video Doorbell WiFi is finally available, and it seems that the engineers have managed to build a very compelling package, ensuring that the video doorbell can compete against and even outdo most of its main competitors.
| Reolink Video Doorbell WiFi | |
|---|---|
| Reolink.com | Check Product |
There are actually two versions available, one that receives both power and enables data transmission via PoE, while the other is using WiFi to communicate with your network and the wiring of your old doorbell to power itself up. The WiFi version cannot use the existing chime, but it does have a separate chime module which will occupy one power outlet. What makes the Reolink Video Doorbell WiFi (as well as the PoE version) so special is the 5-megapixel sensor which ensures a good video reproduction both during the day and even during the night, in a lot of instances even outdoing the performance of the UniFi G4 which costs a lot more.

And this is important because a video doorbell needs to evolve past just the immediate proximity surveillance and be able to identify people farther than just 4-5 feet in front of the lens. The Reolink Video Doorbell WiFi will also offer local storage via microSD card (256GB), or you can just hook up the device to a Reolink NVR. So, there is support for ONVIF, RTSP, P2P as well as other protocols and, while the video doorbell is dual band, it does not support 802.11ac and above, which is a bit of a shame. There are some other interesting features to explore, so let’s put the Reolink Video Doorbell WiFi and see how it performs.
Design and Build Quality
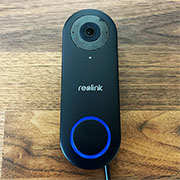
The Reolink Video Doorbell WiFi shares the same design traits as most other smart doorbells on the market, so there’s a camera lens on the top half and a button in the bottom half of a narrow plastic case. And Reolink decided to cover it by a black matte finish which I suppose does help it match with pretty much any wall cool and door style out there. The case measures 5.2 x 1.9 x 0.9 inches (13.3 x 4.8 x 2.3 cm) and that makes it one of the more compact video doorbells on the market which I see as an advantage since I dislike those oversized flashy doorbells.
And I would argue that even the logo is unnecessary since anything in relation to home security, including the brand should not be evident to anyone else than the owner. With that in mind, next to the lens, there are two built-in microphones, so it’s possible to hear the person in front of the doorbell and underneath it, there is a daylight sensor.
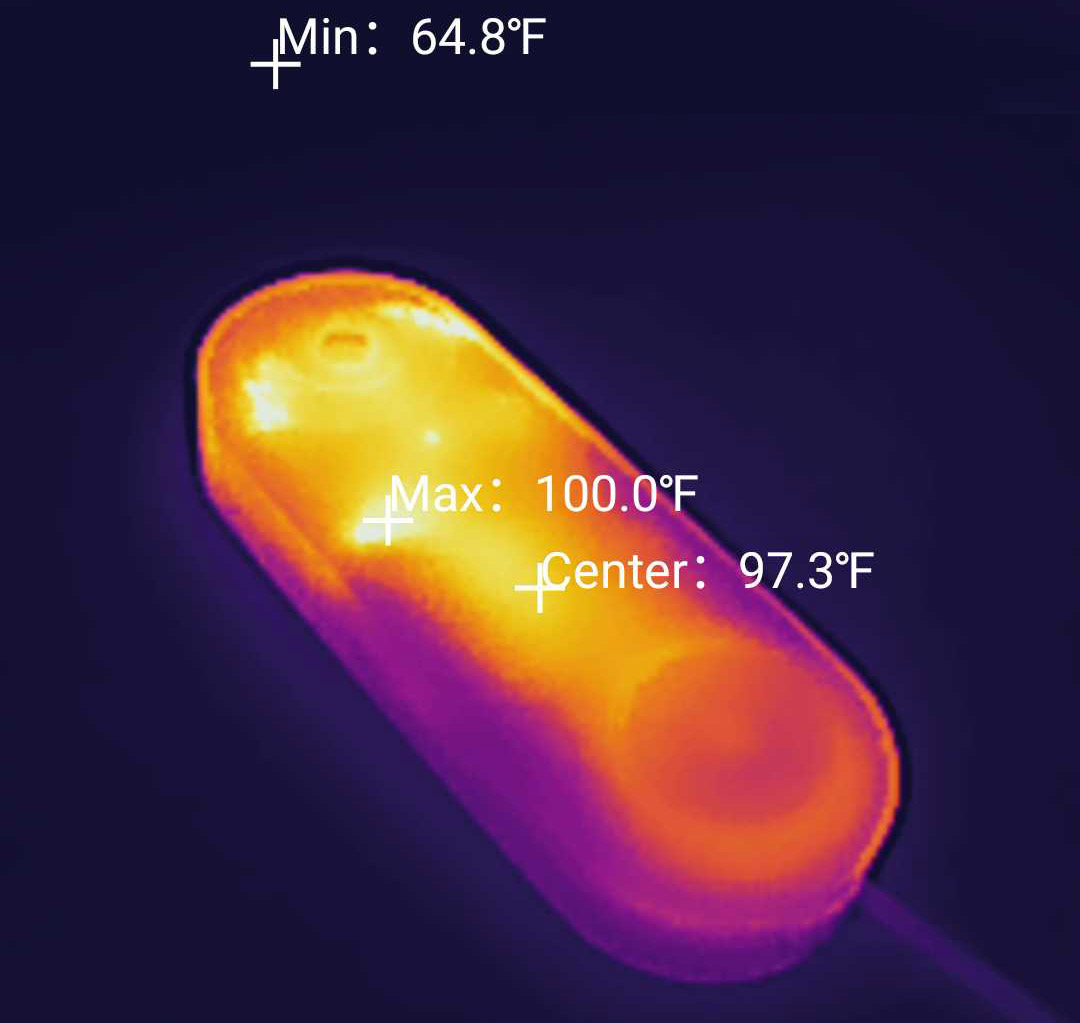
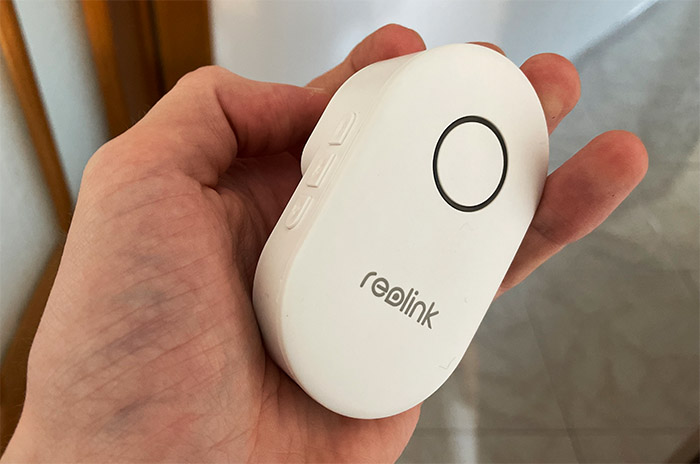
The Reolink Video Doorbell WiFi does not have a built-in floodlight which makes sense considering its size, so it does have some IR LEDs for black and white footage. Surrounding the doorbell button, there is a status LED which will light up white for a brief moment when it starts up successfully and it will flash white when it’s not connected to the network. The LED will become solid blue when you’re talking with the other person, and it will start gradually flashing blue when the device detects motion or a person. The LED will show other status info, but you will have to check with the manual, as with other single-LED systems.
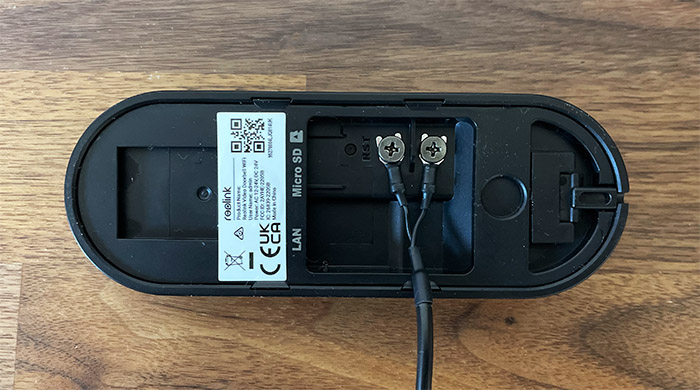
On the rear side of the Reolink Video Doorbell WiFi, you can see that a lot is going on and the area of interest lays in the middle, where you can see the two wiring screws and the LAN port. There is also a microSD card slot there and it’s worth mentioning that the LAN port is 10/100Mbps only (Fast Ethernet), but it’s fine since Gigabit is not really necessary for this type of devices. The data transfer rate is always lower than 1Gbps. Next to the wiring screws, there is also a Reset button that you can use to return the device to its default factory settings.
As for mounting the Reolink Video Doorbell WiFi, you get two options. The first is to use the mounting plate which will allow you to install the doorbell flat on the wall, while the second option is to use the side bracket which will allow you to install the device at an angle. This is important if the field of view includes some of your neighbor’s property, therefore invading their privacy.
I would have also liked to see the option to tilt the doorbell as well. It’s worth mentioning that the mounting plate is not easy to remove, and it requires the use of a pin to detach it from the video doorbell.
How rugged is the Reolink Video Doorbell WiFi?
Every smart doorbell needs to be built in a manner as to withstand outdoor conditions such as rain, heatwaves and even snow. The Reolink Video Doorbell WiFi is IP65-rated which means that it is completely dust proof, and it should be able to withstand powerful jets of water, as it would be the case during a storm.
The temperature range where the video doorbell will remain operational is 14 degrees F to 131 F (or -10 to 55 degrees C) which is the usual maximum and minimum in most countries, but the device may stop working if the winters get especially harsh (Canada or northern Europe). The chime module doesn’t need to be rugged since it will be installed indoors and you should not mistake it for a hub, it’s just a chime replacement, the Reolink Video Doorbell WiFi connects directly to the WiFi.
The Reolink Chime
I have mentioned that the Reolink Video Doorbell WiFi can’t use the existing chime, which is a bit of a shame since any retrofitting will render those wires useless. But the manufacturer did come up with a solution for better or for worse, providing a separate chime module which connects wirelessly to the video doorbell. The module is also made of plastic, but it’s covered by a white matte finish in a manner as to better fit in with the wall (assuming that it’s white).
You still lose one power socket, a design decision of which I am not a fan of. The chime module has a circular LED which will light up blue when someone is using the doorbell. There is a speaker which faces the wall and produces a digital chime sound (again, not a fan), while on the side, there are three buttons.
The first will adjust the volume level (there are three levels and a mute mode), the second will change the sound and the last one has a cogwheel icon which suggests it may be a settings-related option. I have pressed it, and nothing happened, so no idea what its role is – there is no documentation about it either.
Reolink Video Doorbell WiFi Teardown
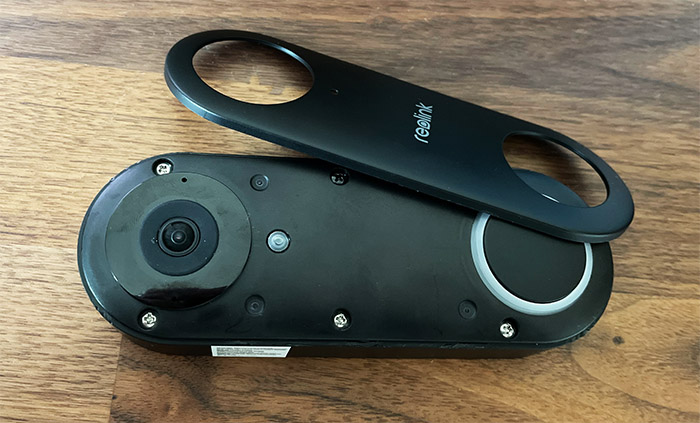
I do not suggest you attempt opening the case unless you know what you’re doing since changing the angle of the lens or any other micro adjustment could lead to a worse performance. If that’s alright with you and don’t mind potentially voiding the warranty, then, go ahead and gently detach the front cover.
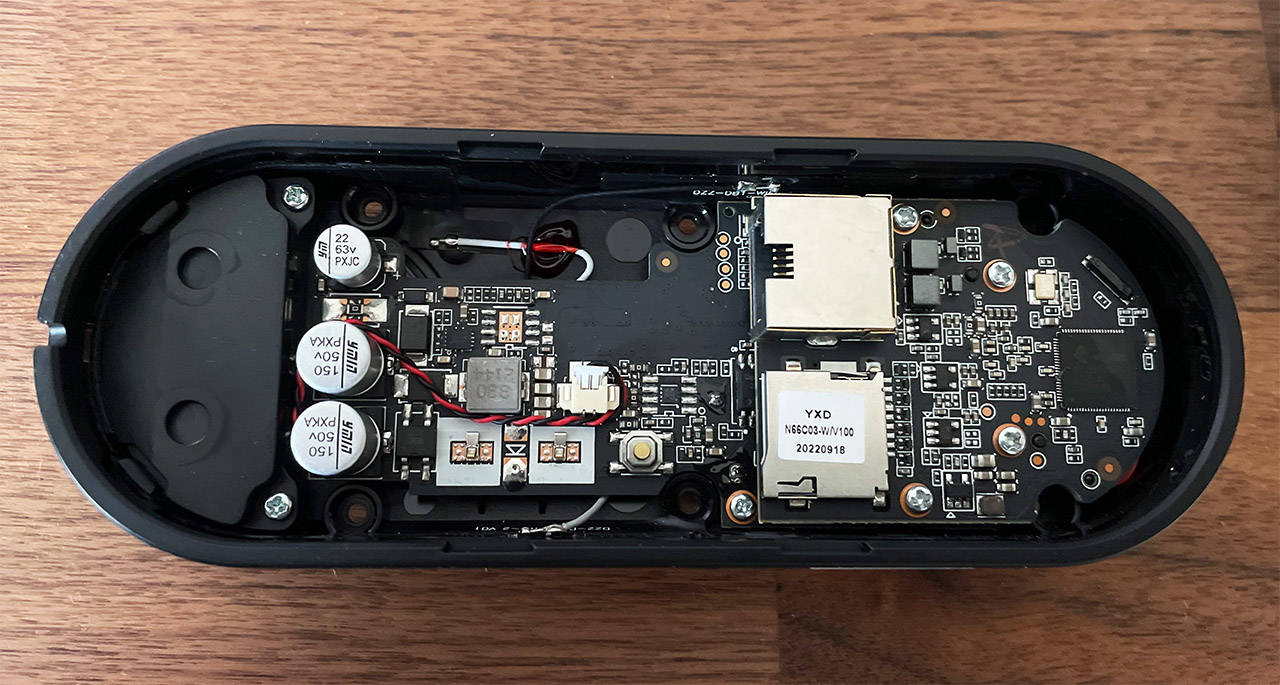
Use a prying tool and then, after detaching it, you should be able to see the six screws. Take them out and then, use the same prying tool to detach the bottom section of the video doorbell. This way, you should be able to see the two boards and the circuits. I didn’t go any farther than that, so I can only tell you what components I was able to identify. There was the Novatek NT98566 main chip and the 8MB of flash memory from GigaDevice (25Q64CSIG).
The Installation
Even if Reolink Video Doorbell WiFi does have an Ethernet port, it’s not PoE, so you do need to hook up the device to a power source. Ideally, that should be the old doorbell wiring, so the first step is to remove the old device and prepare the area for the new Reolink doorbell. Then, use the guided lines provided into the package and drill a couple of holes into the wall. Use the screws in the package to attach the metallic bracket or, if you want the doorbell to sit at an angle, then use the addon as well.
Be aware that the camera must not point towards your neighbor’s house or yard, just in the public space, so, while it will work great for open front yards (common in US), I am not sure it’s the best solution for closed yards, as it’s usually the case in the EU.
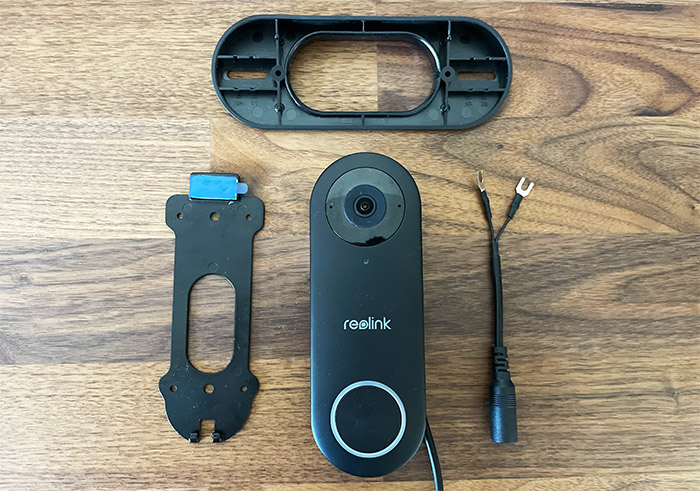
That being said, Reolink has added multiple ways to connect the Reolink Video Doorbell WiFi to a power source, so even if you don’t already have the wires installed, you can use the short or the long cable provided in the package. And the idea is to slightly remove the two screws on the back of the device to insert the metallic connectors, tighten them back and then simply insert the doorbell into the bracket. After that, the video doorbell should turn on and a voice will move between various languages telling what you need to do next.
Reolink Video Doorbell WiFi
-
Pros
- It's easy to install
- Feature rich
- Good image quality (day and night)
- Smart motion detection
- Can connect to an NVR
Cons
- Can't connect to an existing chime
- Doesn't support 802.11ac (and beyond)
Mark is a graduate in Computer Science, having gathered valuable experience over the years working in IT as a programmer. Mark is also the main tech writer for MBReviews.com, covering not only his passion, the networking devices, but also other cool electronic gadgets that you may find useful for your every day life.