
I recently flashed the Tasmota software on a Gosund smart bulb since it no longer stayed connected to neither the Tuya platform, nor its native app. I also wanted to move away from all these Cloud platforms that are forced onto the consumers and just group every IoT device that I have into a centralized platform where everything can be controlled locally.

And yes, I am talking about Home Assistant. I know that you’re going to ask why I didn’t add a section to the previous article and the answer is because I did encounter some issues with the Tasmota / Gosund bulb. It was a firmware issue, so nothing serious, but it did take me longer than I am willing to admit to fix it. That being said, these are the steps to add a freshly converted Tasmota bulb to the Home Assistant.
Note: Before moving forward, if you wish to flash the software of a Tuya device, check out these steps on how to do it via air. You don’t need to solder anything, nor open the smart device.
IMPORTANT: I will assume that the bulb has been successfully flashed with Tasmota and that you have connected the device to your local network. Also, you need to have Home Assistant installed somewhere in your local network and, ideally, it should be the full version, not the Docker one since this way, you get more control and any arising issues are easier to fix.
1. Prepare Home Assistant for Tasmota integration
The Tasmota software can communicate with the Home Assistant via MQTT broker (Mosquitto) and you do have the option to add it as an add-on or rely on an external broker. I decided to go with the former since I had enough space on my Raspberry Pi.
- Access the Home Assistant Dashboard and reach Settings. Click on Add-ons.
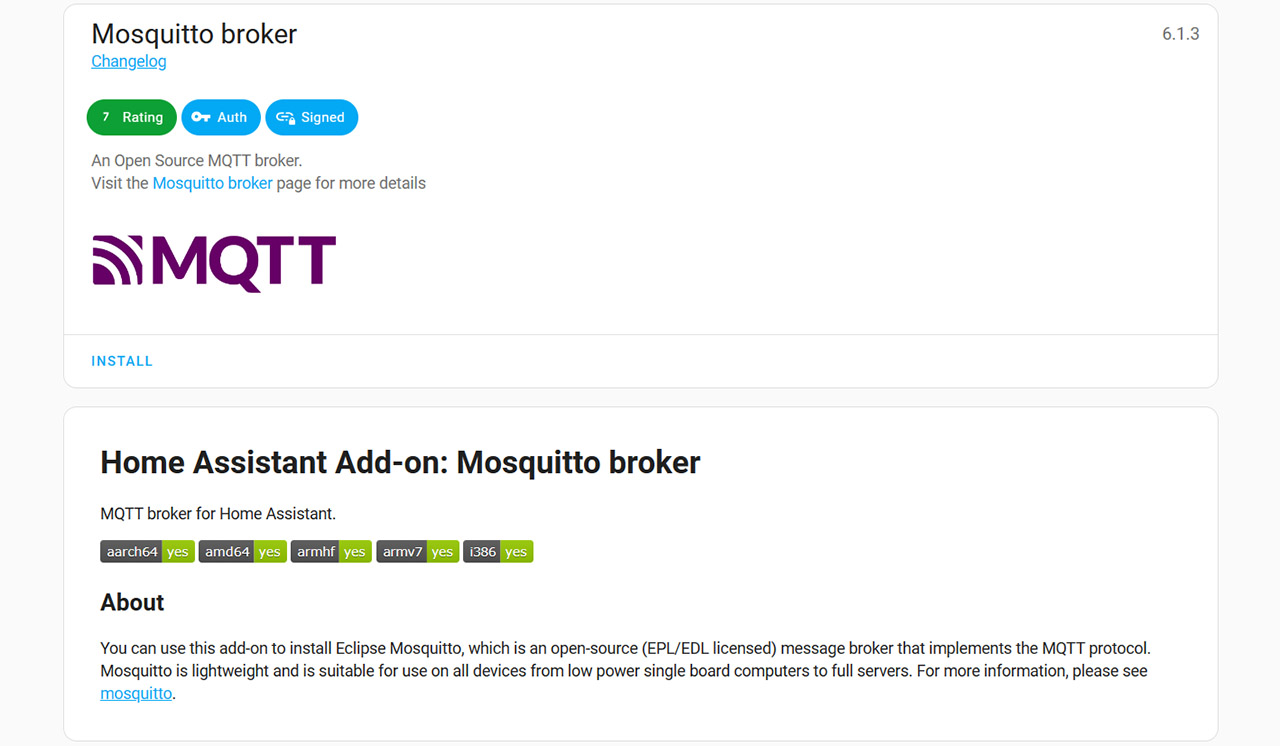
- You should be able to see the ADD-ON Store button on the lower right corner. Click on it and use the Search bar to select the open-source Mosquitto broker.
- Install it and then head to Settings > Devices & Services. Click on Add Integration.
- Search and choose MQTT, and then click on Configure.
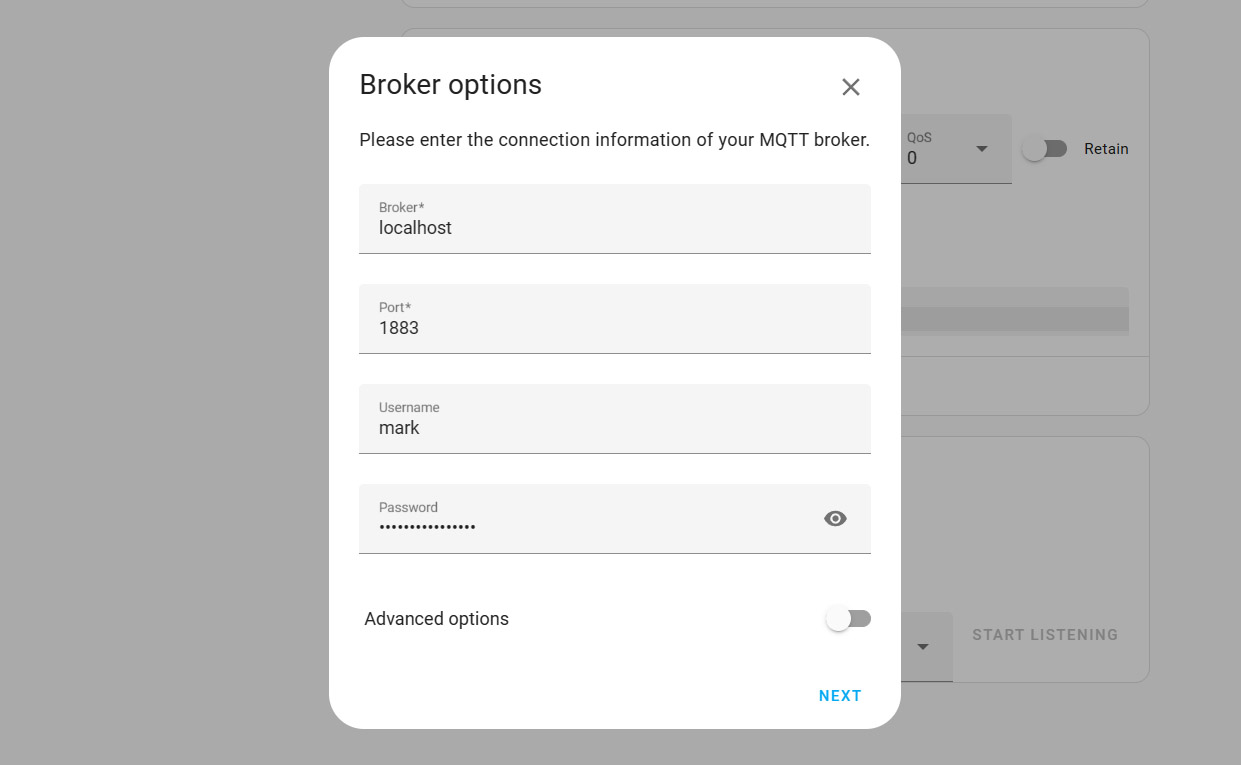
- There are four sections that need to be filled:
- Choose localhost for Broker.
- Enter 1883 for Port (the default for Tasmota as well).
- For Username, enter the user name that you log into the Home Assistant
- For Password, also enter the passkey that you use for HA.
You can create a different user for security or privacy reasons, but know that the credentials for Home Assistant will work here just as well.
2. Configure the Tasmota smart bulb to communicate with Home Assistant
- Log into the Tasmota light bulb – the IP address received from the router and then click on Configuration > Configure MQTT.

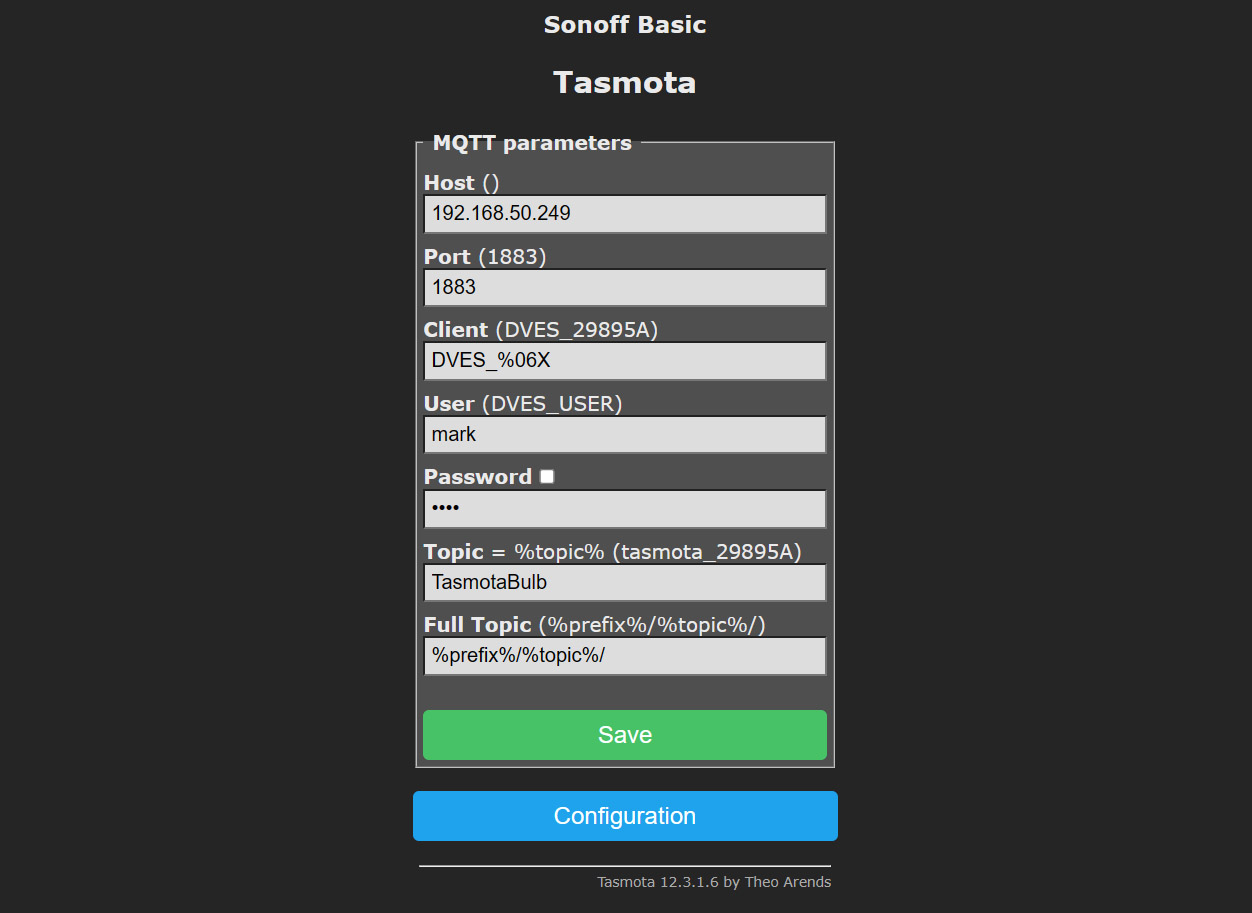
- At this point, you will need to configure the MQTT parameters:
- For Host(), enter the IP address of the Home Assistant.
- For Port, leave the default 1883 value.
- For Client, leave the default value.
- For User, I entered the username with which I logged into the Home Assistant, but it’s also possible to use the credentials of a MQTT user, if you set one up.
- For Password, I entered the HA password.
- For Topic, I decided to write TasmotaBulb, but you can choose any identifier.
- For Full topic, I left the default values. Click Save and wait until the smart bulb restarts.
3. Adopt the Tasmota smart bulb into the Home Assistant
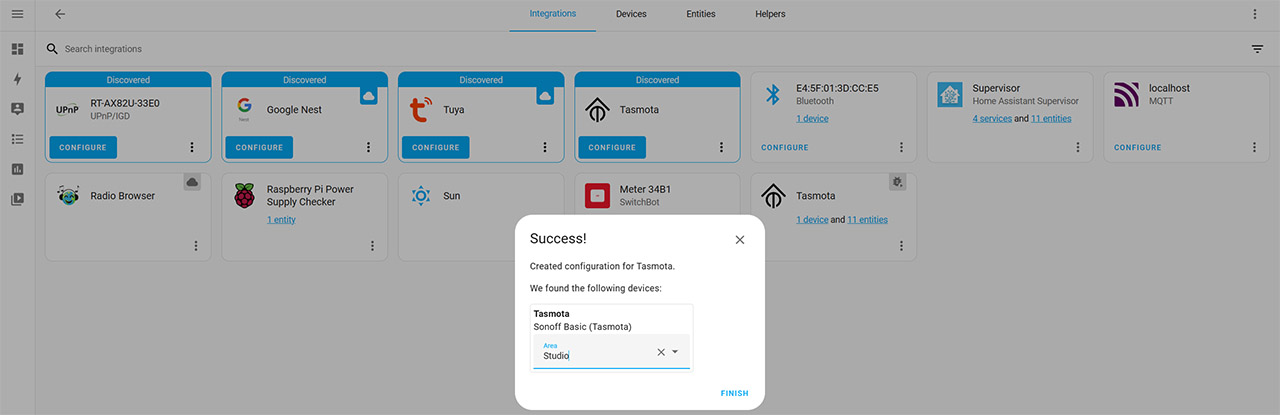
Returning to the Home Assistant Dashboard, go to Settings > Devices & Services and you should see that the HA has discovered the Tasmota smart bulb and that you can Configure it.
But, that’s not what happened in my case, at least not immediately. There was no error or anything of the sorts, just that the bulb would not be seen by the HA. So, I went into the Console (from the Tasmota bulb GUI) and entered the SetOption19 On command, as well as the SetOption 19 Off, but Home Assistant would still not be able to see the device.
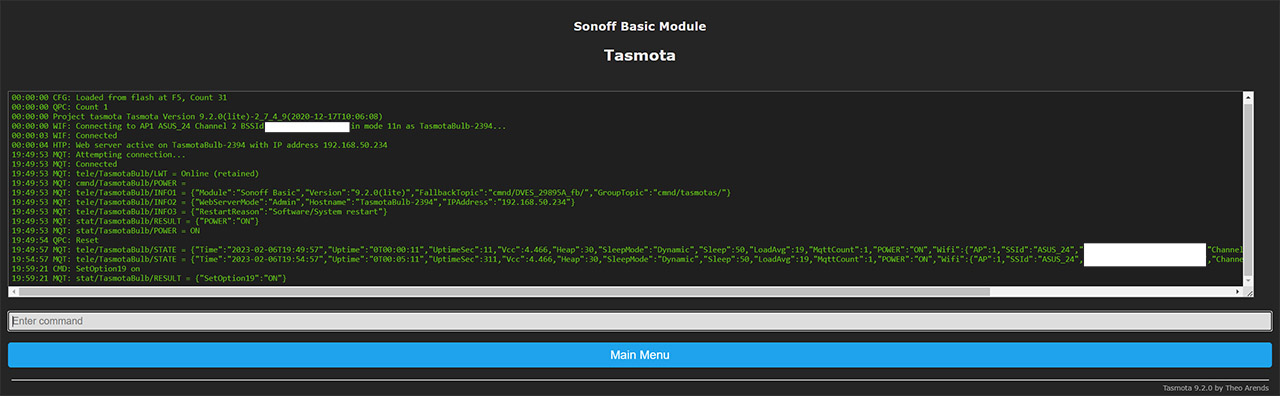
I made sure that was communication between the Home Assistant and the bulb by messing around with the port setting, but still nothing. That’s when I realized that maybe there’s a firmware problem, so I head back to the Tasmota interface and clicked on Information. The firmware version was 9.x.x.x and it was lite, so I checked if there was a newer version. Obviously there was, like way newer (12.3.1.6) and there are two ways to upgrade the firmware.
You can download the file into your computer and then load it into the smart bulb interface or simply copy and paste the OTA URL.I waited for a few minutes for the process to be done and I checked again if the Home Assistant saw the Tasmota smart bulb. And it did, so I quickly ran the Configure procedure which involves selecting an Area (the room – you can create a new one).
You can also check the dedicated options which include seeing the Logbook, Controlling the bulb, adding Automation, Scenes and Scripts to have some degree of inter-communication between your IoT devices, despite being from separate brands.
Mark is a graduate in Computer Science, having gathered valuable experience over the years working in IT as a programmer. Mark is also the main tech writer for MBReviews.com, covering not only his passion, the networking devices, but also other cool electronic gadgets that you may find useful for your every day life.
love it