
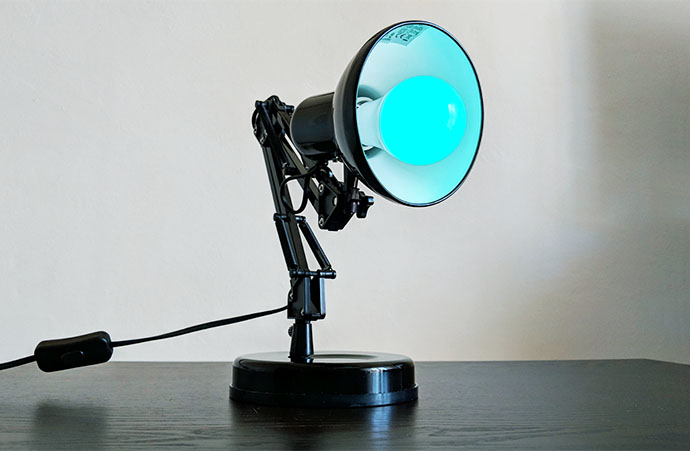
I had some issues with a Gosund smart bulb staying connected to the app, so I decided to flash the Tasmota firmware in order to be able to connect the smart device to the Home Assistant, completely bypassing the Tuya Cloud server.
The process is fairly straight-forward and, while it doesn’t require any soldering, nor is it necessary to open the device to connect any cables, it does require a bit of know-how. And yes, you do need to be able to navigate Linux – to open the console and copy-paste the commands, so again, nothing to scare any newcomers.
Why choose Home Assistant?
I got a Gosund smart bulb more than three years ago which worked well with the Gosund and the Smart Life apps, but then I got more smart bulbs from other brands. Add a few X-Sense smart smoke detectors, a Nest protect, a smart frame and the list went on and on. The problem is that each device can only connect to its app, so I end up having a few dozen apps on my phone and, in my case, I also switch the router very often. Imagine my joy having to re-pair all these devices every couple of months.
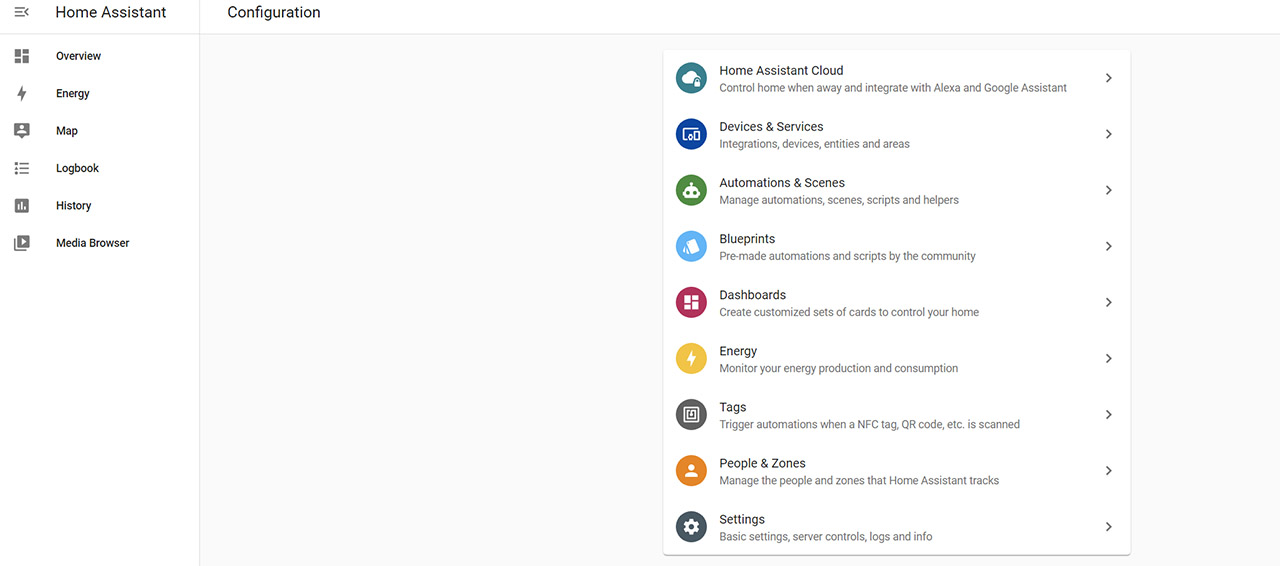
The idea is that I had to go with a centralized solution and why not also go open-source, cutting the cord to the brand-based servers. And yes, I am talking about Home Assistant which is one of the best things that happened to the IoT market – as usual, open source to the rescue. The problem is that Tuya devices are moody and the manufacturers really dislike you disconnecting from their servers. I mean, how else will they collect your data?
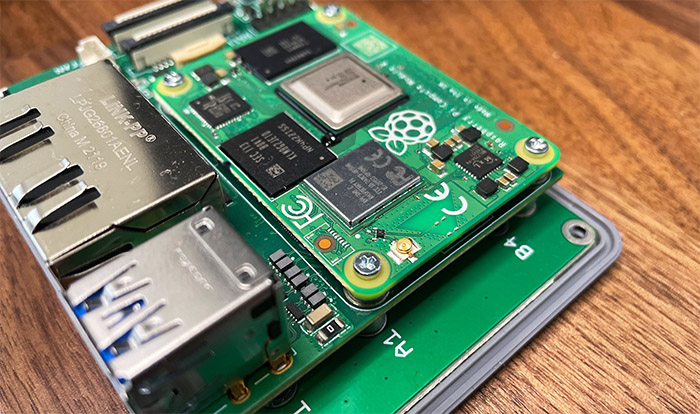
So, after having installed Home Assistant on a Raspberry Pi device, I decided to adopt the Gosund smart bulb to this platform. I used a Seeed Mini Router for the Home Assistant and you can read this guide if you want to go this route as well. Then again, it’s far simpler to just use a regular Raspberry Pi since you don’t need to bother with the eMMC built-in storage (you won’t be able to use your own SD card).
Why flash Tasmota on a Gosund (Tuya) smart bulb?
I am fully aware that it’s possible to integrate a Gosund smart bulb into Home Assistant by relying on the Tuya IoT Platform, but there are several shortcomings when taking this route. You continue to rely on the manufacturer’s servers, so the data is still being collected, plus you’ll lose any control over the IoT device the moment the server shut down (or just the good ol’ planned obsolescence). The other disadvantage is that you can only use a trial version for 6 months – yes, I know that you can redo the steps every 6 months and not having to pay the subscription, but this is barely an upside.
When I added Home Assistant to the Seeed Mini Router, I did got his route and forgot about it only to get the flashing LED (on the bulb) that I got disconnected from the server. So, I did what any sensible person would do and just re-added the Gosund bulb to its native app. That worked for a couple of days until I got the flashing LED again. It got disconnected from the app as well. That’s when I decided I have had enough of Tuya’s shenanigans and I had to flash a new software for better control. It also had to be open-source – Tasmota fit the bill perfectly.
Some concerns
There are two main potential problems that need to be addressed. The manufacturers don’t want you to move away from their server connection, so they often do include both code and hardware parts to prevent you from leaving their Cloud server. This is also true for the Tuya smart devices, to some extent. The Tasmota firmware can be installed only on devices that are equipped with specific ESP chipsets. And, of course, the newer gen devices have moved away from that platform, closing the window of opportunity for people to get rid of the Cloud connection.
At the same time, the open-source community never sleeps and I have seen that the OpenBeken is very promising and a possible replacement to Tasmota for devices with newer non-ESP WiFi chips. Returning to the ESP chips, some brands have blocked the possibility to flash a new firmware via air, so it’s best to not update the firmware of the bulbs if you plan to use Tasmota.
Another concern is, of course, if the gain is proportional to the work that needs to be invested into the project. Since there is no soldering needed, nor do you have to open up the smart device, then it’s all about having a free hour in the afternoon to play around with Linux and most likely with a Raspberry Pi. If you don’t have a RPi with Linux, things can get far more complicated, as we’ll see in the following sections.
The Requirements
- A smart bulb (that uses the Tuya platform) that has a compatible ESP chip.
As written on the official website, these are the compatible chipsets: the Espressif ESP8266, ESP8285, ESP32, ESP32-S and the ESP32-C3.
- A smartphone – can be either Android or iOS.
- A Raspberry Pi with Raspbian OS and that has built-in WiFi support.
Why a Raspberry Pi?
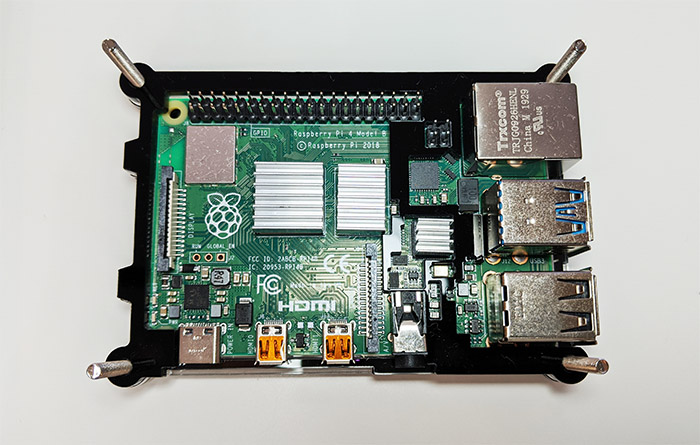
The answer is simple, we need to use the ability of the WiFi chip to work in access point mode. That’s the reason. I have tried the flashing process using a PC equipped with a PCIe adapter and, as expected, the adapter would not be recognized. It is possible to use a WiFi dongle that has support for the AP mode, but if you have a RPi with WiFi around, then it makes the process so much easier.
Installing and Running the Tasmota Convert
- The first thing that you need to do is make sure that the Rasbian is up to date, so run these two commands:
sudo apt-get update
sudo apt-get upgrade.
Wait a few good minutes, especially if you haven’t done this in a long while and after that, you need to make sure that the Raspberry Pi is connected to the WiFi. I usually just use the shortcut at the top right corner, Windows OS-style, but it’s also entirely possible to use the ‘sudo rapi-config‘ command as well. Next, you’re going to have to use the git command and I did have the package installed from other projects, but if the RPi doesn’t recognize this command, just enter ‘sudo apt-get install git‘ and again, wait a few seconds for the process to be done.
- After that, it’s time to download the Tuya-Convert from GitHub:
git clone https://github.com/ct-Open-Source/tuya-convert
- Make sure to switch directory:
cd tuya-convert
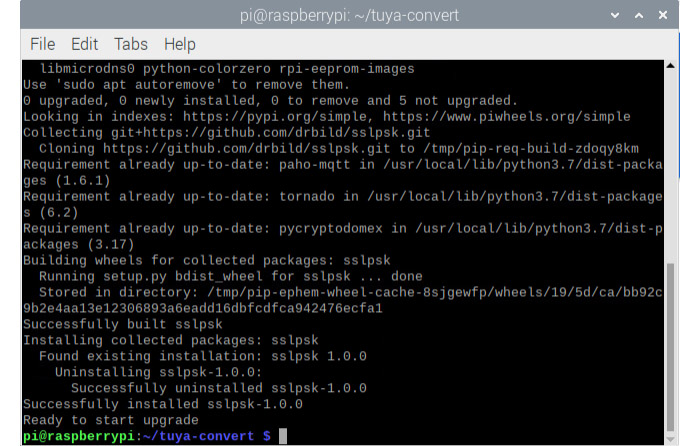
- And install the prerequisites (it’s going to take a few seconds):
sudo ./install_prereq.sh
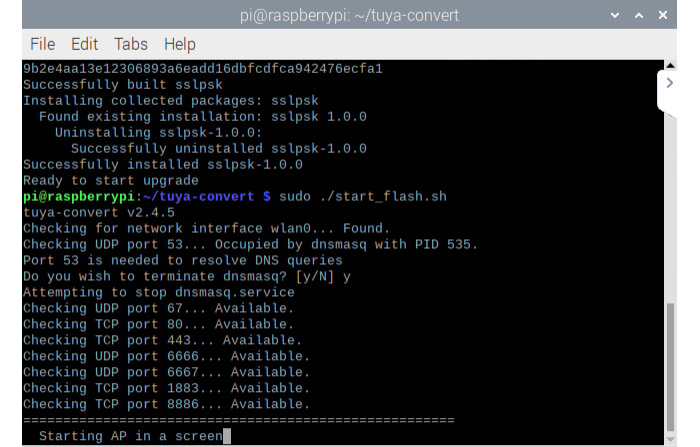
- You will see the message that the Tuya-Convert is ready to start the upgrade, so enter the following command to use the RPi as an access point:
./start_flash.sh
What this command does is to broadcast the tasmota-xxxxx SSID using the built-in WiFi adapter and you do need to keep this connection active, otherwise it will automatically turn off. At this point, you need to connect a client device to the SSID.
Use a smartphone to connect to the tasmota network and make sure that the Mobile Data is turned off, and that the phone won’t automatically re-connect to another active WiFi network (choose forget the old network – you’ll reconnect to it later).
Flashing the Tasmota firmware
While the smartphone is connected to the tasmota network, it’s time to put the Gosund (or another Tuya) smart bulb in pairing mode. This means that you need to make sure that the light flashes rapidly and not slowly – this can be done by turning on and off the light about 4 times and then wait for a couple of seconds for the Gosund bulb to start flashing quickly. Return to the Raspberry Pi and press Enter. This will automatically detect the smart bulb and it seems that a backup for the original firmware is going to be stored on the RPi.
Now, you will be asked to choose between several options and we’re going to choose option 2 to flash the “tasmota.bin”. To do so enter 0-2:2. And that’s about it, the bulb should now flash green and you should be able to see that a tasmota bulb network is available (from the ex-Gosund light bulb).
Note: You don’t really need to be near the smart bulb (although it’s not a bad idea to be fairly close) because I was able to perform this procedure while the light bulb was installed upstairs, about 10 feet away from the RPi device.
Configuring the Tasmota smart bulb
It seems that the default IP address for the bulb was 192.168.4.1, so I quickly accessed the GUI where I changed the AP1 SSId and the Password to match the one from the 2.4GHz network of my wireless router.
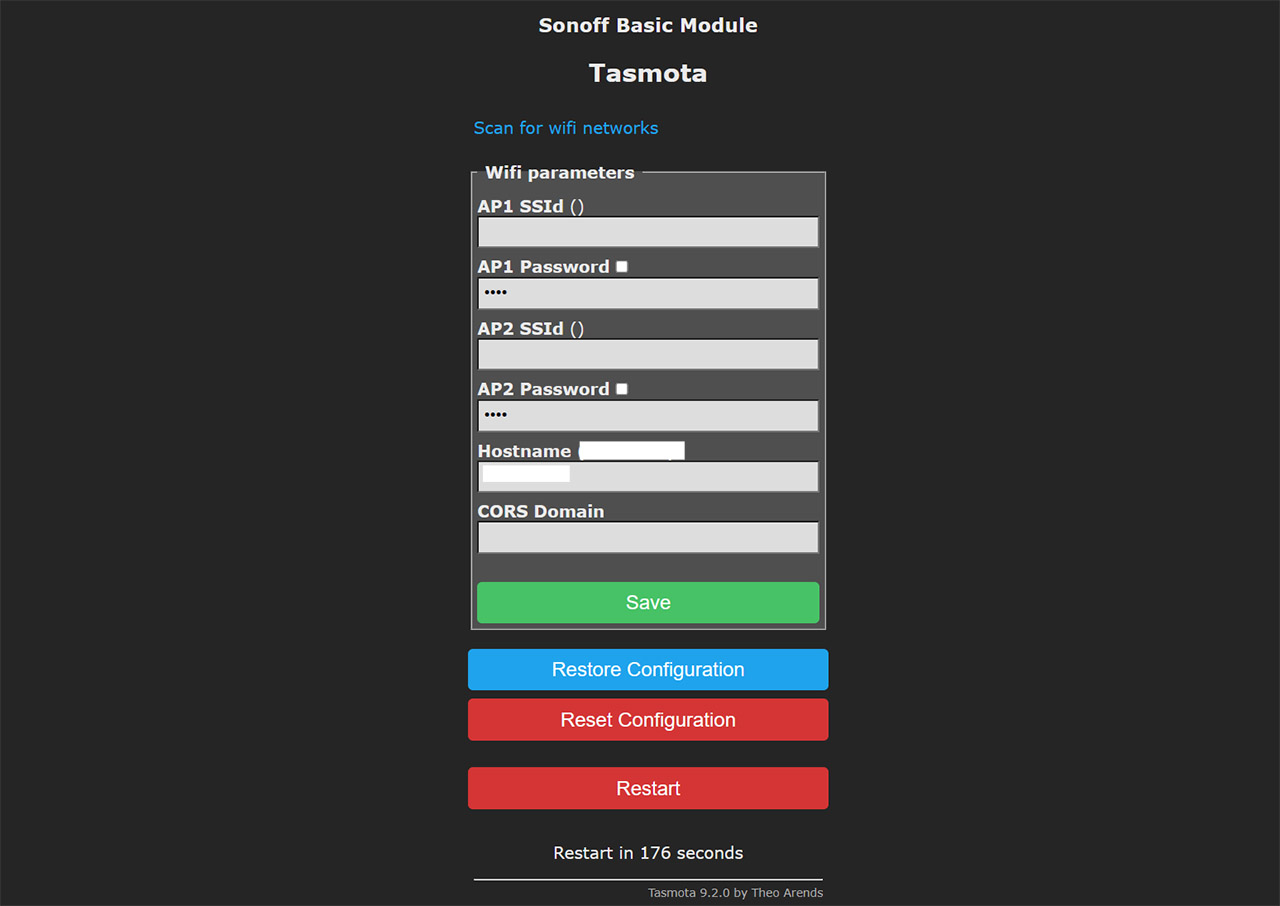
This way, the smart bulb will receive an IP address from the router – just check it from the list of client devices. Then, when accessing the GUI again, I could see the status of the smart bulb (along with the option to Toggle between states). Underneath, you can use the Console, upgrade the firmware, as well as configure the device. And the Configuration section will give you complete control over the device and I mean it my complete. This is one of the most in-depth set of options that I have seen on a device (developer-level config). This section (especially the MQTT) can be useful when pairing the device to Home Assistant.
Mark is a graduate in Computer Science, having gathered valuable experience over the years working in IT as a programmer. Mark is also the main tech writer for MBReviews.com, covering not only his passion, the networking devices, but also other cool electronic gadgets that you may find useful for your every day life.