
This has been made possible due to the Super HD technology which refers to the best type of video compression – I first heard it from Netflix which used it as a marketing term to show that the movies/series will have a better image quality at a given resolution. Further down on the app interface, we get to see four icons: Talk, Clip, PTZ and Playback.
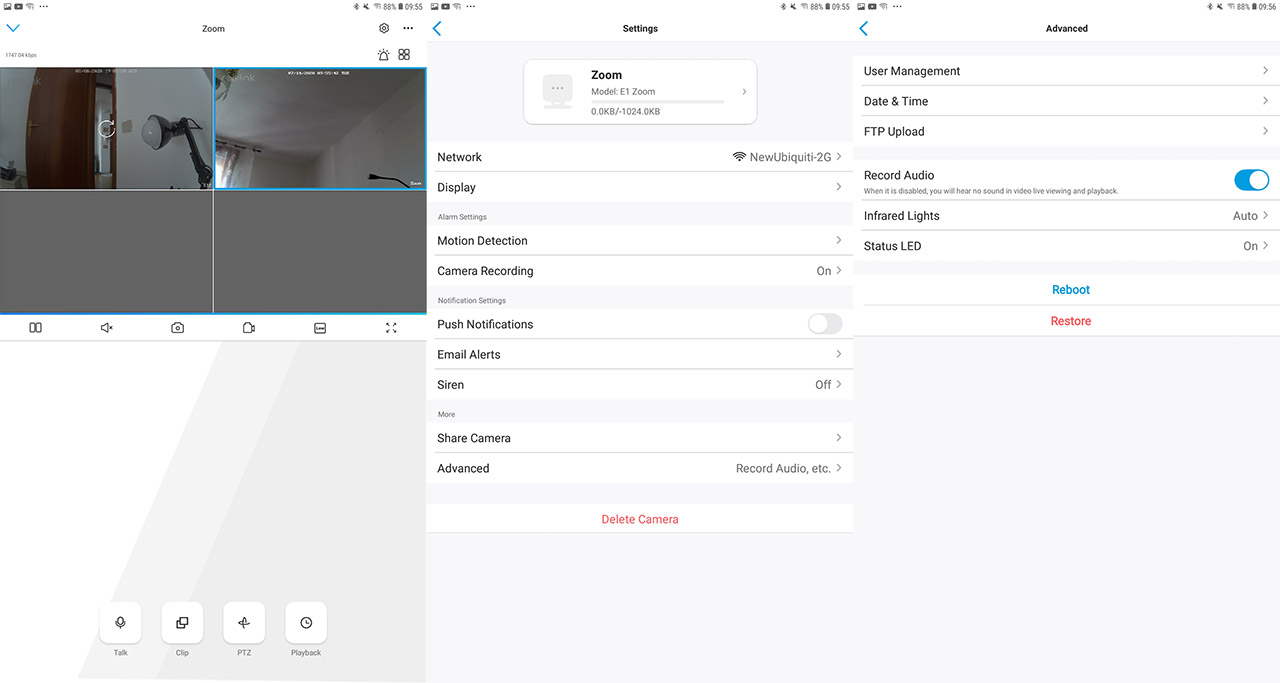
You can use Talk when you want to have a conversation with the people next to the camera (it has a microphone, so they can also respond) and you can adjust the volume, as well as enable the Earphone mode, in case you’re using headphones or don’t have the phone in speaker mode. The Clip section will allow you to see a specific section from the image (the zoom option will work better in this case) and then there’s the PTZ which, similarly to the E1 Pro, it allows you to adjust the pan/tilt angles to 355 degrees horizontally and 50 degrees vertically; its worth mentioning that the viewing angle is better, going from 48 to 98 degrees horizontally and from 37 to 75 degrees vertically.
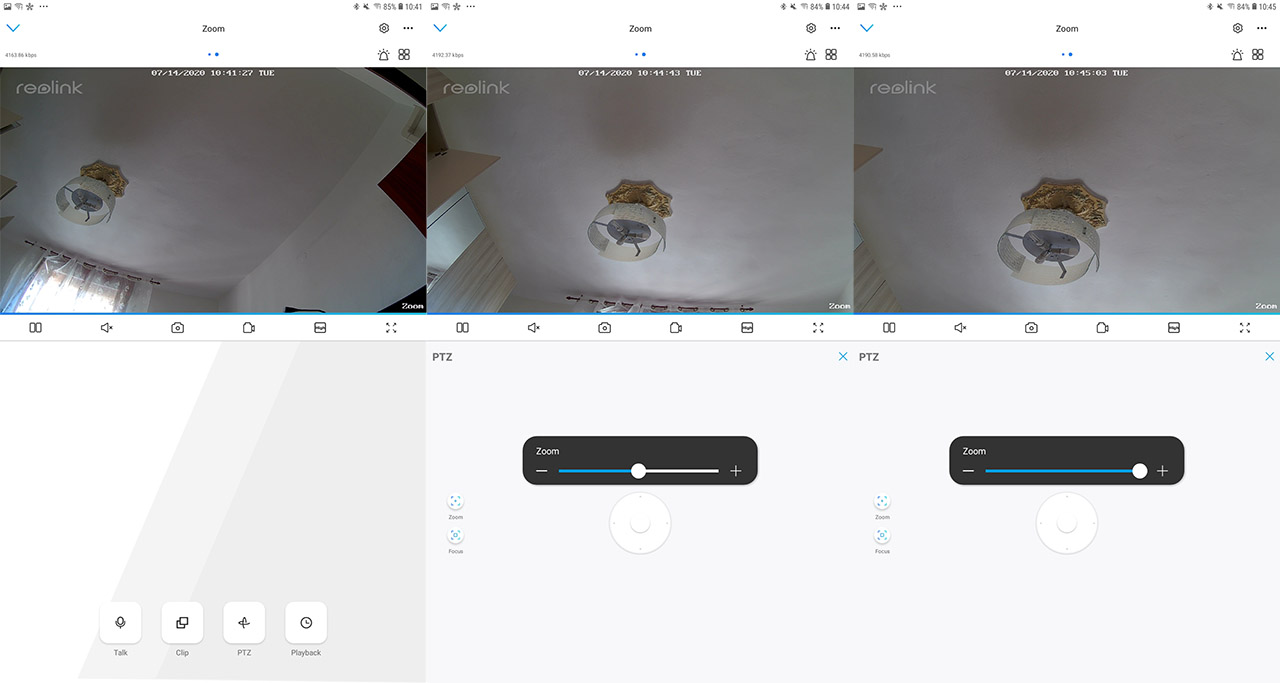
In this section, you can also zoom in and out and, as can be seen from the photos that I took of ‘my chandelier’, the image quality doesn’t change at all at 50 percent, nor does it do at 100 percent zoom (all the details are all there, even though it wasn’t a particularly bright day) – when the image quality was set at high and the zoom is set at maximum, the camera will take about 5 seconds to move (when you try to adjust the viewing angle from the app) and after the zoom in/out motion, it will take about 2 seconds to focus.
Lastly, there’s the Playback section which will work only if you have a microSD card inserted or if you have a Cloud subscription (as I said in the intro, there is a free option available, although it won’t really be enough in most cases – unless you’re happy with 1GB and 7 days-only footage). Just like with the E1 Pro, you get to see the videos that are captured when movement is detected (the motion detection is enabled by default) or if you have set a scheduled recording. From the top right corners, you can access four quick action icons by tapping on the three points (Channel Selection, Day and Night, Immersive or Picture-in-Picture) and if you click on the cogwheel, there are also some ‘more’ general settings specific for this camera.
Here, you can connect to another SSID and, from under the Display, you get to rotate the screen, change the image quality, the refresh rate, enable the night vision, change the date/watermark, configure the Privacy Mask (this is very important when using the camera in a warehouse or to point towards an exterior building since it allow you to blue certain parts of the video) and, under Advanced, you get to set the Exposure, the White Balance, the Backlight and the 3D Digital Noise Reduction (you can leave them as default since the footage is excellent with the preset values). Other options are the Motion Detection (where you can adjust the sensitivity), the Camera Recording schedules, the notifications and email alerts, the Siren (you can create custom recorded alerts) and more.
Motion Detection and Night Vision
The motion detection on the E1 series is really well done, with the sensitivity level going up to 50 – by default, the sensitivity is set at 41 and this way, the camera was able to accurately detect any movement from about 30 feet away. If the object of interest is closer, then you need to set the sensitivity lower.
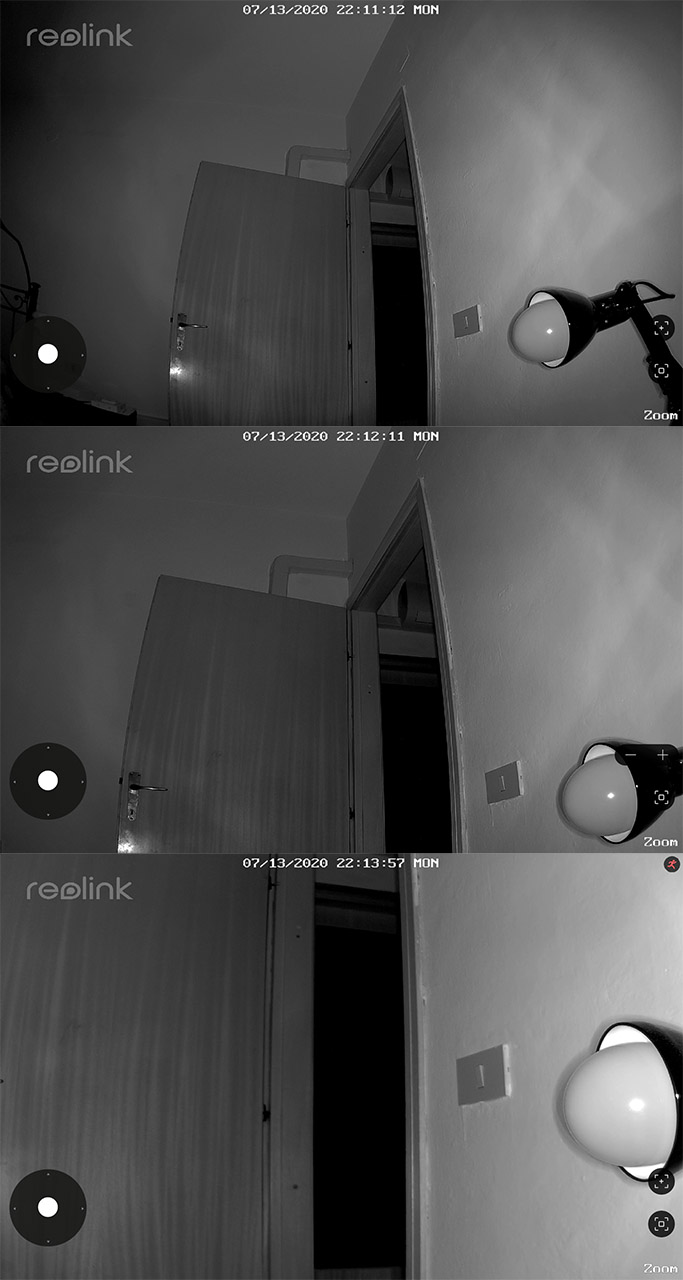
Immediately after the sun sets, the ten IR LEDs will light up to let you know that the camera is now filming in night mode and the image quality was excellent, pretty much the same performance as on the Reolink E1 Pro, so, while the video quality was set to high, I saw a low noise level and the details were all there. If you decide to zoom in towards a certain area (to about 50%), I noticed that the image quality was largely unaffected, but zooming in 100% (3X), then some details were lost and I noticed a fair amount of noise – the footage is still clear enough, it’s just not crispy clear anymore.
The Client Utility
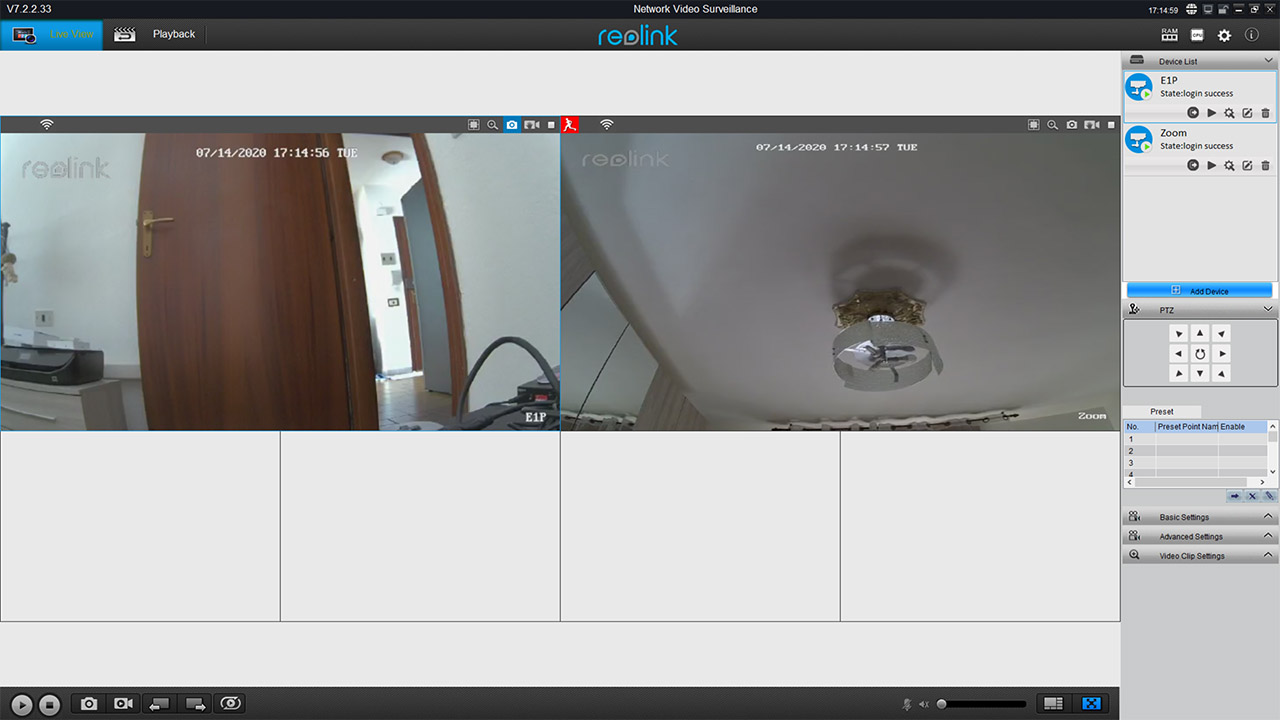
Besides the dedicated app, Reolink has also made available a Client utility that can be installed on either Windows OS or MacOS; the installation process is pretty straight forward since, if the computer on which you install the utility is on the same network as the E1 Zoom (and the camera is already configured), then it will be automatically seen by the Reolink Client (you will have to log in using the credentials from the app). Just like on the E1 Pro, the Reolink Client will offer the same set of features (with some minor additions), but the major advantage will come from the fact that you can see the footage from a larger screen with multiple cameras at the same time.
The Security
The camera itself doesn’t really have any built-in security features and they rarely do (some come with two-factor authentication and that’s about it), but there are some steps that you can take to ensure the privacy of your home or office. The first and most obvious measures are to make sure that the administrator password is strong enough (and not 1234) and, ideally, the username should also be changed – the app does allow me to create a new admin account (as well as additional users), but I could not delete the default admin account. The router should also have strong credentials and it should be up to date (when the manufacturer stops supporting their product, you should replace the device). The same is available for the camera since it needs to be constantly updated by Reolink to ensure that no vulnerabilities can creep in. As I said when I tested the E1 Pro, there are some advanced steps which will not really be welcomed by the public, but have proven to work: first of all, if you don’t need it, disable the Internet connection towards the camera and if you need to access the E1 Zoom remotely, use a VPN connection (such as OpenVPN); lastly, it’s advisable to not use Port Forwarding.
Conclusion
When I tested the E1 Pro, I was impressed by the image quality of the camera (as well as some other features, such as the motion detection) and in this regard, the Reolink E1 Zoom offers pretty much the same performance, but, as the name suggests, you do pay more for the zooming ability. During the day, it works great and it does a good job during the night as well, but do expect some latency, since at the highest quality, both the zooming process and the tilt/pan will take a few seconds to register. If that doesn’t bother you and want a fairly compact indoor camera that offers a great video quality and that can zoom in and out, then the E1 Zoom is pretty much the best option in its current price range.
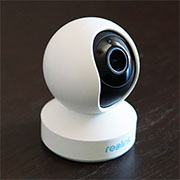
Reolink E1 Zoom
-
Pros
- Excellent image quality
- The zoomed image remains clear
- Has both an app and a computer client
- Accurate motion detection
- The power cable is quite long
Cons
- The card slot and the Reset button are awkwardly placed
- No Ethernet port
- There is a significant amount of latency when the image quality is set to high
Mark is a graduate in Computer Science, having gathered valuable experience over the years working in IT as a programmer. Mark is also the main tech writer for MBReviews.com, covering not only his passion, the networking devices, but also other cool electronic gadgets that you may find useful for your every day life.