
Reolink has been busy crafting its way through the myriad of available surveillance cameras and it has managed to capture the attention of the audience with the excellent Argus series which went directly against the Arlo cameras (from Netgear). This time, Reolink has unveiled a new indoors-only-suitable series called E1 which consists of three models, the base E1 camera (which is the most affordable), the E1 Zoom (the flagship model which has the best resolution and supports 3X optical zoom + some other cool features) and the E1 Pro, which comes with a better image quality than the E1 and it’s the model that I’m going to focus on in this article.
| Reolink E1 Pro | |
|---|---|
| Amazon.com | Check Product |
| Reolink.com | Check Product |
While the expectations aren’t as high for the indoors cameras as for those suitable for outdoors (were the visibility in low brightness and the build quality are of paramount importance), there are some features that cannot be neglected.
The installation process needs to be quick, the app has to be easy-to-use, multiple adjustments covering a wider angle are a must and if the image quality is top notch both during the day and during the night, then the manufacturers are on the right track to building the perfect camera; also let’s not forget the security aspect which is often overlooked even on some expensive cameras. The Reolink E1 Pro does pride itself with the Super HD resolution (the best kind of 1080p) and it does have a large viewing angle, so let’s have a closer look at the camera and see if it manages to tick all the other boxes.
Design and Build Quality
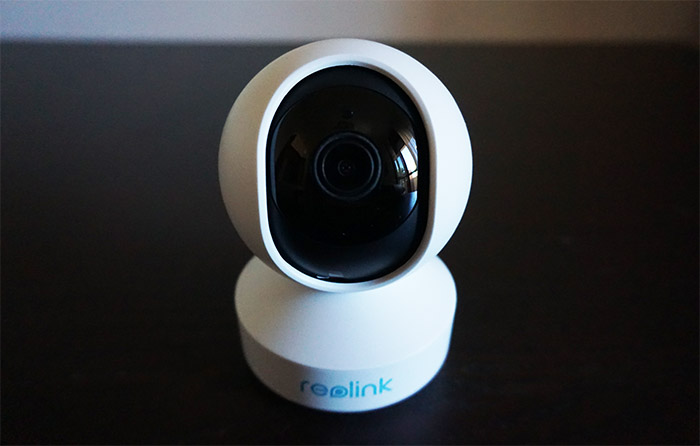
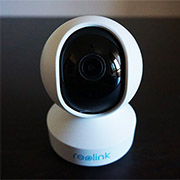
When it designed the E1 series, Reolink went for that baby monitor look which is very common for the compact indoors cameras due to their unobtrusive nature (allowing you to position them pretty much anywhere in the room), so expect a pear-shaped plastic case with a spherical top and a large base to keep the device stable. The device is covered by a white matte finish (it does not keep fingerprints) and the spherical top part has a front-facing cut-out to expose the internal black section that contains the camera lens. I know that some indoor cameras are needlessly huge with a large portion of the inside of the case being hollow, but the Reolink E1 Pro feels very solid (the plastic doesn’t creak) and it has a bit of weight to itself (weighs 7 ounces) – the heaviest component (the motor) is positioned near the bottom of the spherical part.
Like I said before, the camera is very compact, so it’s 4.2 inches tall (the spherical section is 2.75 inches tall), while the base has a diameter of 3 inches which means that it won’t occupy too much space from your desk; the base has three silicone feet that will keep the camera into place. If you prefer mounting the E1 Pro on the wall or ceiling, Reolink has included a small plastic mounting bracket (that can be attached to the bottom of the camera) and a couple of screws, so all you need is a drill and a way for the cable to reach the device. Speaking of which, the included cable is approximately 10 feet long which should be enough in most cases (you can always add an extension cord if you need more) and I also noticed that Reolink added a proprietary Power port instead of the microUSB or USB-C standards. Why they thought that’s a good idea is beyond me because the included cable can get damaged and then you’ll have to rely on the manufacturer to provide you a new one (it’s never a good thing to have a closed ecosystem).
Other than that, there are no other visible ports or buttons and that’s because Reolink has hidden a couple of them underneath the camera sensor: simply push it upwards to reveal a microSD card slot (supports up to 64GB which is really not that much by today’s standards) and next to it, there’s a Reset button which you need to press and hold for at least 5 seconds if you want to return the E1 Pro to its factory default settings. There is no LAN port, so the camera can only connect wirelessly to your router (it also removes any possible PoE support). On the front side, the E1 Pro features a 4MP CMOS sensor (1/2.7″, f/2.0 aperture and f/1.4 fixed) and the display resolution is 2560 x 1440 pixels with the Super HD quality. I first heard about this terminology from Netflix which used it to let the user know that even if the resolution is set at 1080p, the image quality can still be worse or better, depending on the compression – Super HD refers to the best image quality that you can get at a certain resolution (in our case, it’s 1440p).
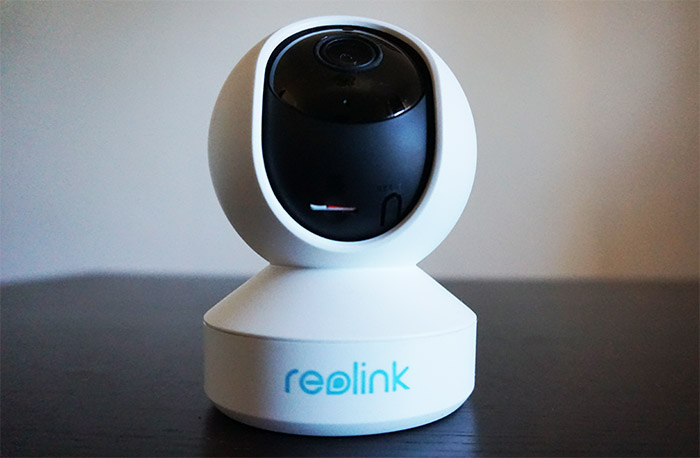
Around the CMOS sensor, there are eight IR LEDs that get triggered when the brightness sensor detects that there isn’t enough light in the room; there’s also a status LED which will be solid blue when the camera is configured and everything is working properly and will flash blue when it’s ready to be paired to the app or when the WiFi is not yet configured. The camera also has a build-in microphone and a speaker on the back for a two-way audio communication.
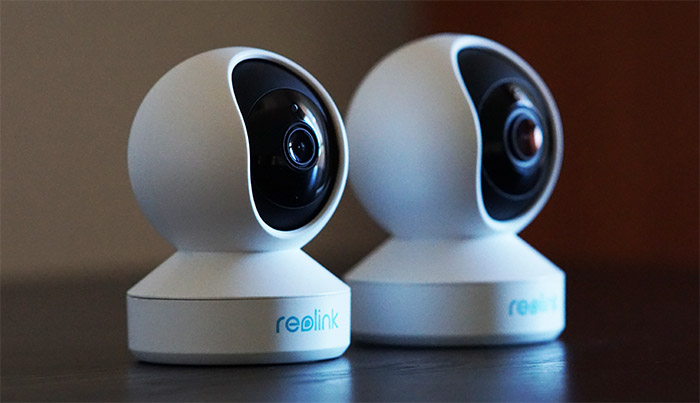
Note1: Design-wise, the Reolink E1 Pro is identical to the E1 base model and, while the E1 Zoom has the same look, it’s a bit larger than the other two cameras from the series.
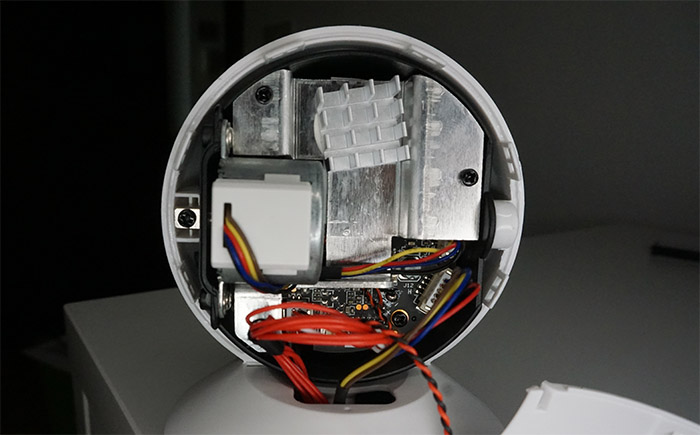
Note2: After opening up the case (the rear side is held by a few plastic hinges), I noticed that Reolink relies on a Novatek NT98513MBG 1941-BS SoC and I could also identify 16MB of flash memory from GigaDevice (25Q127CS1G).
Installation and Features
The hardware installation of the E1 Pro requires you to just connect it to a power source and that’s it (unless you go for the ceiling or wall mounting option), you can now configure it software-wise. To do so, it’s advisable to download and install the Reolink app on a mobile device (my Pixel phone broke down, so I had to use an Android tablet); immediately after starting up the app, you will be asked to allow the access to your media, photos and files (need to accept to move forward) and you will be greeted by a simple and (for now) empty interface. To add the Reolink E1 Pro to the app, tap on the + sign from the top right corner and scan the QR code from the bottom of the device. It’s worth mentioning that during the entire configuration process, you will be guided by a voice which will repeat loudly the instructions every 10-15 seconds and it gets incredibly annoying very fast. After the app detects the camera, you will be asked to configure the WiFi – the E1 Pro is compatible with both 2.4GHz and the 5GHz bands, but only up to 802.11n WiFi standard, so, when I tried to connect it to my 5GHz (802.11ac) network, it failed.
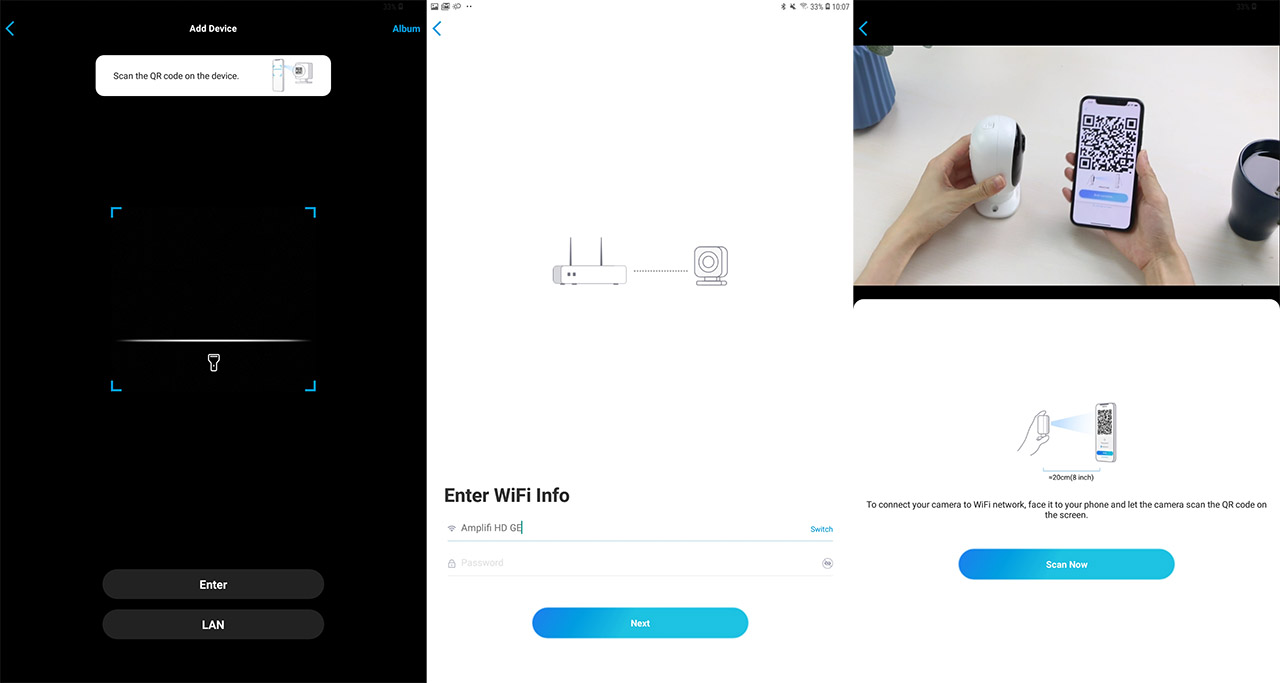
After switching to the 2.4GHz network, I could continue the installation wizard which included scanning a QR code from the tablet using the camera (it may take a few tries before getting it in the right position) and after the connection to the router has been successful, you should be able to configure the administrator password (use a strong passkey for security reasons), set a name for the camera and you should be able to enter the app interface.
The App and the Image Quality
Doing so, you will immediately be greeted by the live footage captured by the camera (with the date and the hour embedded), you can also see the data rate on the top left (goes up to 4Mbps) and on the right, you get to trigger sound alarms (click it if you want to scare any intruders). Underneath the footage screen, you get to Pause/Start, enable the Speaker, capture a photo or a video of the feed, enlarge the video to full display or you can adjust the image quality: Fluent, Balanced or 4MP. These modes are pretty much the equivalent of low, medium and high quality and yes, on the 4MP mode, you will see a higher latency (2-3 seconds).
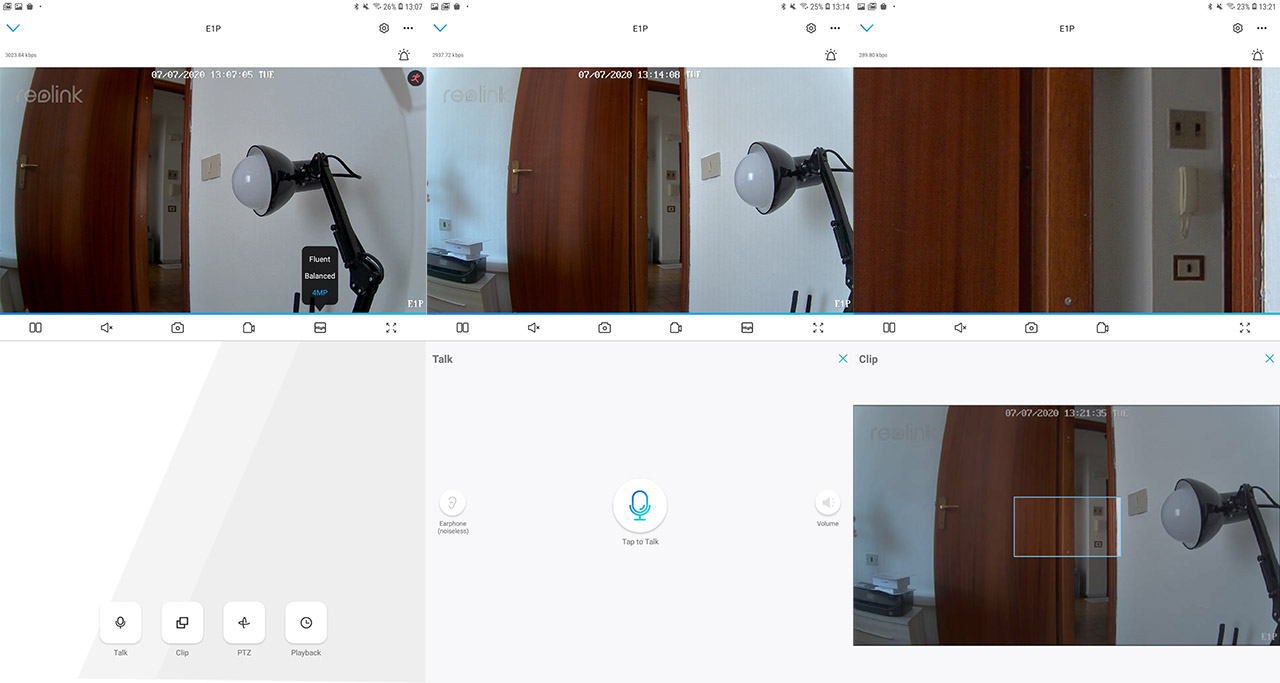
At the bottom of the page, there are four tabs, Talk, Clip, PTZ and Playback. Enter the Talk section to be able to communicate with the person that’s next to the camera and you will get the option to adjust the Volume (it can get really loud, enough to scare off any trespasser) and there’s also the possibility to enable the Earphone (noiseless) option which will work best when you have the phone next to your ear. The Clip section allows you to focus on a specific area of the footage (it’s a sort of zoom on a smaller area) and the PTZ section is one of the most interesting additions since it allows you to adjust where the camera will point from the distance. Specifically, you get to adjust the viewing angle horizontally up to 355 degrees and vertically up to 50 degrees (the angle of view is 87.5 degrees horizontally and 47 degrees vertically). Lastly, there’s the Playback section, but before delving in this area, it’s important to know that you need to either use a microSD card to store the footage or rely on the Cloud subscription.
Reolink E1 Pro
Pros
- Excellent image quality during the day and during the night
- Super HD
- The app is easy to use (there's also a PC utility)
- The motion sensor works really well
- Dual band WiFi
Cons
- The Pan/Tilt adjustments don't always register
- No Ethernet port
- No USB-C/microUSB connector
Mark is a graduate in Computer Science, having gathered valuable experience over the years working in IT as a programmer. Mark is also the main tech writer for MBReviews.com, covering not only his passion, the networking devices, but also other cool electronic gadgets that you may find useful for your every day life.