
The XGIMI Halo Plus is the updated version of the portable flagship projector that came a year before and, while not a radical improvement over its predecessor, it did have to become better equipped to potentially outclass the likes of Epson and Anker.
| XGIMI Halo Plus | |
|---|---|
| US.XGIMI.com | Check Product |
The projectors also compete against TVs, but I think portable projectors are a niche of their own and a fairly broad one because they provide the unique ability to play movies and videos pretty much anywhere remotely, without needing a continuous power connection. This can make camping even more interesting or an evening in the backyard with friends and family more entertaining. But, as everything that’s battery-powered, there are some drawbacks when compared to the ‘fixed’ projectors, right?
In most cases yes, but the XGIMI Halo Plus tries to be a bit better than most other portable projectors. The brightness is advertised at 900 lumen and it seems to remain at a high level even when in battery mode. There is also support for HDR10 and HLG which are excellent features for a small projector and, while it’s not true native 1080p, the XGIMI Halo Plus manages to provide a rich image and lots of detail in a similar fashion to the XGIMI Horizon Pro (also non-native 4K, but very close to it).
The autofocus, the automatic keystone correction, intelligent obstacle alignment and screen alignment are also present on the Halo Plus which was a game changer on the Horizon Pro. And it’s going to enhance the portability factor a lot more than on its competitors since no manual adjustments are needed every time the device is moved to another location. The operating system is still Android TV with Built-in Chromecast and Airscreen and I did like that the Halo Plus continues to rely on Harman/Kardon for better sound quality. That being said, let’s put the XGIMI Halo Plus to the test and see if it manages to outdo its competitors.
The Design and Build Quality
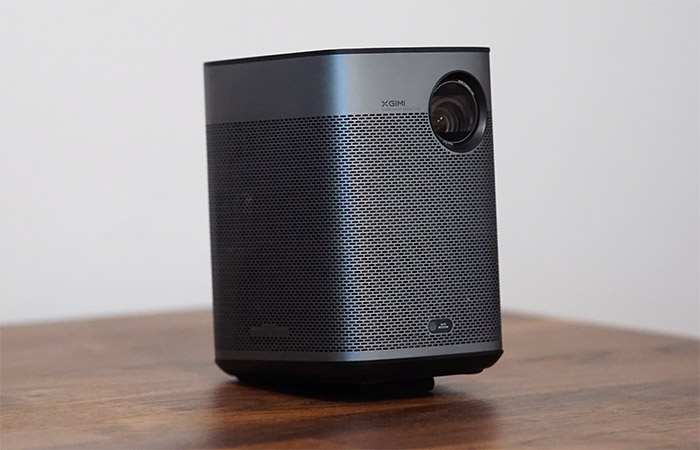
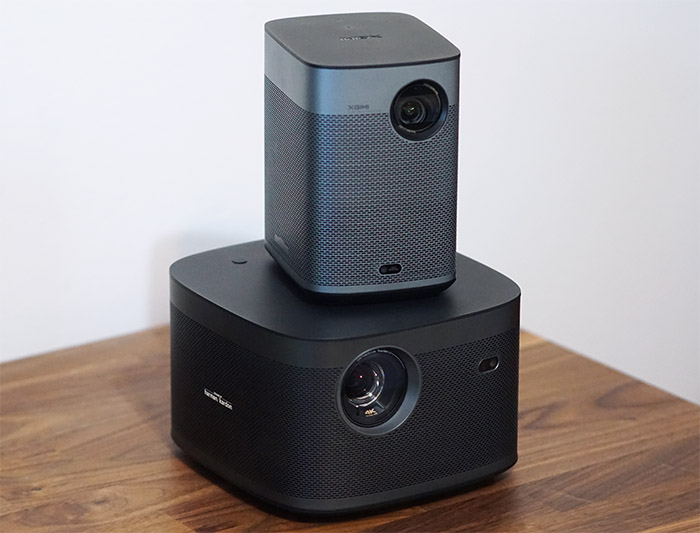
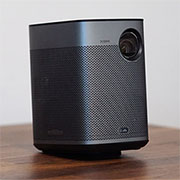
I was very impressed by how compact the Horizon Pro was, but it seems that the developers managed to make the XGIMI Halo Plus even smaller. Indeed, the projector measures 6.7 x 5.7 x 4.4 inches (17.1 x 14.5 x 11.3cm), so it’s about half the size of the Horizon Pro, slightly smaller than the Epson EF12, but quite a bit larger than the Capsule 3.
Also, the XGIMI Halo Plus is not too heavy, but it has just the right weight (3.52lbs or 1.6kg) to not feel cheap, while also be able to carry in a bag. The overall design is very similar to that of the Horizon Pro and pretty much identical to the original Halo, so expect a rectangular case with rounded corners, the top, bottom and rear made of plastic and a metallic shell almost completely surrounding the device. The shell is perforated and portions of it are used for ventilating the case which is very much needed when dealing with projectors (they tend to get quite hot).
And yes, the XGIMI Halo Plus does rely on a fan to push the hot air out, but the good news is that it’s quiet. I mean, you’ll be able to hear it if it’s completely silent, but as soon as anything plays, the sound is quickly and easily drowned.
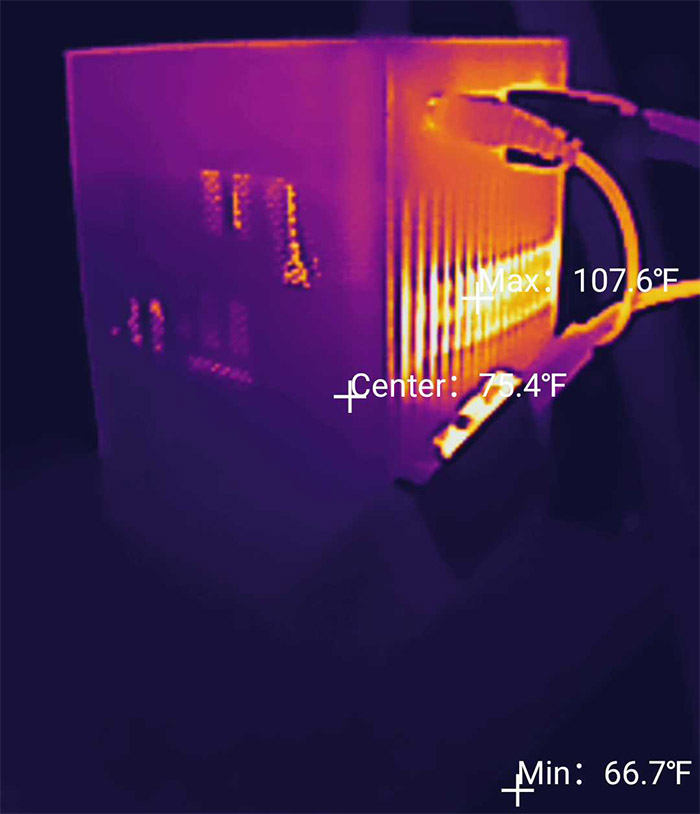
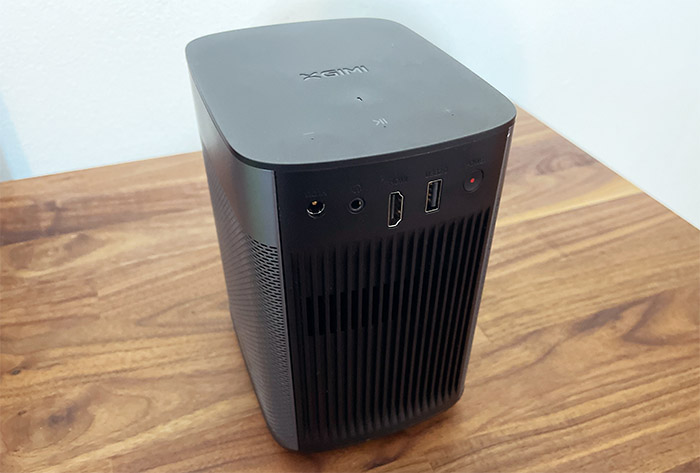
About the heat management, I did open the case of the XGIMI Halo Plus and it seems that the device uses a fairly intricate copper heatsink, so it’s a similar system to the Horizon Pro. On the rear side of the projector, XGIMI has added the ports and connectors and, from the left, there’s the DC-IN power connector followed by the 3.5mm jack, the HDMI port (it’s 2.0 and supports eARC) and a USB-A 2.0 port for attaching any external storage drives (for playing locally-stored movies and videos).
Lastly, there’s the Power button which seems to be the same as on the Horizon Pro that had the button on the top side of the projector. There is a difference though because the status LED is now at the top and not on the Power button. This LED will be solid green (for a brief moment) when the battery if above 90%, it’s going to be solid red when the battery is under 90% (I guess XGIMI sees anything under this level as critical) and it will flash red when it gets underneath 90%.
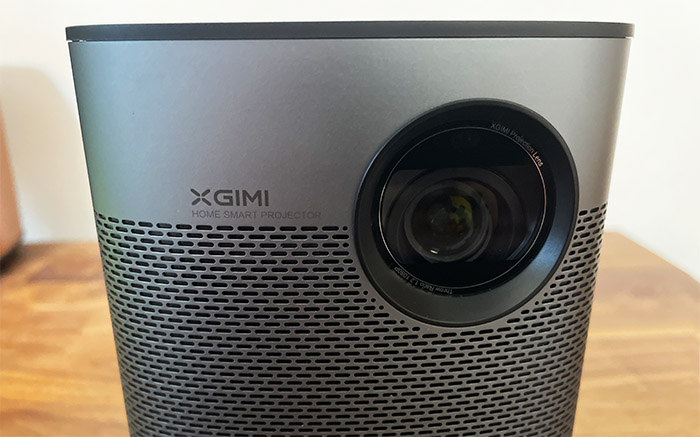
Besides the LED, there are three capacitive buttons (as on the Horizon Pro) the first and last will control the volume (Down and Up), while in the middle, there’s the Play/Pause button. It’s obviously a simple set of options, but you do get far more with the remote control. On the front of the XGIMI Halo Plus, you can see the lens embedded within the metallic shell and I noticed that it’s a bit smaller than on the Horizon Pro and a bit different.
What I mean by that is that the manufacturer has put the autofocus ToF sensor within the lens assembly which also seems to sit a bit low with two borders seemingly slightly obscuring the line of sight. Even lower on the case, there is the AutoKeystone correction camera. On the bottom side of the XGIMI Halo Plus, there is a rectangular silicone band surrounding the case which does a great job at keeping the projector into place and there is also a movable portion which allows you to position the device at an angle.
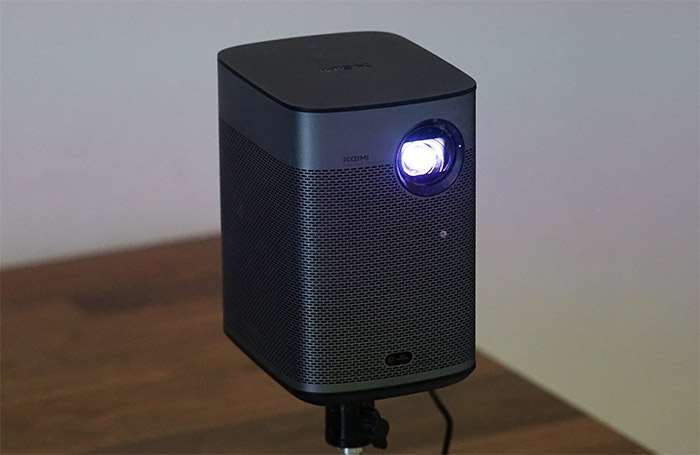
Additionally, you get the option to mount the Halo Plus on a tripod. Before moving forward, it’s worth mentioning the two 5W speakers which can be barely seen through the ventilation holes and one is positioned towards the right, while the other to the left.
XGIMI Halo Plus Teardown
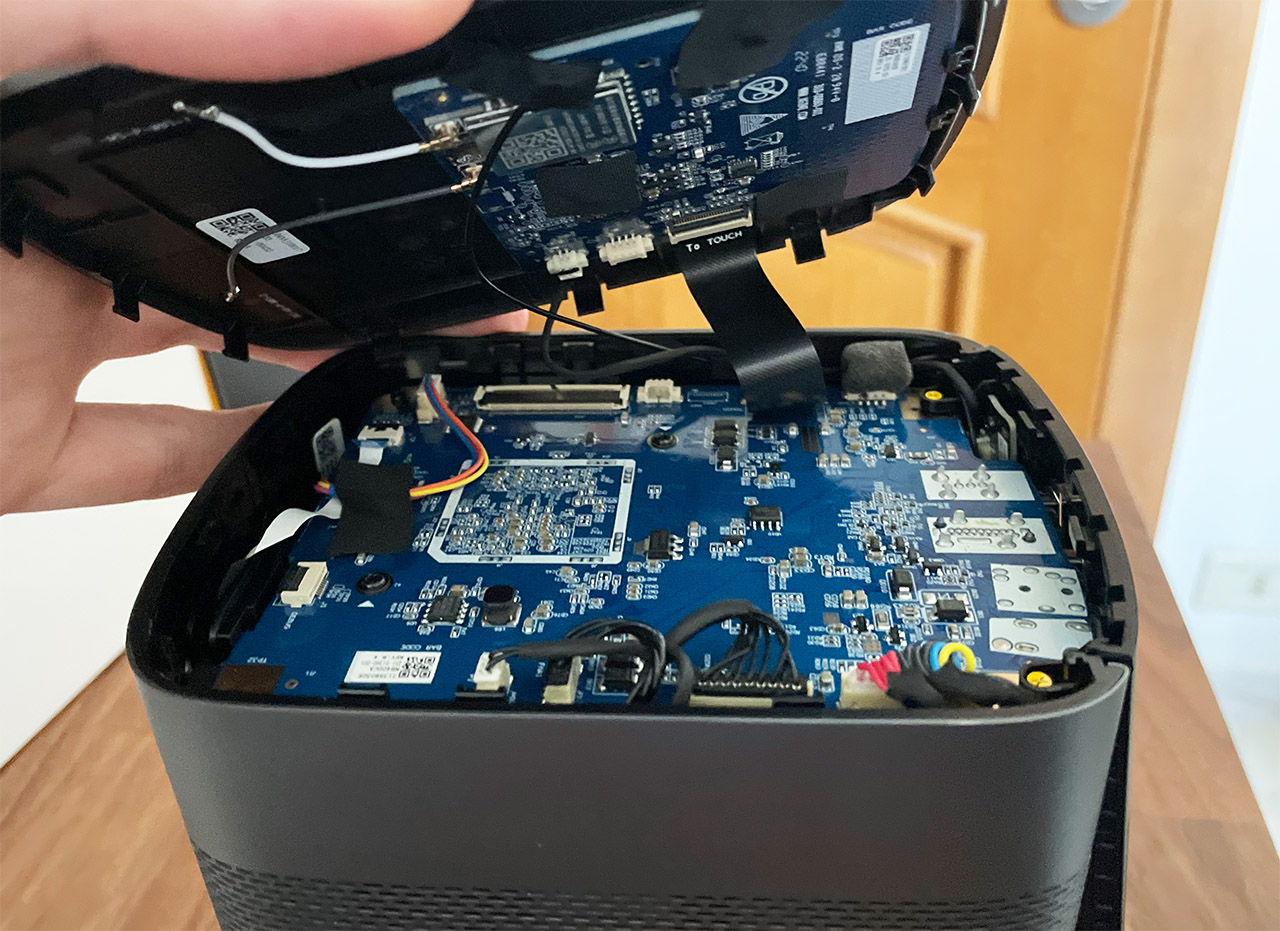
I am not really a fan of opening up the case of any projector since they’re made very complicated and usually everything is crammed up, making it easy for me to misplace or break something. Even so, I wanted to at least get a glance on what’s going on inside the XGIMI Halo Plus. So I carefully detached the top cover with a prying tool and I could see that there was a PCB with some some chips, including the WiFi/Bluetooth antenna, which is the same WF-M76B-USX1A as on the Horizon Pro.
It is worth noting that if I wanted to go farther, I would have voided the warranty because XGIMI has added stickers on two screws. Break them and the manufacturer will most likely refuse to repair the device – not a fan of this approach since, you know, the right to repair movement… Anyway, I went to the FCC ID website and found some of the other main chips.
I could see the Mediatek ARM MT9629 IAATAB SoC with integrated MEMC capable of reaching up to 4K, 60Hz, but, in our case, it only goes up to 1080p. Then, there were the 16GB eMMC NAND memory from Samsung (SEC 016 KLMAG1JETD-B041). I also need to mention the DMD 0.33” chipset that can produce a physical resolution of 1366 x 768 pixels, but which can still output a simulated 1080p. How can it achieve this feat?
How can the XGIMI Halo Plus achieve 1080p?
Before anything else, know that the XGIMI Halo Plus uses the DLP (digital light processing) technology and it relies on a DMD 0.33” chip developed by Texas Instruments (just like the DLP tech itself) and, as I mentioned before, the native resolution is actually lower than 1080p. Similarly to the Horizon Pro which managed to push from 1080p to 4K, the XGIMI Halo Plus uses micro-mirror dithering to trick your brain into believing that it’s seeing 1080p, even if technically, you are not.
This is achieved by showing all the necessary information within those (close to) 1 million pixels which is then broken in 2 pieces and played with a very slight delay. It seems that the human brain won’t really notice that delay and assume that the frames appear at the same time, so, you’re going to see the footage at 1080p (with all its info), even if it’s technically 720p. Knowing that, should you just consider a native 1080p projector?
You definitely could, especially considering the price tag of the XGIMI Halo Plus, but you’re not really going to see a major difference in image quality and, you’ll most likely lose the portability factor. That being said, know that the suggested projected area is between 40 and 200 inches, but, to get the best image quality, I think you should not go above 100 feet if you’re about 10 feet away (or less) from ‘the screen’.
The Remote Control
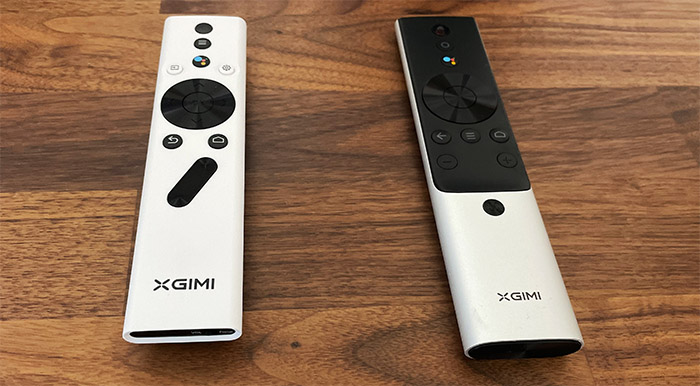
After being spoiled by XGIMI with the metallic remote of the Horizon Pro, I half-heartedly expected something similar with the XGIMI Halo Plus. But, my expectations were a bit too high because the remote is smaller and it is made of plastic, so it’s far more lightweight.

Don’t get me wrong, it still seems to be a solid remote controller, just a bit less fancy. The case is white, while the buttons are black and, in the middle, there’s a fairly large D-Pad to allow you to navigate through the Android TV interface (and not only), while at the top, there’s the Power button followed by the Menu and the Google Assistant buttons. Next to them, there’s the Input Source and Settings buttons. Underneath the D-Pad, there are two other buttons, one for the Return function, the other for the going Home. Farther down, there is a Plus and Minus set of buttons which are a bit particular.
That’s because by moving the switch at the bottom, you can select the role of the aforementioned two buttons: either adjust the Volume or the Focus. It’s worth noting that the remote control does not come already paired to the device – you will need to do it yourself. And there are also no batteries in the package which is mildly annoying considering that the device is not incredibly inexpensive.
The good news is that similarly to the Horizon Pro, the software experience using the remote control and the XGIMI Halo Plus is very satisfying, so kudos to the manufacturer for managing to create a very intuitive accessory.
Installation and Software Experience
The first thing that you need to do is to pair the remote control by pressing and holding the Return + Home button for a few seconds until you hear a light chirp from the speakers. Then, the wizard will ask for the preferred language and, afterwards I was asked if I wanted to set up the TV with my Android phone which I prompted to Skip. Then, I was asked to choose to which WiFi network should the XGIMI Halo Plus be connected to – it does support 5GHz, 802.11ac which I suppose is a must for high quality video streaming.
I entered the passkey and after that, I was asked to Sign into my Google account; then, the wizard wanted to know my location (classic Google), so I promptly selected No (hopefully, they’ll respect it).
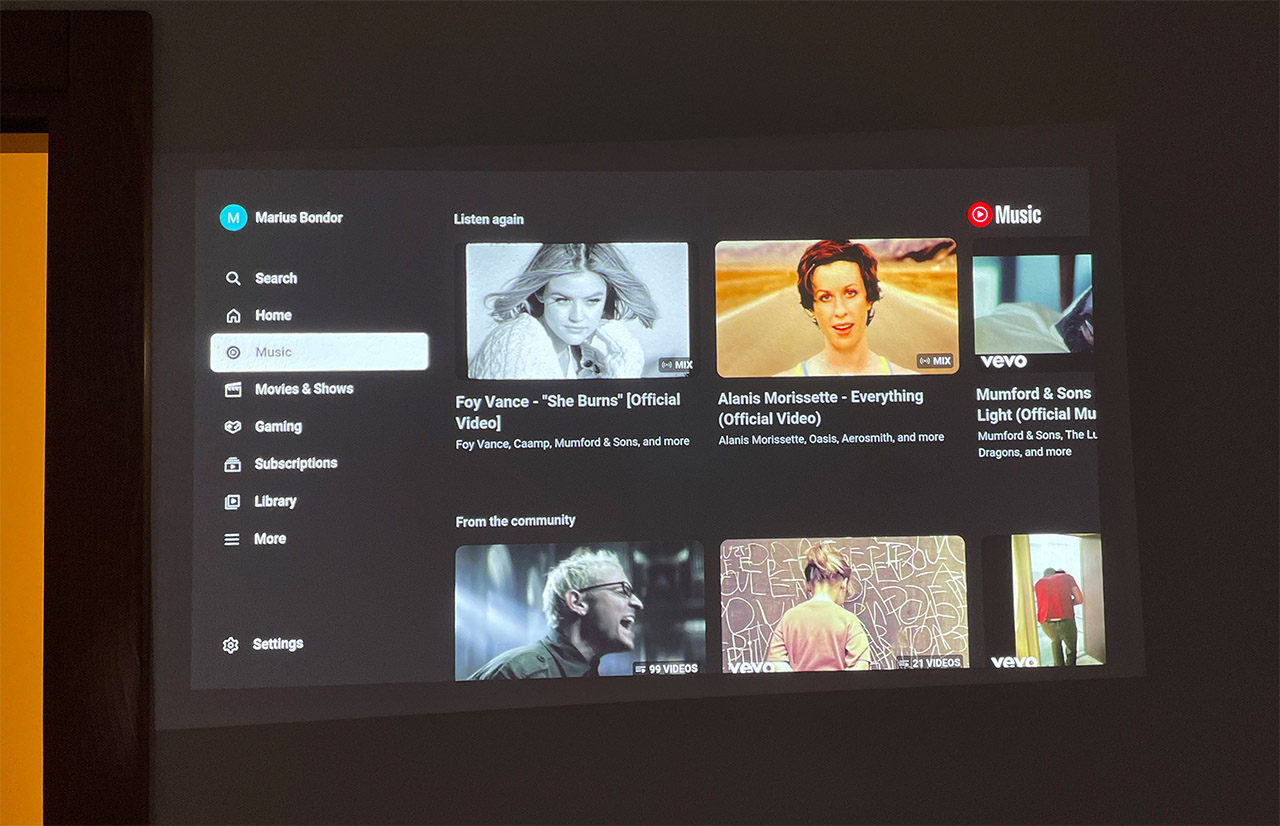
After that, it’s possible to enable the Google Assistant and install some of the Recommended apps. The XGIMI Halo Plus has 2GB of RAM which should be fairly enough to handle even the more demanding apps and it’s true that I experienced no freezes or stutter while navigating the Android TV app. YouTube also ran smooth and I could quickly move through videos, skip forward and backwards, but the same was not true about the Prime Video app.
I did experience frequent stutters and it seemed like the app required a bit of time until loading all the info alongside the video/movie. Also, while browsing the categories and skipping forward and backwards, I got frequent stutters. It’s not a deal-breaking experience, just that one second when nothing happens on the screen. I didn’t have the same issue on the Horizon Pro, so I will assume it is a combination between low-optimization from the app side and the processor being just a tad bit slow.
What about Netflix? Well, just like on the XGIMI Horizon Pro, you need to rely on the Desktop Manager to install it, but overall it did behave well. I also need to mention the Chromecast integration which allows you to quickly stream videos and games or display images from your phone or any other Android device. Although less popular than before, there is support for 3D videos and you can choose between the available modes: Side-to-side or Top and bottom, as well as 3D to 2D. And yes, you need to use the special glasses to be able to experience the 3D effect.
Installing Netflix
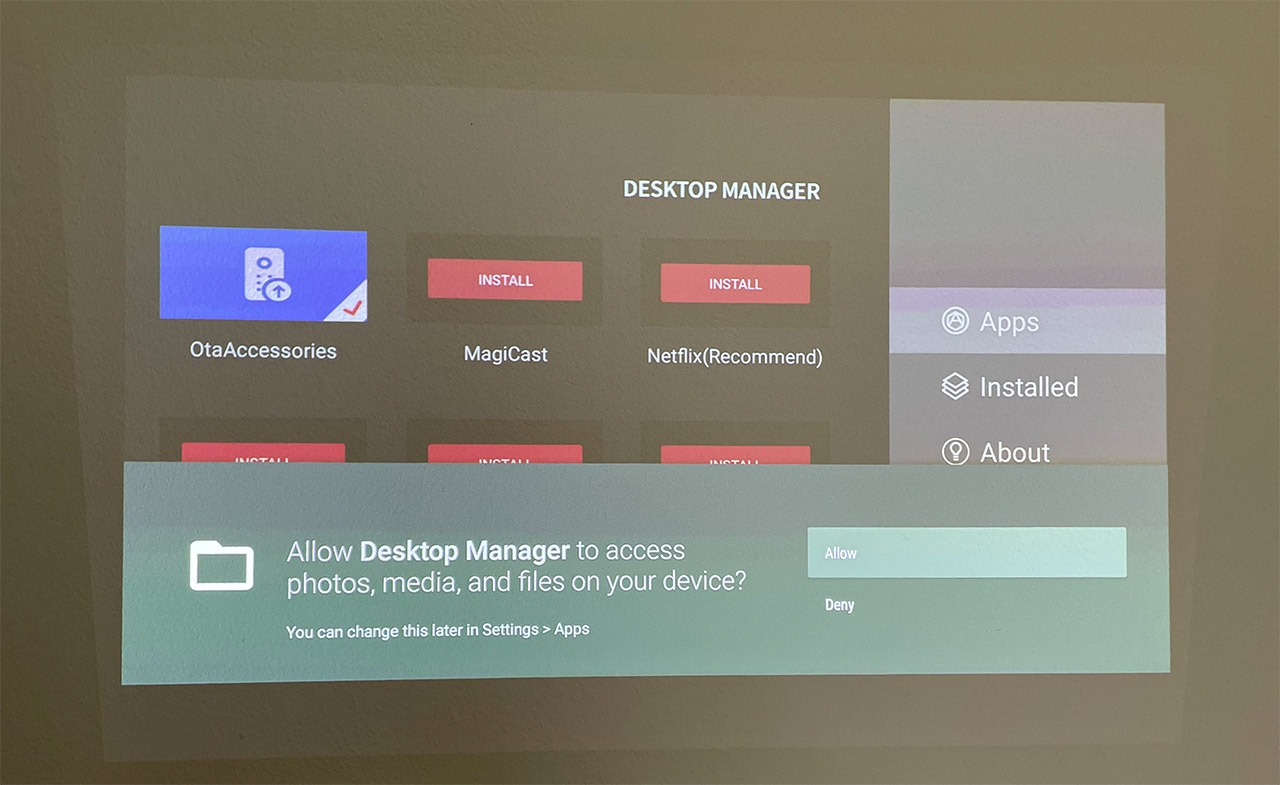
As I said before, XGIMI does not have native support for Netflix and it has included some instructions on how to install it. It’s not difficult since all that’s required is to install the Desktop Manager app from the Play Store and then allow its access to your media folders.

After that, you can choose between the Netflix app and the web version – in our case, it’s better to go with the former. I then got the message that the device is not optimized for Netflix, but it still worked fine. You’re not going to get UHD resolution which is fine since the projector wouldn’t go that high anyway. Unlike Prime Video, Netflix moved very smoothly and when scrolling through the library of movies, I experienced no stutters or freezes (Amazon, pull yourself together!).
The Automatic Adjustments
One of the main improvements over the previous generation is the addition of the Intelligent Screen Adaptation technology which ensures that the projected image is always focused and properly aligned without requiring any manual adjustments. I have seen it in action on the Horizon Pro and it worked wonderfully well, so, I decided to check out how well it performs on the XGIMI Halo Plus. The Autofocus is enabled by default, so every time you turn on or move the projector, the image will always properly focus.
You can adjust it manually as well, but I see no reason why you would bother when the auto function works fine. Then, there’s the Keystone adjustments and this is a function that I enabled and made it start every time I changed the viewing angle.
I took a quick video to showcase how well it performs and, as you can see, even if the projector is put on the side, the image is always adjusted as to be straight on the wall. it’s not always perfect and I sometimes had to change the corners a bit, but most of the time, I don’t have to make any manual changes. Another interesting aspect is the object detection and avoidance, so I put a tripod in front of the XGIMI Halo Plus and, after moving it, so it refocuses, the projector saw the object and put the image next to the tripod pole.
Overall, it works just fine and I can’t stress enough how this is actually a big deal on any projector, let alone one that costs less than $1,000 (at the moment of writing).
The Image Quality
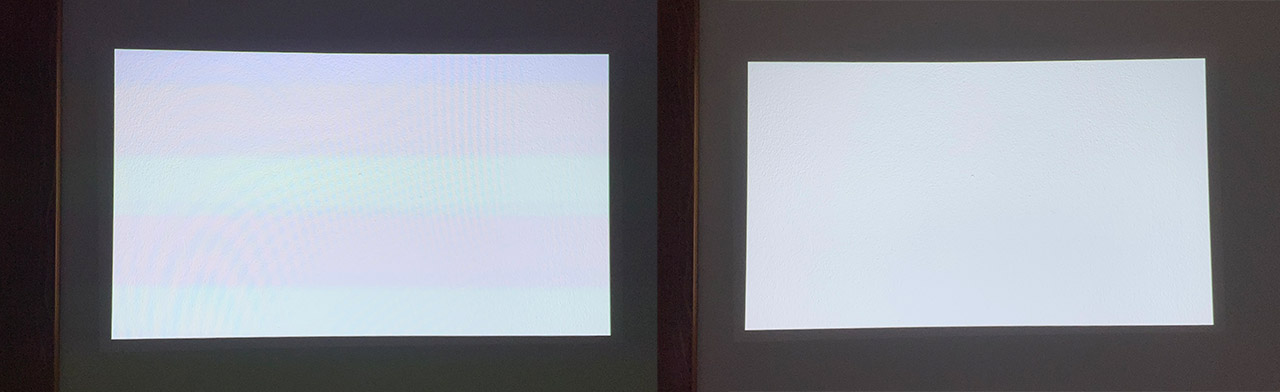
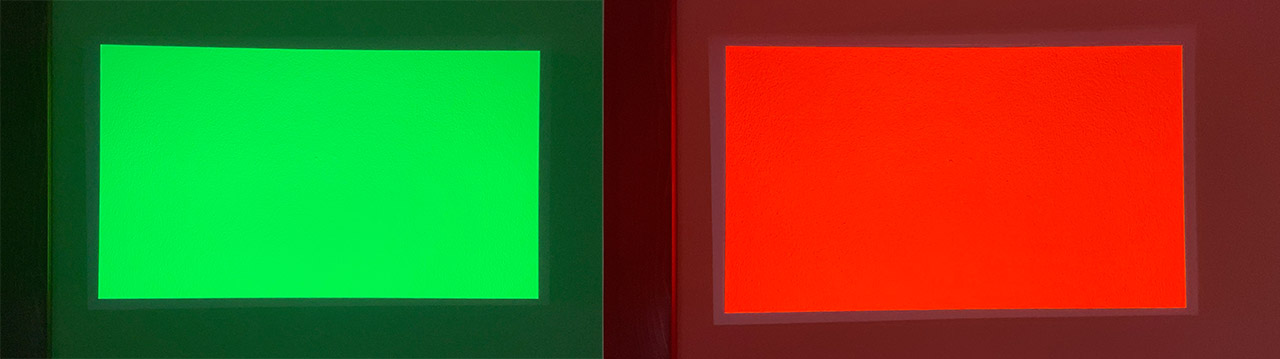
To check the color uniformity of the XGIMI Halo Plus, I put five images with different colors on a portable driver and connected it to the projector. I started with white which showed just how bright the Halo Plus can get when it’s connected to a power source. So, I took this opportunity to check how much of a difference enabling the battery mode would make. As you can see, the uniformity is not impacted at all, but the brightness is definitely lower.
I do need to mention a slight green effect immediately next to the borders, but it’s only visible when I was very close to the projected area. Next, I switched to the black image and, as on the Horizon Pro, this is the most tricky one to get right. I did see that there was a difference between the image and the rest of the frame (as adjusted by the auto-keystone) and there was again that weird top left smudge.
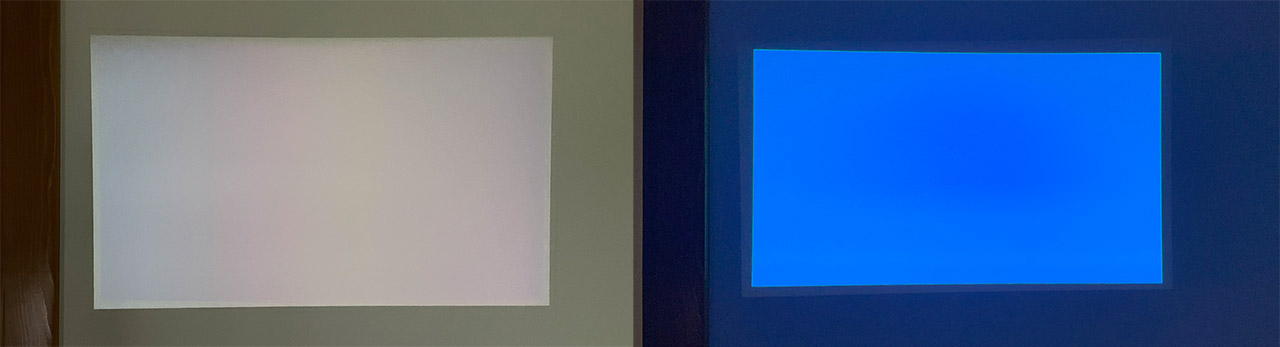
It’s far less pronounced than on the Horizon Pro unit, but I could still see it – when playing games or watching a movies, it’s going to become unnoticeable. Then, I switches to blue. Similarly to white, it was a good representation, with no uniformity issues, same as green and red. Moving forward, I decided to check some movies and videos to get a better idea about what the viewing experience will be using the XGIMI Halo Plus.
The first thing that I did was playing a high definition video from YouTube (along with the myriad of ads) and, as you can see, the image is rich, there is a good amount of detail and the viewing angles almost beat the OLEDs. Still, due to the resolution, some text is not as sharp as I would like, especially near the bottom. If you’re a few feet away from the ‘screen’, it’s going to be fine, but going very near it, you will see what seem to be pixels which, again, makes perfect sense considering the resolution of the XGIMI Halo Plus.
XGIMI Halo Plus
-
Pros
- Compact and portable
- The image is very bright
- Good image quality, even in battery mode
- Intelligent Screen Adaptation
- More than two hours on a single charge
Cons
- The black levels don't go that deep
- Netflix needs to be a part of the default software
Mark is a graduate in Computer Science, having gathered valuable experience over the years working in IT as a programmer. Mark is also the main tech writer for MBReviews.com, covering not only his passion, the networking devices, but also other cool electronic gadgets that you may find useful for your every day life.
How did you remove the top on the Halo? I have the first gen version and I want to open it up to clean the fan (it has gotten noisy) but I can’t get a spudger in there to save my life. The tolerances on this projector are pretty amazing.
I used something similar to the iFixit jimmy. Just go around it until a spot will give in and allow you to insert the tool – that’s what I did.