
I have recently moved to a new office which is in an older building with concrete walls and, since, naturally, the WiFi refused to cover the entire space, it made me wonder how could I boost the WiFi signal through walls? There are a few ways to easily do it, from using a mesh system which would hopefully inter-connect multiple nodes over a longer distance and not use up the entire bandwidth with the backhaul traffic to the far more reliable wired access point. There are also some very unstable ways to boost the WiFi signal through walls and, unfortunately, these are the most popular ways that people (want to) do it.
I am talking about WiFi extenders which are usually terrible, but do provide some relief in areas where the WiFi simply does not want to reach and then there’s also the powerline adapter. The latter has been growing in popularity and rightfully so since it’s a reliable option, but only if the electrical wiring was designed with them in mind from the beginning.
Yes, newer homes can be configured any way you want them, so you could create circuits for powerline adapters, although why not simply use Ethernet cables to begin with? And yes, the cables, be it Ethernet or fiber optics, they do remain the most reliable ways to have Internet anywhere in your home. I do assume that you have tried everything possible to improve the range, such as choosing the suitable channel / channel bandwidth as well as adjusting the transmit power, so the hardware adjustment route is you last solution. That being said, let’s explore some of the available options.
1. Use a mesh network to boost the WiFi signal through walls
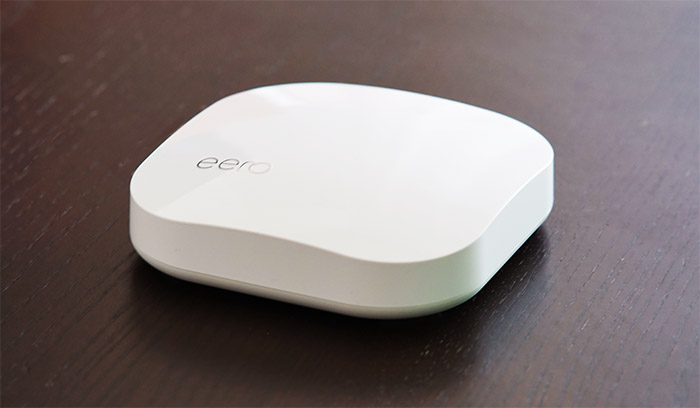
Like I said, I now work in an older building and there are two areas separated by a huge concrete wall which does not let the WiFi signal pass through, unless you sit right next to the wall and decide to rely on the 2.4GHz network. I said 2.4GHz because the 5GHz usually has a hard time going through walls and it’s far more prone to interference. This means that it’s less reliable over longer distances and it won’t do that great radiating through objects. So, naturally, I decided to use a mesh WiFi system and create a seamless single network by relying on multiple mesh nodes. I think it’s been six years since I tested the Eero mesh system (still sad about its acquisition by Amazon) and since then, there have been numerous advancements in tech, most notably being the transition to the newer WiFi 6 standard.
Still, the core concept remains the same. One main unit gets connected to the Internet and the others get scattered around the house, while still communicating wirelessly. Ideally, the units should use a dedicated band for the inter-node connection and leave the other/s to the client devices. And there are various options available on the market, from dual-band to tri-band systems, those with identical units or separate types of routers that can be used in a mesh network and more.
Why did I choose an Asus router?
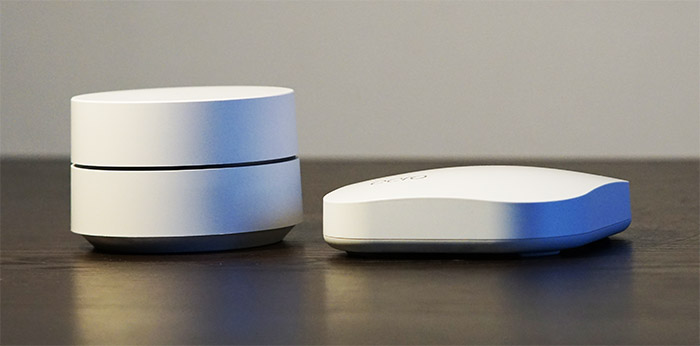
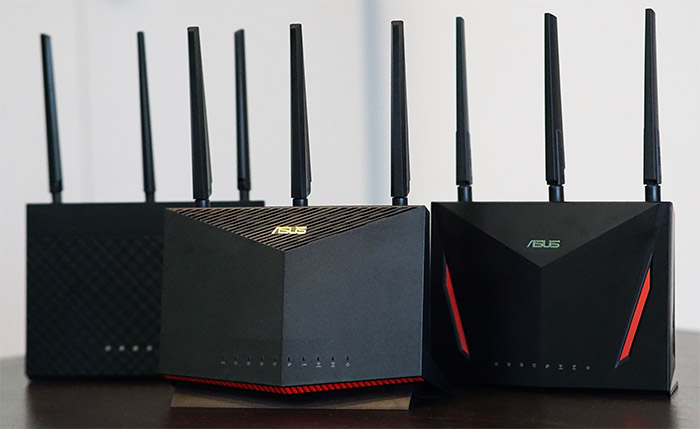
The simple answer is because I already had one other Asus router, but the reasoning goes a bit deeper than that. Although not that much because I simply like their interface more than on other routers, but there’s also the support for a large variety of devices. Even the older ones that were released way before the Asus-made mesh system called AiMesh was released. I had an Asus RT-AX82U as the main unit and the RT-AX88U as the secondary unit, and, as you may expect, both covered the entire office nicely with WiFi, without any noticeable issues. And what’s interesting is the seamless transition between the nodes because even when I was in a conference call, I did not see any dropped frames, but I did test it with iperf to get a better idea on whether there are some dropped packets when moving between nodes or if the handshake is truly seamless. And this was the result:
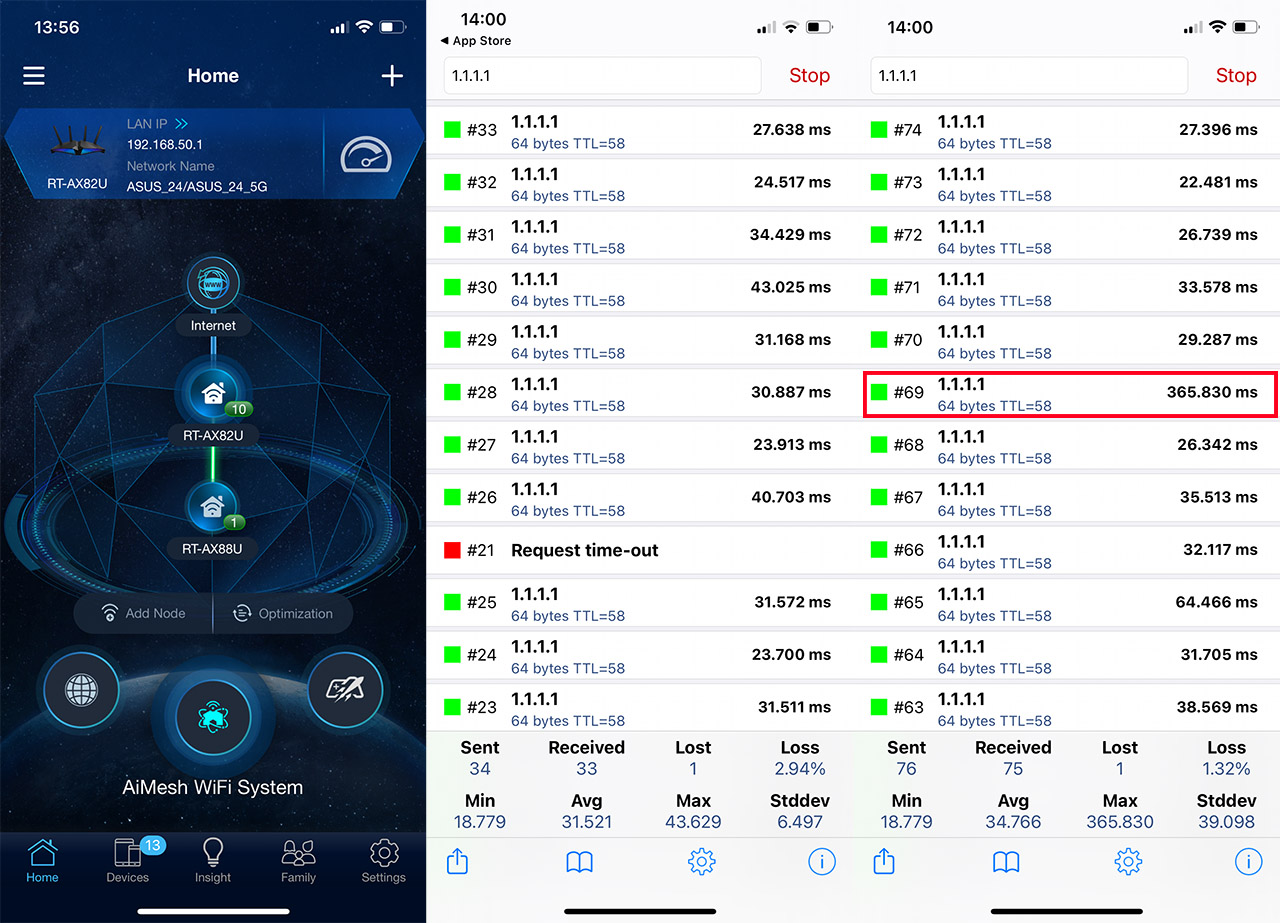
The first photo is obviously showing the two Asus routers. On the second image, I went from the main mesh node (the RT-AX82U) and next to the RT-AX88U. This meant a brief disconnection, but depending on what type of app or service you’re running, you most likely won’t notice it. The interesting thing happened when I moved back to the main unit – as you can see from the third screenshot, there was no obvious data loss, but looking closely, you can see some serious lag with one data packet, although it still arrived, so it wasn’t dropped. This means that the movement between nodes is very close to seamless.
I know you will ask why not go for a tri-band option? And you’re right, it’s the best way to ensure that the bandwidth does not get affected by the backhaul traffic, so the second node can broadcast a powerful and reliable WiFi signal. The answer is because it would have been overkill for my network.
As you can see from my analysis of a less powerful WiFi 6 AiMesh system with the RT-AX58U and the RT-AX56U, the performance is very good at the second node, so, unless I had a huge number of demanding client devices (which I don’t), there was no need to pay more for something I would not use. And be aware that the WiFi 6 standard offers a serious performance boost if you have WiFi 6 client devices.
What other options are there?
There’s the dedicated WiFi 5 (or the overkill WiFi 6 and even 6E) mesh systems with identical units. The dual-band WiFi 5 systems work really well when there’s direct line of sight between the nodes (the units), otherwise, the performance is not that great. Still, depending on the width of the wall, it may work well enough as to push the signal through and have some half decent Internet away from your main router. Why I say half decent is because systems such as the Google WiFi (the early model) or the TP-Link Deco M5 use both bands for connecting the clients and for the inter-node communication. So, the bandwidth will be severely limited. The same concept applies to the Asus AiMesh that I previously praised, but the hardware is far more powerful, so I won’t experience any issues with the bandwidth.
To fix it, I would opt for the tri-band WiFi 5 mesh systems, such as the Eero Pro and even the sometimes unstable Netgear Orbi. In my experience these systems can deliver a phenomenal wireless performance at the second node, even if there is a lot of distance between the mesh nodes. But, at least in the case of Netgear, the software can break the entire system and, lately, the manufacturer has been a bit weird about its router software (it can be very slow), so I would be cautious.
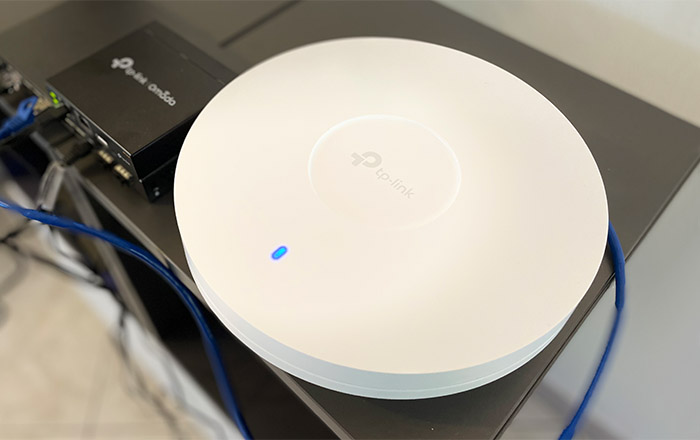
Note: TP-Link is also experimenting with a similar system as Asus did with its AiMesh and it is worth checking, since their routers are usually cheaper.
2. Use a wireless access point to boost the WiFi signal
This option is not the one that you want, but the one that you’ll be the most happy with. That’s because it involves cables. Yes, I know, older houses don’t have CAT cables through the walls and it’s a pain to install them afterwards. I know because I have to do it myself and I’m postponing it as far away in the future as I can. But, a cable coming from your router and going through the thick walls up to your access point will give your client devices the maximum possible speed. There are a few issues though.
First, the possible interference with the main router, although that shouldn’t be a problem in our case since the lack of WiFi is the main issue. Then, there’s the lack of a seamless roaming through the separate networks. While the mesh systems do their best to mimic a single network experience, the access points rarely communicate that well with the main router, so you may experience disconnections when moving from one area of your house to the other (if both devices support some seamless roaming standard, it shouldn’t be that bad). I can also mention the possibility of using fiber optics as an alternative to Ethernet cables, since they’re less prone to interference and will keep the bandwidth intact for a longer distance. But see it more as a fun fact since it’s incredibly overkill if you want to simply add a new access point for boosting the WiFi signal through some walls.
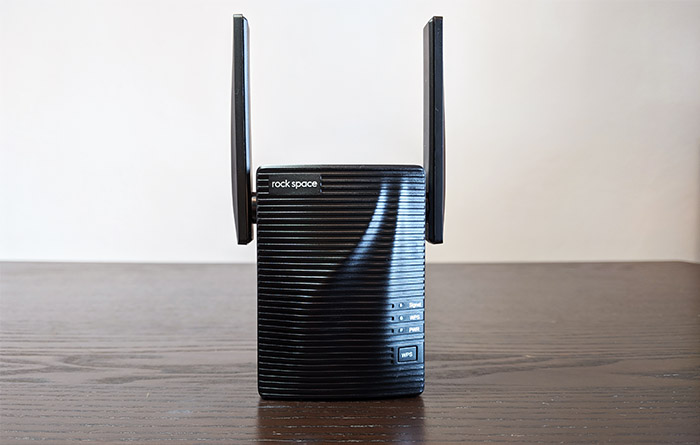
3. Use a WiFi extender to cover more space
This is one of my least favorite options to boost the WiFi signal, but it’s what most people tend to use when they have a difficult-to-reach spot. And it’s because these WiFi extenders are usually fairly cheap and you don’t have to replace your existing router with some expensive mesh system. And it may be able to do its job up to a certain extent. That it because it extends one radio band, allowing the client device to connect to it, but then again, the backhaul traffic will not allow for many devices to use the bandwidth, the ping will be higher and all the other stuff that we hate about a bad WiFi connection. Still, if not other option is available, it’s going to give some Mbps to your wireless devices.
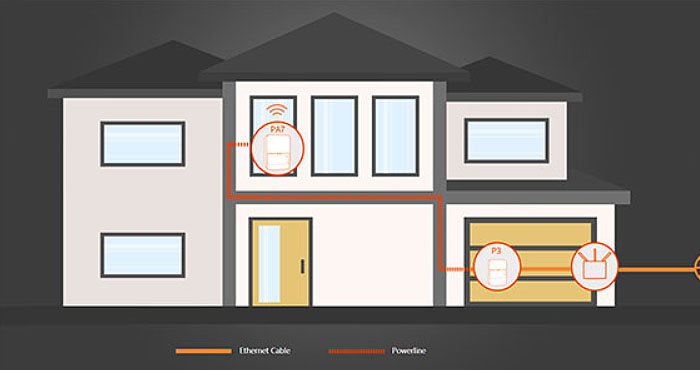
4. Use a powerline adapter to get Internet in difficult-to-reach areas
The premise behind the powerline adapters is amazing. You get to use the existing electrical wiring in your house to access the Internet. How cool is that? Very, but only in particular conditions. The powerline adapters do not like to move through circuits since the interference will affect the speed, cutting down significantly the available bandwidth (in some cases so dramatically that it’s unusable).
If you do have a properly designed electrical circuit in your house, then connecting two powerline adapters, one near the router and the other next to your access point (yes, the same concept as at the number 2 in this list), will indeed deliver a good wireless performance past a few thick walls. If you want to go this route, I would advice against using a WiFi powerline adapter at the receiving end and instead rely on a proper wireless access point since it will have a better performance. Always try to use separate devices in your network and avoid the multiple-in-one since there’s usually some cut corners.
Mark is a graduate in Computer Science, having gathered valuable experience over the years working in IT as a programmer. Mark is also the main tech writer for MBReviews.com, covering not only his passion, the networking devices, but also other cool electronic gadgets that you may find useful for your every day life.