
The Reolink CX410 is the first camera from the new ColorX series which aims at accomplishing true-color night vision without having to rely on spotlights. And using bright LEDs is a good approach for remote areas, but not really ideal in highly trafficked areas.
| Reolink CX410 | |
|---|---|
| Reolink.com | Check Product |
I have been using a RLC-811A which is a phenomenal camera, but it did occasionally shine a bright light in the face of the people that were minding their business on the sidewalk. So having the option for a more discrete surveillance of my front porch is definitely welcomed.
The ColorX technology relies on a wider-aperture lens and some advanced algorithms to produce clear colored images even when there is very little light, but in case of pitch black, it is possible to rely on a very soft white light which seems to be a complete replacement to the IR lights. Indeed, the Reolink CX410 has no IR LEDs which means no more spider webs. Besides the ColorX technology, the Reolink CX410 also offers the full suite of smart motion detection and it can tell apart not only humans and vehicles, but also pets.
The detection continues to happen locally, so it’s is very fast, but the notification system is at the Cloud level (I’ve seen how quick it can be when it’s local on the IMILAB EC3 Lite). The two-way communication remains an integrated part of the CX410 and, as always, the built quality exceeds most other devices in the same price range. That being said, let’s put the Reolink CX410 to the test and see how well it performs.
Design and Build Quality
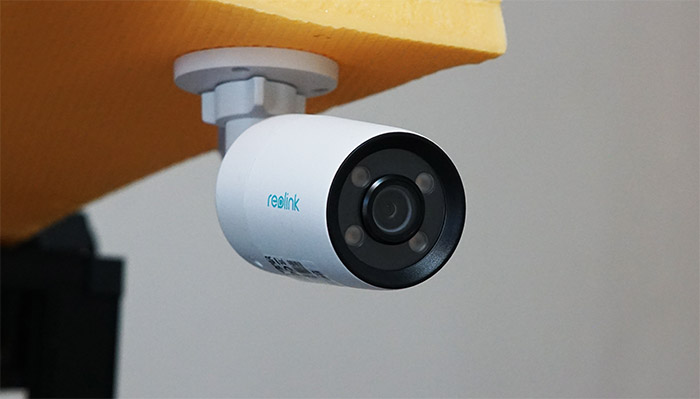
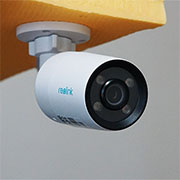
The Reolink CX410 has a similar look to the other bullet-type cameras from the same brand, such as the Reolink RLC-510A, but there are a few subtle, but relevant differences. The most important is that the sun roof is missing, Reolink preferring to recess the lens a bit more, leaving about 0.6in all around which hopefully will help with the sun glare. The case is also sightly more compact, measuring 7.3 x 2.6 inches (18.7 x 6.7 cm), but don’t worry because the white matte finish will make it stand out and be visible enough to persuade potential trespassers to mind their own business.
I do like that Reolink relies on metal for most of their PoE camera and yes, the Reolink CX410 is entirely made of a metal alloy, even the stand and the fixing bracket. I know that it’s just a perception thing, but heavier electronic devices do ‘trick us’ into thinking they’re well made, so the Reolink CX410 does feel like it’s a premium device. But is it rugged enough to survive outdoor conditions? As with the other Reolink cameras that are meant to be mounted outdoors, there is a seal that prevents water and dust from entering the enclosure and the device is indeed IP66 rated.
This means that water sprays should not harm the device. Additionally, the Reolink CX410 will remain operational as long as the temperature ranges between 14 and 122 degrees F (or -10 and 50 C). It’s not really built for harsh winters, but then again we get fewer and fewer of those, unfortunately. I noticed that Reolink has a metallic cover with some holes for the speaker and there are a couple of screws holding it into place. It is very important TO NOT OPEN IT.
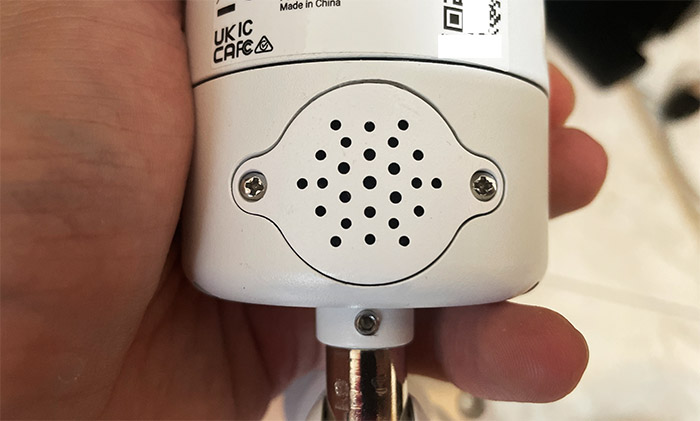
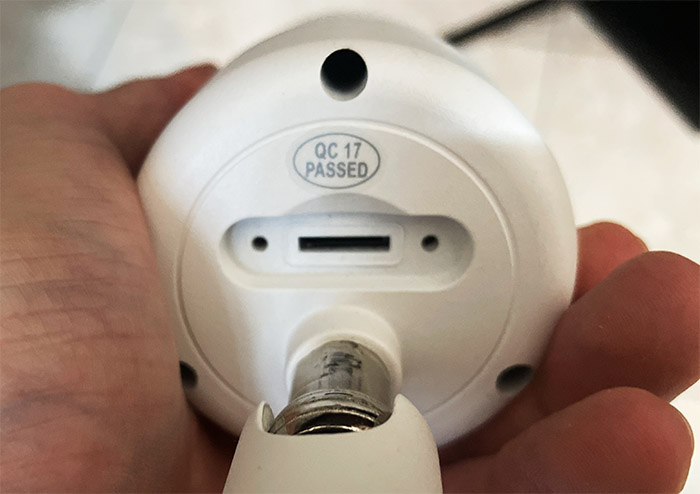
There are some wires that are glued to the speaker that’s attached to this cover and, once removed it will tear the wires and most likely damage the water resistance of the camera as well. A similar type of cover can be found on the rear side, but this you need to open (by removing the two screws) in order to access the microSD card slot.
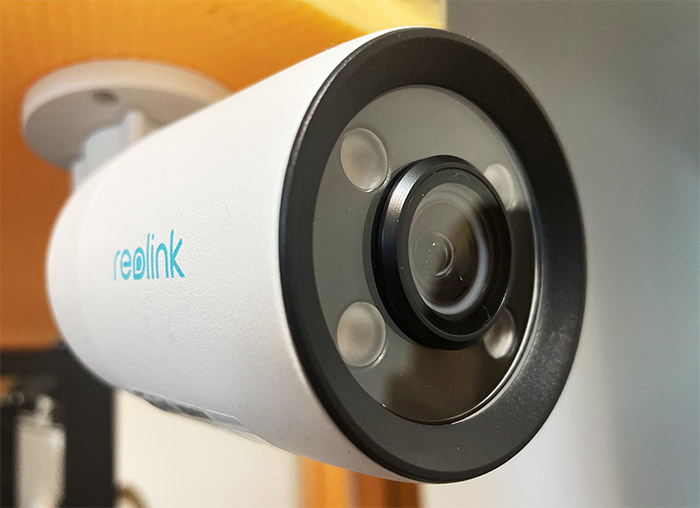
And yes, the Reolink CX410 does support 256GB microSD cards which should be plenty if you decide to rely on this type of local storage (NVR is also an alternative). The front of the camera is black, which is common for this type of devices, but it’s not a glossy piece of plastic, it seems to be glass that’s covering the lens and the spotlights.
The stand can be adjusted manually (if you need a pan/tilt camera, check out the Reolink Argus PT 2K) and the cable is thick sprouting several smaller and thinner cables. There’s the 10/100Mbps Fast Ethernet PoE connector, the cable with the Reset button and the Power adapter. The interesting thing is that Reolink has added covers for every connector, so I no longer have to protect them using plastic boxes screwed to the wall.
Reolink CX410 Teardown
As other Reolink cameras, it’s relatively easy to open up the device and in the case of the Reolink CX410, all you need to do is remove the four screws at the rear side and then carefully detach the two main parts.
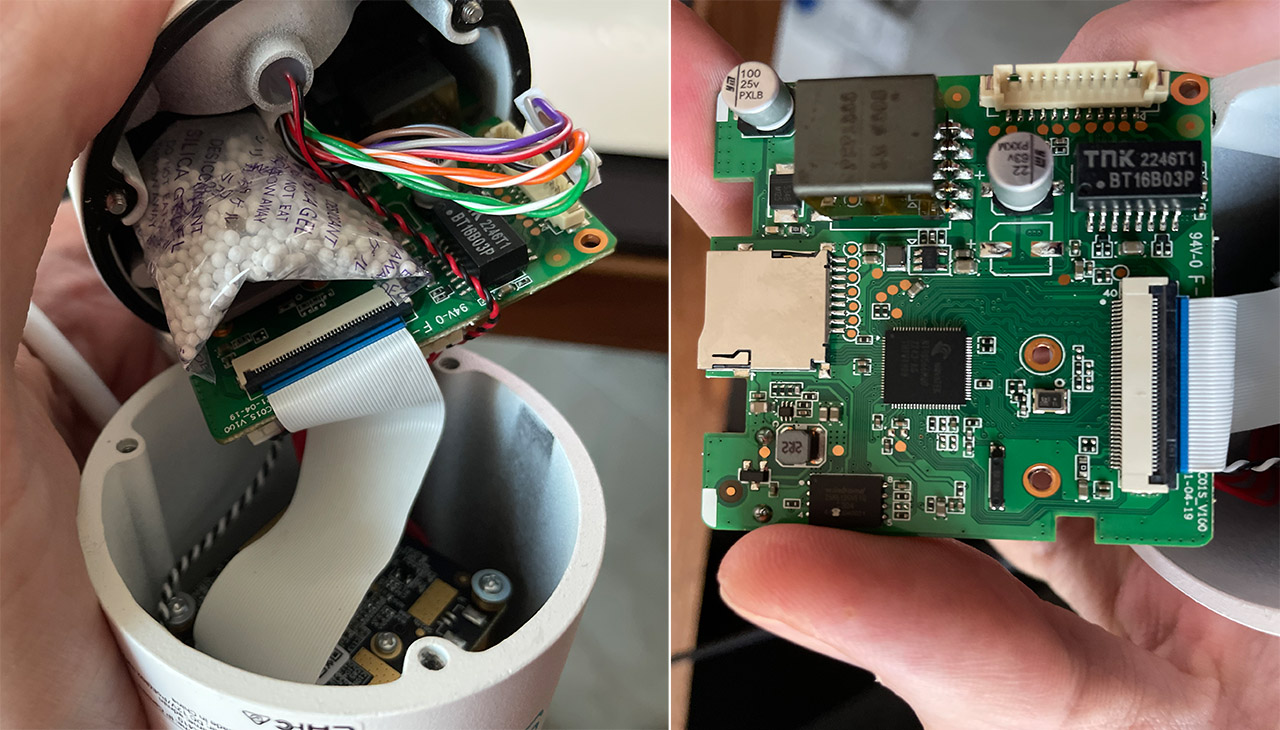
Obviously, there are cables and connectors keeping the two together, so tread carefully. I could see that there are two PCBs and I didn’t go deeper to check the lens, but I did check out the components on the first and more easily accessible board. I could identify the Novatek NT98566 IP camera PCB board module and the 64MB of NAND flash storage from Winbond (W25N512GVEIG).
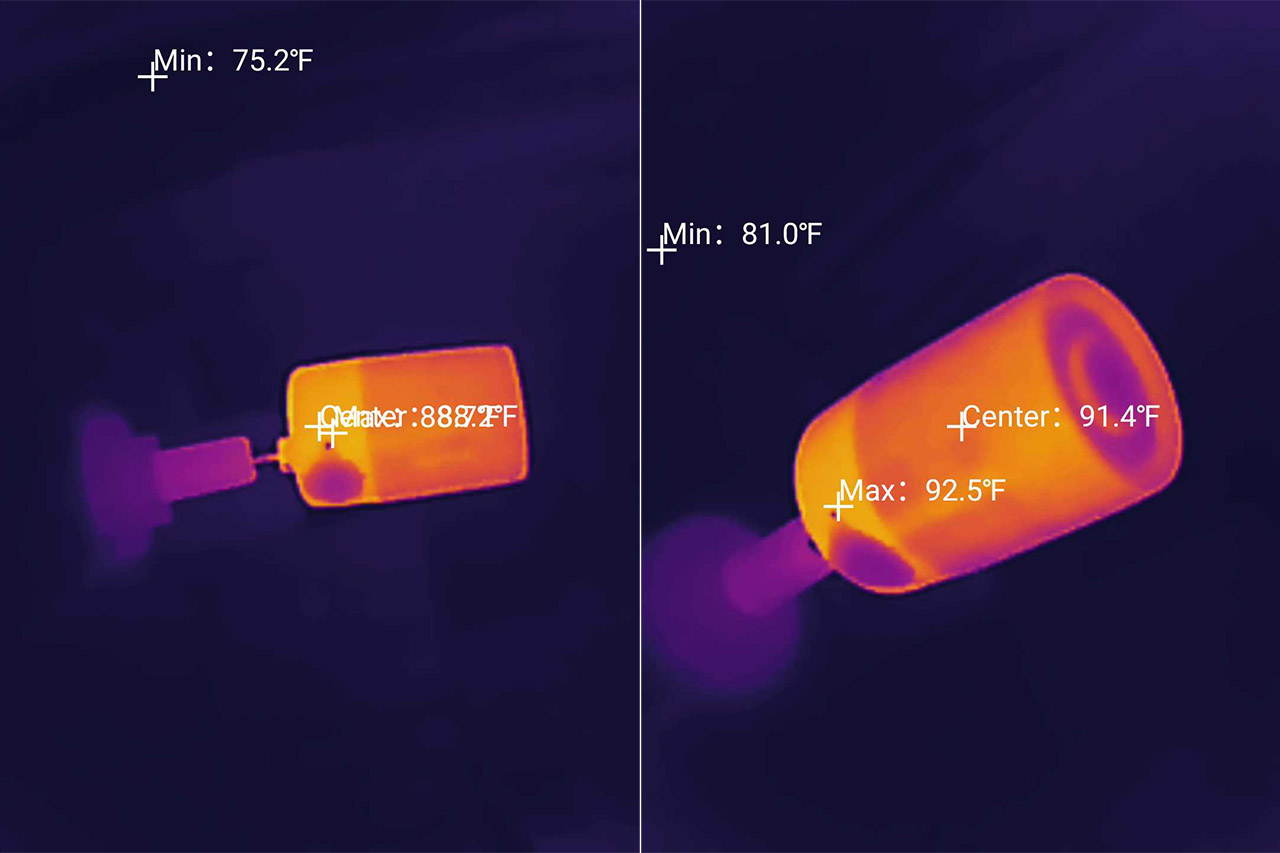
As for thermal management, things are a bit crammed, but there is also some space to allow the heat to dissipate – the metal is a very good conductor which is why the case is usually a bit warmer than on the plastic cameras.
Installation and App
I have used the Reolink app for a long time since I have other cameras installed around the office, but do know that like every other mobile app, there is some data collection (quite a lot actually – you can read it here). Also, know that while the motion detection is local, as long as you need any type of remote monitoring or control, the data will pass through their servers. This includes notifications as well.
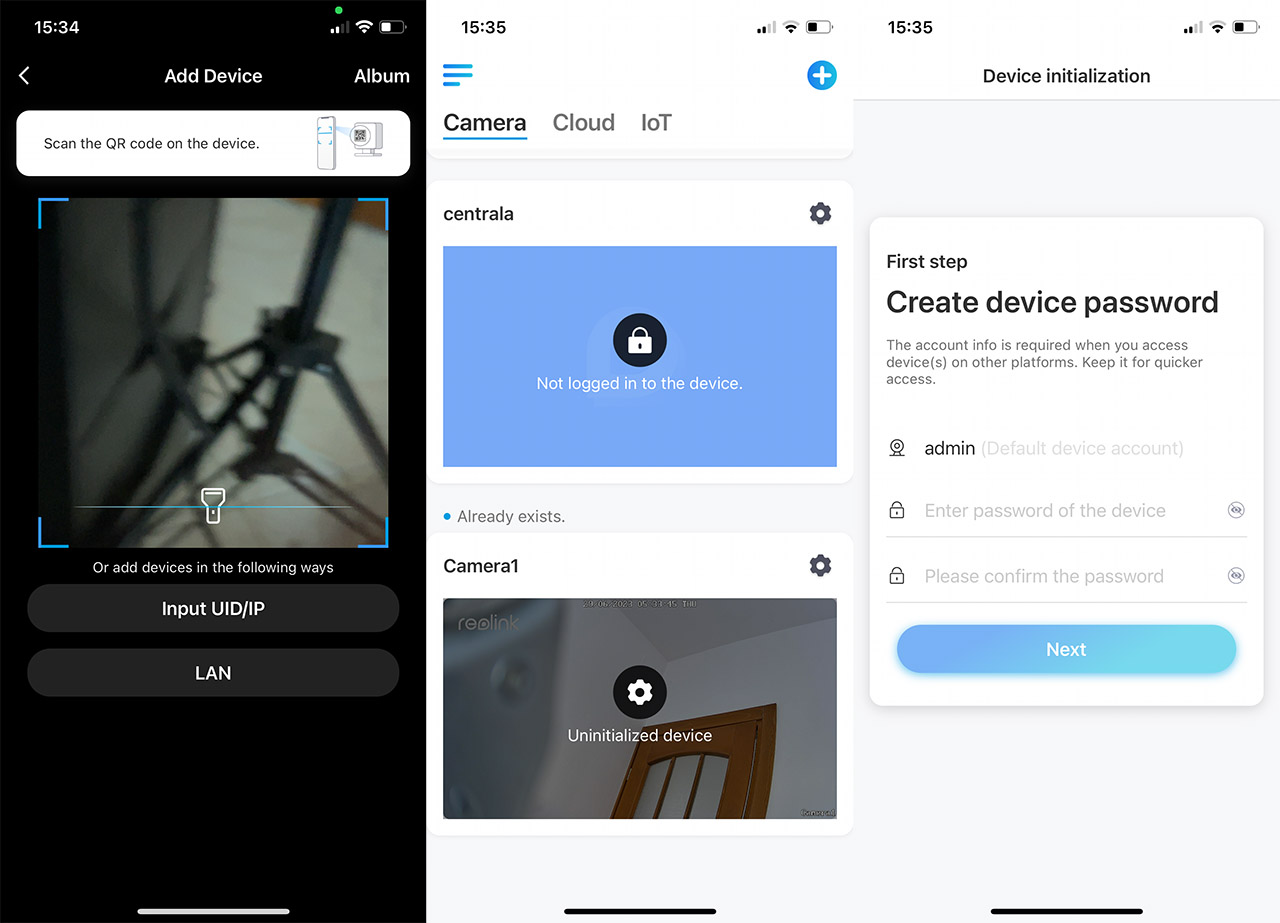
That being said, it’s not complicated to add a new camera and to pair the Reolink CX410, it’s necessary to power it up and connect it to the router / NVR. You either do it directly using a PoE connection (may need to use a PoE switch) or use your own power cable because Reolink does not provide one in the package. The installation process involved scanning the QR code from the label glued to the camera, choosing the name and setting up a password for the default user name (it’s stuck at admin).
Then we get access to the dedicated app GUI where you can see the live footage covering the top half of the screen with some quick action buttons available above and beneath it. Using them, you can quickly trigger the alarm, manually enable or disable the spotlights (there are four LEDs), you can also change the image quality (since it’s connected via cable, I decided to push it to the max), capture a photo, record a video and more.
At the bottom, we see the Talk button that enables two way communication (besides the aforementioned speaker, there is a microphone as well), the Clip button which focuses on a specific part part of the image and zooms into it. And then there’s the Playback section which will show all the videos that were filmed based on the type of motion detection – you can set it to always film and then partition the videos based on whether there was a vehicle, a person or a pet crossing in front of the camera. And it’s the same system regardless of the type of local storage that you choose, microSD or NVR (HDD/SSD).
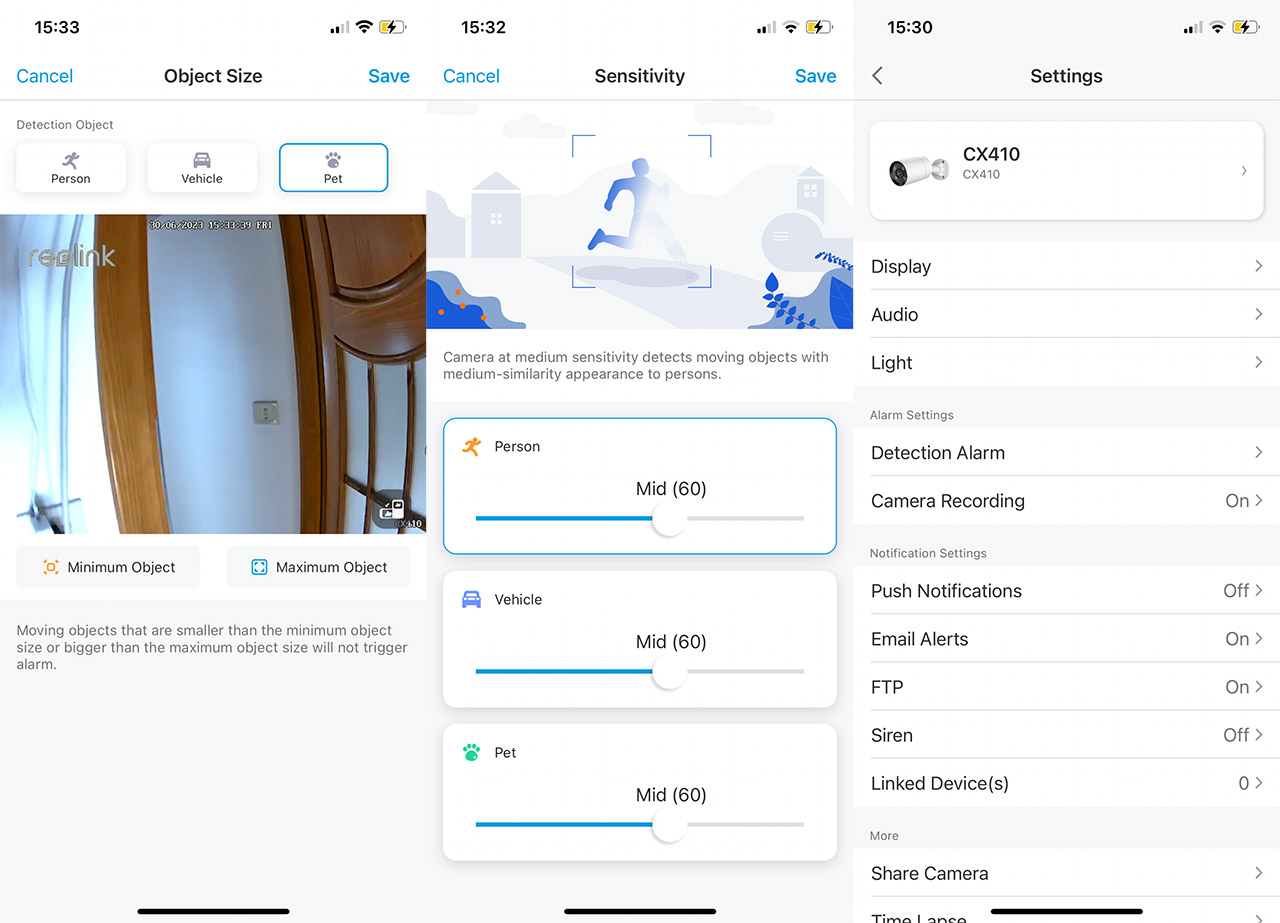
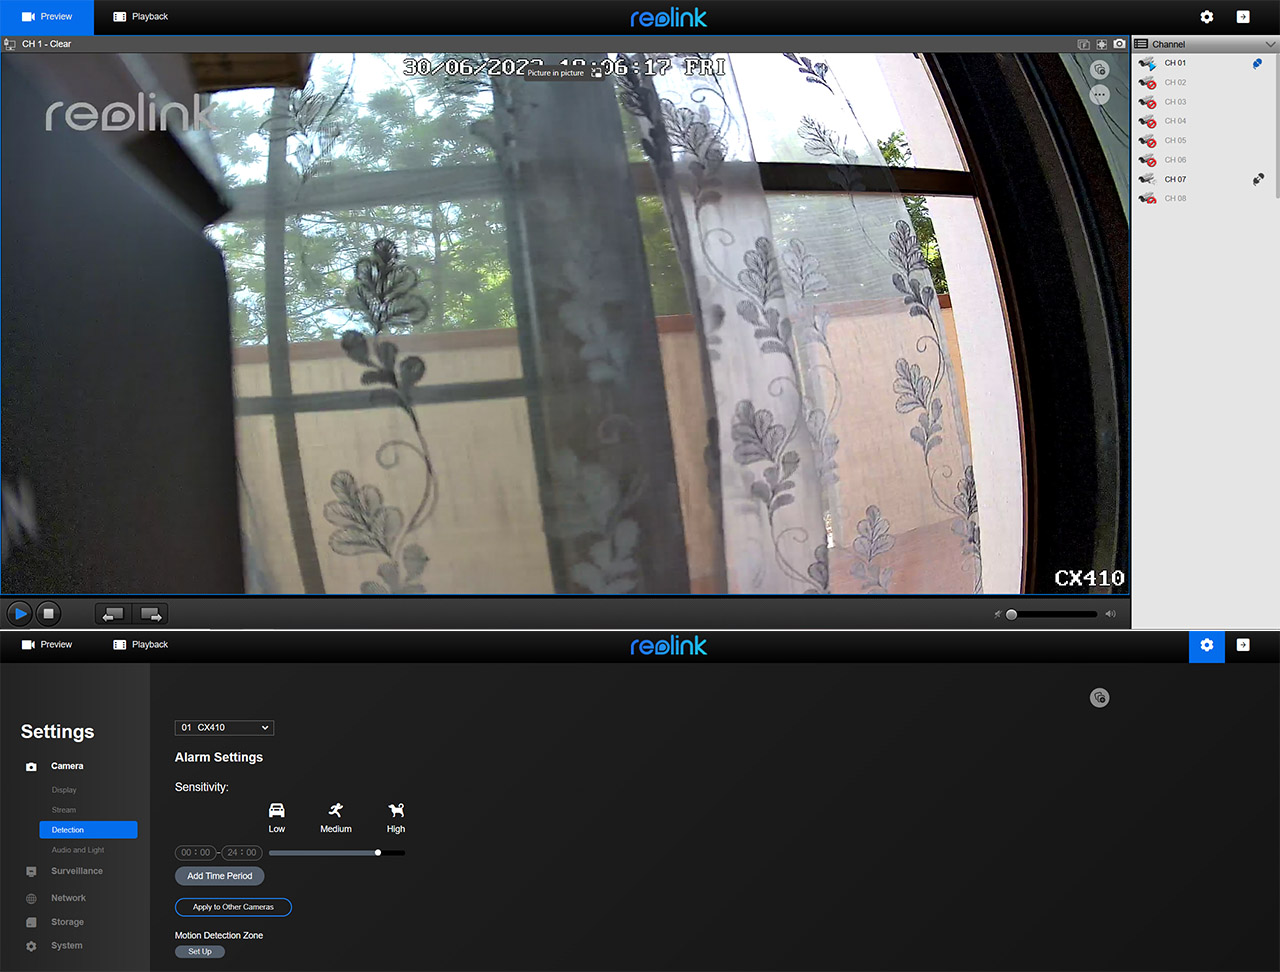
Reolink also offers some degree of control on how the camera functions, so, if you tap on the Cogwheel icon, then it will summon the Settings window. Here, you can adjust the Display, Audio and Light parameters, but what interested me the most was the Detection Alarm section. Just like other Reolink cameras, it offers the option to create Detection Zones, set the Sensitivity for each of the Person, Vehicle and Pet. And then there’s the Object Size where you can set how close or far away the Person, Vehicle or Pet needs to be to trigger the alarm.
Using an NVR
I have the Reolink RLN8-410 v2 which I use for some of my cameras and the pairing process follows the same rules. Unfortunately, it’s not possible to add the Reolink CX410 directly from the app or the web-based interface, no, it’s necessary to hook up a monitor and a mouse to the NVR and do it from there. All I had to do was connect an Ethernet cable, insert the password that I already set up on the app and that’s about it. Now it should appear both in the app (under the NVR) and on the web-based utility.
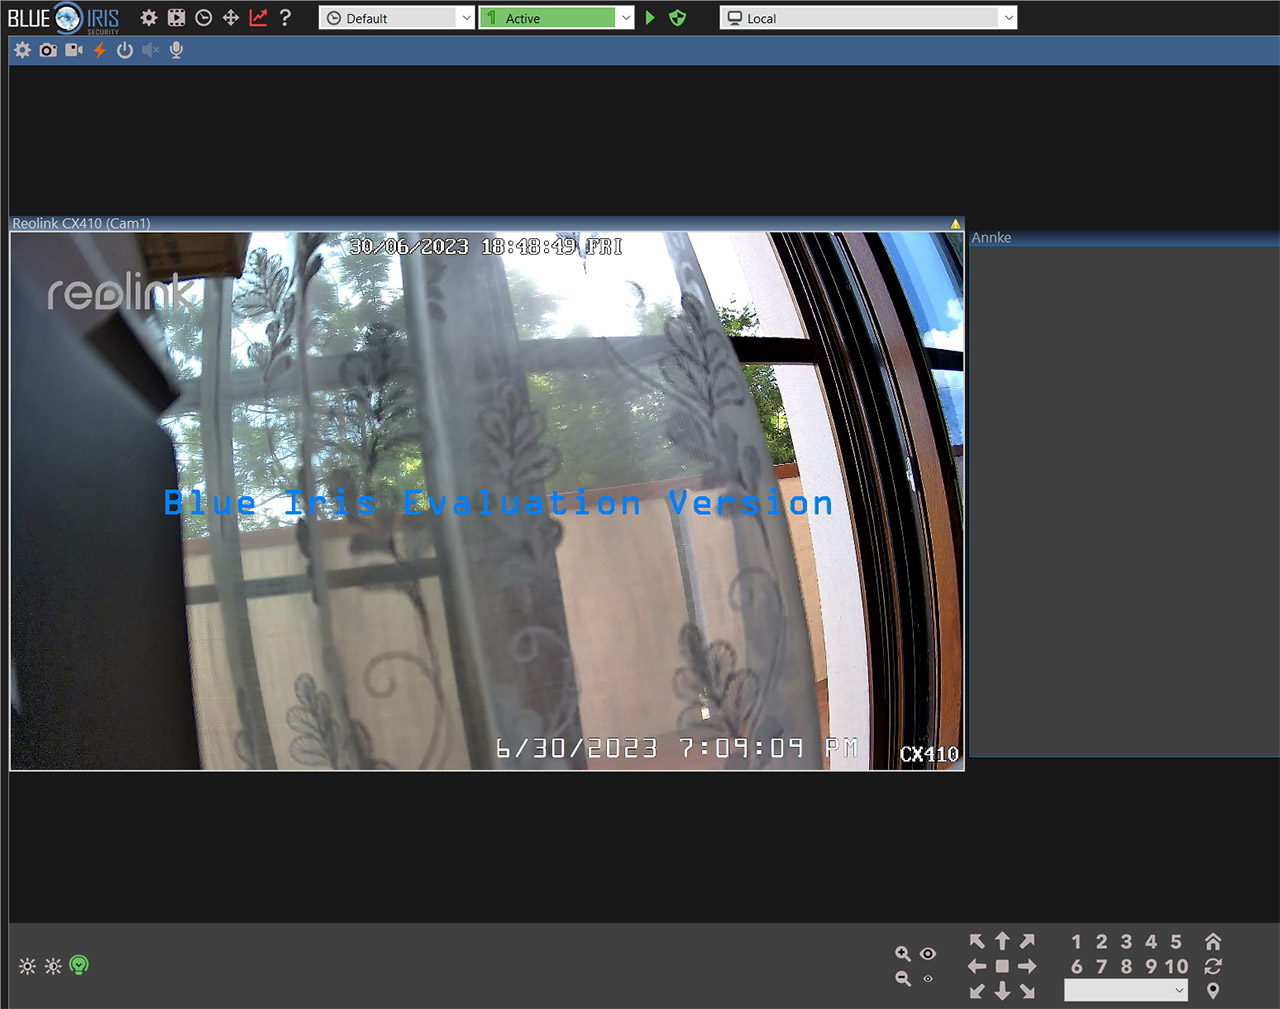
The built-in detection system remains untouched, so the Playback section is categorized, but the utility does offer a somewhat limited amount of options in this regard. It’s just the sensitivity and the motion detection area, but like I said before, you still get the full control using the app. Will the Reolink CX410 connect to BlueIris? It should since the camera does support ONVIF and, after testing it myself, it works wonderfully well.
The pairing process is even simpler than using the Reolink NVR since all I had to do was to make sure that the camera was in the local network (connected to the router) and that the username and the password were the correct ones. After that, Blue Iris detected it very quickly and it automatically took the info that it needed. A couple of seconds later, I could see the live footage directly from Blue Iris.
The Image Quality
The Reolink CX410 has a 4-megapixel lens with an F/1.0 aperture and a 1/1.8″ CMOS sensor. The maximum resolution that it can reach is 2,560 x 1,440 pixels and I have attached a video to get a better idea about what to expect during the day and during the night. The image quality during the day is good and we get lots of detail, especially at the highest resolution setting. The slightly oversaturated tones are visible here and it’s something that’s characteristic to the Reolink cameras – it doesn’t really take away from the image quality, quite the contrary.
I pointed the camera at some cars that were parked about 70 feet away and I had to blur the license plates since they were visible. At the same time, I could not identify the plates of any passing cars, so the vehicle needs to be stationary or moving very slowly. Also, looking at the edges of the video, I could see that there were barely any distortions. The image does seem a bit bright during the day and I think that’s because the sun is more intense here during the summer – I have used other Reolink cameras and this behavior only happens between June and August.
Moving forward, I was very curious to see the performance of the ColorX technology and it does not disappoint. Yes, the street is properly illuminated during the night, but just have a look at the details on the leaves. It’s almost as detailed as during the day. The light sources getting overblown seems to be common with cameras that do support some form of color night vision that doesn’t rely on spotlights or IR LEDs. I have seen it on the ANNKE NC400 and I can see it on the Reolink CX410. It’s not severe, but it does lose some details if there is too much light. There are two ways to mitigate this potential issue. One is by positioning the camera in an area where it’s darker, the other is to enable the LEDs.
As you can see from the video, immediately after the warm light is enabled, the street becomes less bright and more clear. I even had to blur the plate number on a car 70 feet away from the camera and that was during the night. As I already mentioned, there are no IR LEDs at all, so no black and white footage is available, but from what I could see, the shadows aren’t too dark, so it is possible to see anyone that may hide there (one of the advantages of the IR night vision). This also means that there will be no more spider webs since while we don’t see the light from the IR LEDs, the insects and some animals do.
The Smart Motion Detection
As I mentioned in the Installation and App section, you can adjust some of the parameters that revolve around the smart motion detection.
But even in its default form, it works quite well. And while it may not seem like much if you got accustomed to the way Reolink displays what it detects on the live view, it’s actually a feature that I missed on other cameras. In the video that I attached in the previous section, I decided to capture the screen of the phone, so you can see for yourself the way the Reolink CX410 detects moving vehicles, people and even pets – there is an icon for each appearing on the top right corner. These icons will not be visible in the stored videos, but they’ll still be put in the right category in the Playback section. Now let’s talk about the accuracy.
The vehicle detection is top notch and it never failed, as well as the human detection. Even if the person was on a bike, it would still be properly detected. The pet detection is a bit spotty at times and due to the smaller frame, I had a bit of trouble getting accurate readings at more than 50 feet away. If it was closer, the camera could detects cats and dogs a lot better. The notifications remain a bit slow and that’s because Reolink insists on pushing them from their server and not locally – hopefully this may be changed in the future.
The Conclusion
The Reolink CX410 is the first camera to showcase what the ColorX technology can accomplish and I think that the developers have pulled it off. The color night vision is detailed and works very well in darker areas. In case there are lots of light sources, then the LEDs can help mitigate the overexposure and it will also work really well if it’s pitch black. The smart motion detection remains one of the best in its industry (it’s also done locally) and the camera works well with both Reolink-owned and third-party NVRs. So, overall, the Reolink CX410 seems like a good security camera and worth checking out if you need something more discreet.
Reolink CX410
-
Pros
- True night vision using ColorX
- Multiple ways to power the camera up
- Works with Blue Iris
- Smart motion detection - includes pet detection
- no IR LEDs = no more spider webs
Cons
- The notifications are a bit slow, but other than that, I have no other complaints
Mark is a graduate in Computer Science, having gathered valuable experience over the years working in IT as a programmer. Mark is also the main tech writer for MBReviews.com, covering not only his passion, the networking devices, but also other cool electronic gadgets that you may find useful for your every day life.