
Reolink has been very busy this year and has developed some very interesting security cameras, one of them being the RLC-510A which seems to be a successor to the two-year old RLC-410 considering that it sports the same bullet-shaped case. But, while it’s true that it also offers the 5-megapixel sensor along with the Super HD resolution (which was already excellent on the RLC-410 since it could deliver a great video quality), you do get the new built-in smart motion detection technology.
| Reolink RLC-510A | |
|---|---|
| Amazon.com | Check Product |
| Reolink.com | Check Product |
I know that you may have heard about a similar type of technology in some surveillance cameras which relies on face recognition (such as Nest Hello from Google) and while it sounds like a cool tech, it’s quite invasive.
The Reolink RLC-510A will not detect your face or anything of the sorts and instead, the focus is towards minimizing the false detection due to passing cars, moving clouds or due to a sudden decrease or increase of brightness, and the good news is that all is done internally, without requiring any access to the manufacturer’s servers.
And that’s an important statement considering that there is usually very little value given towards the user’s privacy. Additionally, similarly to other Reolink cameras, the RLC-510A will offer clear 100 feet night vision, the possibility to connect to a PoE switch or PoE adapter (so there will be no need for a power adapter) and the support for multiple storage options, including NVRs and a microSD slot (up to 256GB), so let’s check it out and see how it performs.
Design and Build Quality
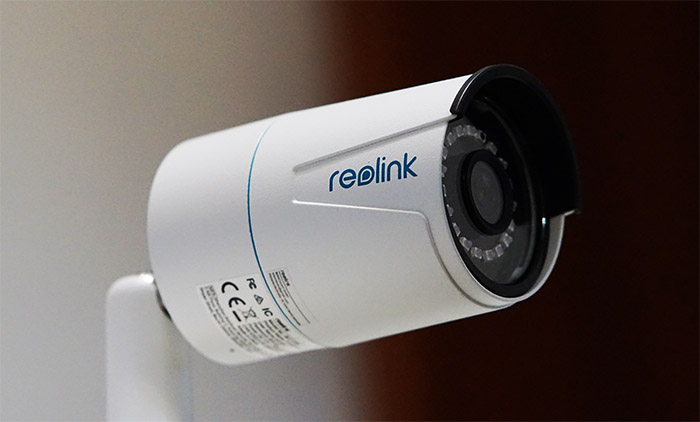
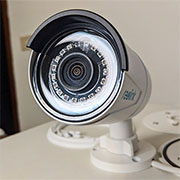
The Reolink RLC-510A is a bullet-shaped PoE camera, but, even if it’s in the same category as the RLC-511, there are some significant differences between these two devices. First of all, it’s the size, since the Reolink RLC-510A is relatively more compact, despite not having adopted a dome design and at its 7.32 x 3.26 x 2.63 inches (18.6 x 8.3 x 6.7 cm), it will be slightly more unobtrusive – it’s known that this type of camera should work as a deterrent (and it does). Secondly, while the RLC-511 has a rectangular metallic shape, the Reolink RLC-510A has a cylindrical case made of the same type of metallic alloy (probably, zinc) which has the role to absorb the heat from the main components. I noticed that while functioning, the RLC-510A was just a bit warm (while the other Reolink cameras usually run a bit hotter), so I decided to open up the case and see the internal hardware.
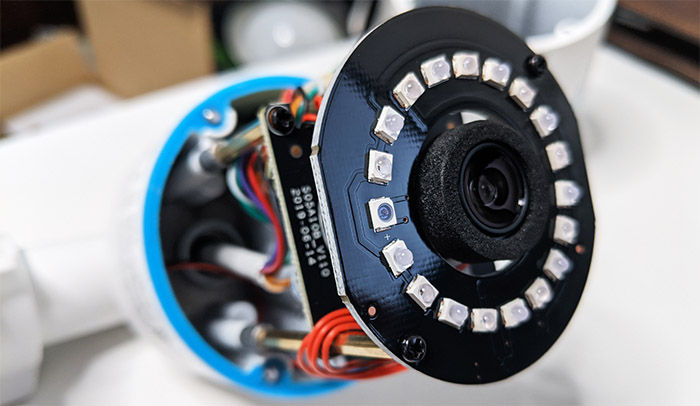
To do so, I had to remove the three screws from the rear side and then I needed to slide the front section exposing the internal hardware (between the front and the sliding section, there’s a blue silicone seal to prevent water or dust from entering the enclosure).
After removing the IR LEDs plate, I could unscrew the lens section and get a better look at the main PCB. Here, I could identify 256MB of RAM from SK Hynix (H5TQ2G63GFR) and a GigaDevice FP2024 5F1GQ4UBYIG semiconductor, while on the other side, there’s a Novatek NT98523MBG chip which is covered by a thermal pad that has the role to push the heat towards the metallic case. The RLC-510A is advertised as being IP66-rated which means that it should be protected against powerful jets of water (usually the case when there are powerful storms), as well as against dust ingress.
Some outdoor cameras can be mounted on a pole (the RLC-510A does not) but, considering that the outdoor cameras are a magnet for lightning, I suggest to keep it out of the open or make sure to put all the necessary measures in place (surge protectors, lightning rods and so on). The camera will also remain operational when the temperature ranges between 14°F and 131°F which is perfectly fine for most regions, but in areas with a more harsher winter, I would take other solutions into consideration to ensure the safety of my home.
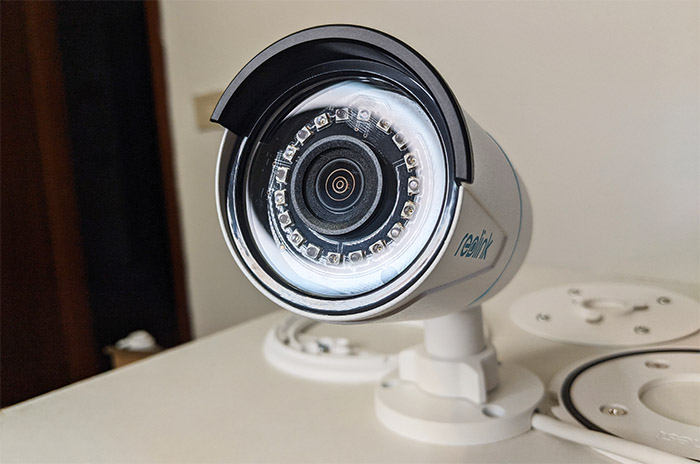
On the front of the camera, underneath the protective glass panel, Reolink has added the 5-megapixel sensor and surrounding it, there are 18pcs IR LEDs that will shine red during the night – these will get enabled as soon as the brightness sensor detects that the brightness level has gone underneath a certain level. On the rear side, there is a metallic piece that’s screwed into place and it covers the microSD card slot. I have been complaining about the 64GB limitation of the previous models and it seems that Reolink has had enough and has finally added support for 256GB microSd cards, ensuring that you can store up to 97.1 hours of continuous footage. The RLC-510A has kept the microphone (that I saw on the other outdoor cameras), so you can hear what’s going on along with the video, but, since there is no speaker, you won’t be able to have a two-way conversation.
The support is a bit different than on the RLC-511 which required a hex key to adjust its angle, so, in the case of the Reolink RLC-510A, all you have to do is unlock the base (by unscrewing the circular section counter-clockwise), put the camera at the preferred angle and then screw the section back – the adjustments can only be made between 0 to 90 degrees vertically. From within the support, there’s a single thick cable which is connected to the body of the camera and gets divided into three separate cables.
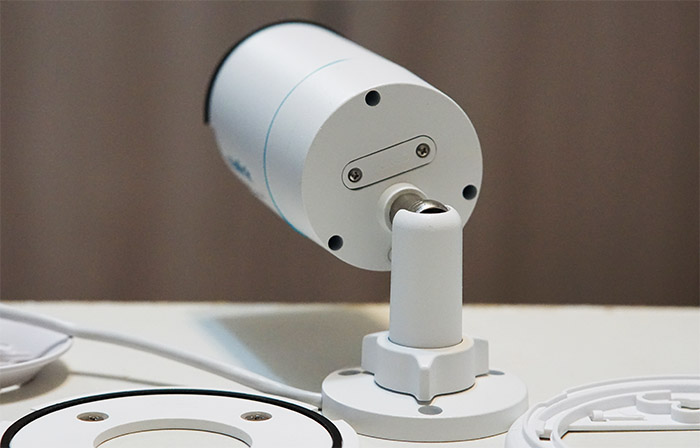
One for the Reset button (to return the device to factory default settings, press and hold the button for 10 seconds), one for connecting a power adapter (there isn’t one in the package) and one for the PoE Ethernet connection (the port is 10M/100Mbps and it supports 802.3af, 48V active PoE adapters).
Note: The field of view is 80° horizontally and 42° vertically.
Hardware Installation and Setup
Just like with any other bullet-shaped outdoor camera, you need to adjust the RLC-510A at a suitable angle and then drill a few holes into the wall or ceiling in order to mount it. The manufacturer has provided three screws, as well as a drilling guide (printed on a piece of paper to help you get the perfect spots) and, depending on the chosen surface, you will either feed the cable directly through a hole or have to guide it on the wall (there is a cut-out on the side of the camera base to help you keep things clean). Of course you will need to select how you’re going to power up the RLC-510A before that and, ideally, you should go for PoE since it will require a single Ethernet cable for both power and data transfer, but you will need to use either a PoE adapter or a PoE Ethernet switch. Regardless of the choice, you will then have to connect the camera to your router since it does not have any built-in WiFi adapter – in case WiFi is mandatory, you can have a look at the excellent battery-powered Argus 3. It’s worth mentioning that Reolink has added a waterproof lid (and it does so with pretty much every camera), but it can’t be added to an already cramped cable.
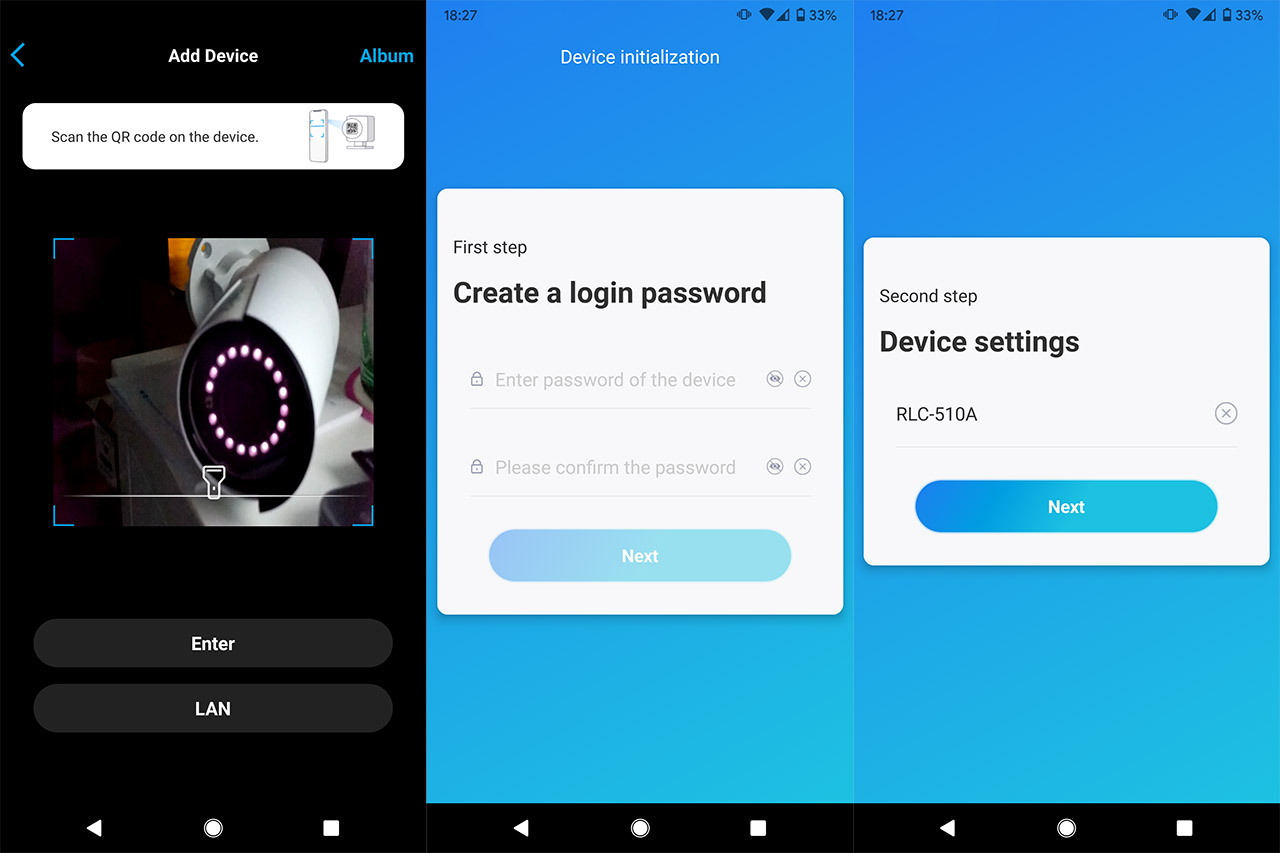
That being said, in order to run the installation wizard, I used the same mobile application as with other Reolink cameras. So, after running the Reolink app on my Android device (the app is available on iOS as well), I could see all the other cameras that I have tested until now and, to add the RLC-510A, I tapped on the Plus icon which immediately opened the camera and asked that I scan the QR code. You should be able to find it on the bottom of the case and, after the app detects it, the device will appear as Uninitialized. Tap on it to Create a login password, set a name for the camera and that’s about it, you now have full access to the app interface.
Reolink RLC-510A
-
Pros
- Excellent video quality (5MP)
- The smart motion detection works well
- Support for 256GB microSD cards
- Multiple storage options available (including NVRs and NAS devices)
- IP-66 rated
Cons
- The field of view could have been a bit larger
Mark is a graduate in Computer Science, having gathered valuable experience over the years working in IT as a programmer. Mark is also the main tech writer for MBReviews.com, covering not only his passion, the networking devices, but also other cool electronic gadgets that you may find useful for your every day life.