
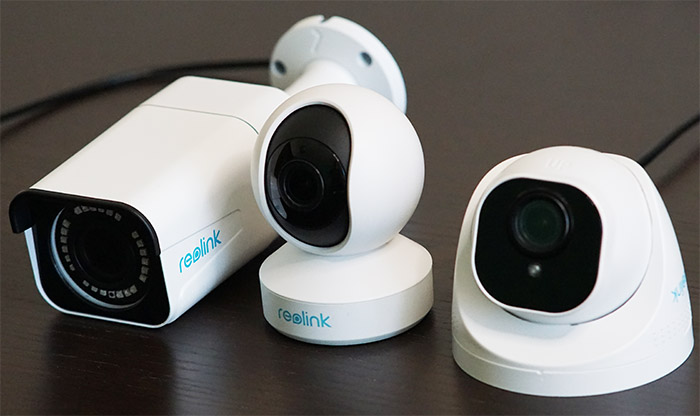
The Reolink RLC-511 is an outdoor-suitable IP camera designed to withstand the elements (relying on a fully metallic enclosure) and one of the highlighted features of this device are its ability to record high-quality videos (Super HD) during the day and during the night. I know that the indoor cameras are often forgiven for their image quality, but outdoors, you do need to have a clear view of everything that’s going on near your house, especially if you have a larger porch (and the couriers leave your packages unattended). The advantage that the Reolink RLC-511 can have over its competitors is the 4x optical zoom which should allow the user to view farther away (such as a gate or a fence) and you could also give it a try on moving objects, especially considering that the autofocus is surprisingly fast.
| Reolink RLC-511 | |
|---|---|
| Reolink.com | Check Product |
Additionally, just like with the RLC-522, there are multiple storage options, the main ones being the SD card and the Cloud subscription, but you can also use the camera with an NVR system and even with a NAS (QNAP has it in its list of supported devices and yes, so does Synology). It’s true that the camera is about 2 years old, but the implemented technologies still feel fresh and since the RLC-511 is definitely an affordable solution for what it offers (the image quality is one of the best considering the price point), let’s have a closer look and see if it’s worth taking into consideration for improving the security of your home.
Note: Inside the box, you’ll find the camera itself, a short Ethernet cable, a waterproof lid for the cable, some mounting screws and a hex key.
Design and Build Quality
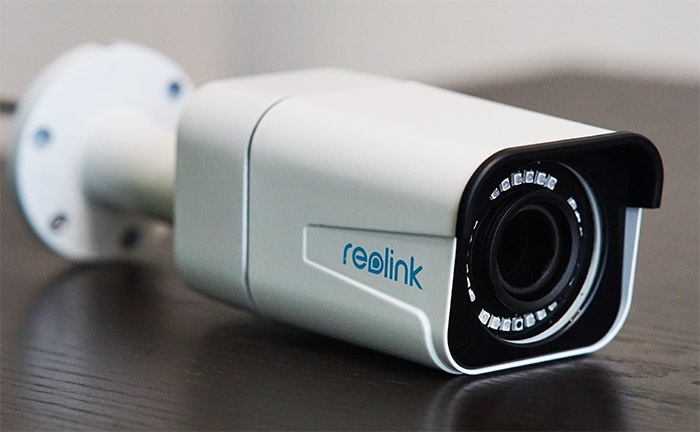
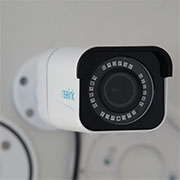
Reolink has clearly designed the RLC-511 to be an outdoor camera since it features a fairly large rectangular body completely made of metal (seems to be some aluminum) and on the rear, there is a solid metallic stand which is adjustable after you operate the locking mechanism using the provided hex key. So yes, it does have that traditional surveillance camera look and this can be used to its advantage since a camera shouldn’t be used only for recording footage, but to also actively discourage potential trespassers to enter your property. And the industrial look of the RCL-511 is guaranteed to achieve this effect – it’s also worth mentioning that the camera measures 9.37 x 2.83 x 3.0 inches (with the arm of the stand fully extended). The main camera body can be divided into two parts (by unscrewing the four screws from the rear) and there is a black silicone seal to ensure that neither dust, nor water can enter the enclosure.
Reolink does say that the RLC-511 is IP66 certified (the same as the RLC-522) and this does indeed confirm that the device is fully protected against dust ingress and against powerful water jets.
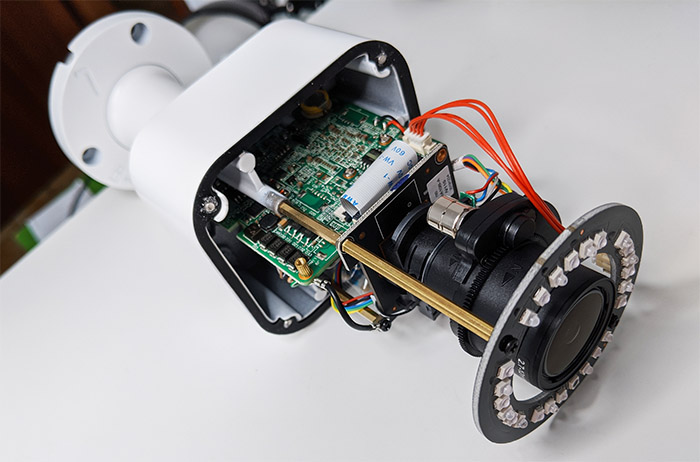
So, if the camera is kept in the open, you don’t have to worry about any powerful storms, but, if you decide to mount it on a pole, make sure to have some protection against lightning in place, otherwise, the camera can easily get ‘fried’. During the winter, the RLC-511 should do fine, but be aware that it is rated to remain operational only when the temperature is between 14° F and 131° F, so it should do fine during mild winters, but freezing cold (such as in Canada) may prove to be too much for the camera. The teardown process isn’t very difficult due to the aforementioned four screws, but to gain access to the main PCB, you do need to be careful when detaching each section (yes, opening up the camera can lead to warranty void). That being said, inside the Reolink RLC-511, I was able to identify a Novatek NT98515MBG 1945-BS 741U3900 processor which is the same as on the RLC-522 (and the E1 Zoom) and there’s also a Ruimeng MS41929 JC9HT5 integrated circuit chip which is again, shows how similarly equipped is the RLC-511 to the Reolink RLC-522.
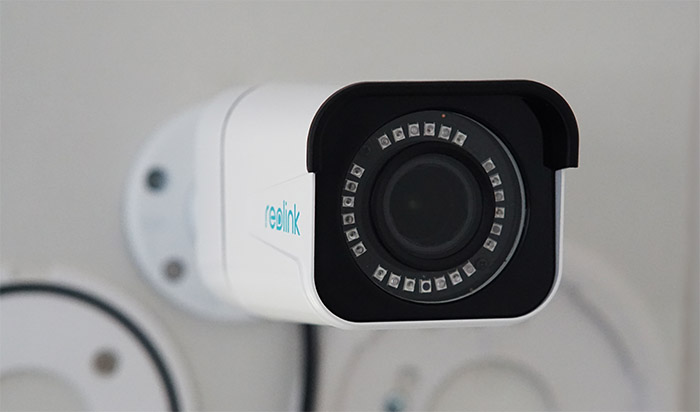
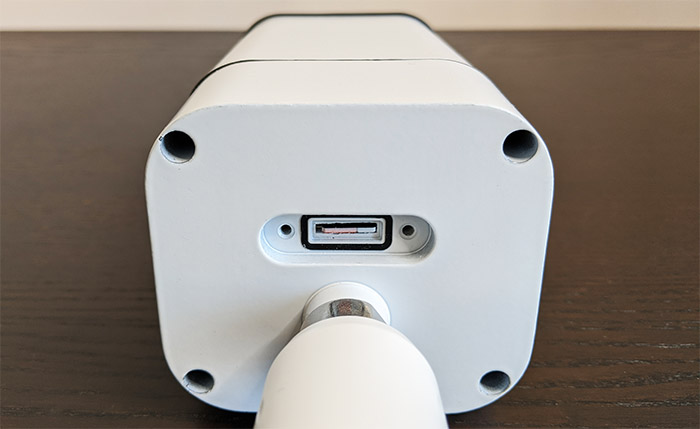
On the front, the RLC-511 has the circular sensor protected by a glass panel and surrounding it, there are 24pcs (14mil/850nm) IR LEDs that get enabled when the brightness sensor (you can see it underneath the bottom IR LEDs) detects that the light level has decreased under a certain threshold. Reolink also decided to protrude the upper aluminum side to create a built-in cowling for protecting the footage against direct sunlight, as well as from the rain. Within the camera body, you can also find an integrated microphone. Unlike the E1 series, the RLC-511 (as well as the RLC-522) doesn’t support two-way audio and you can only rely on the microphone to listen to the sound captured along with the footage. On the rear side, there is a small cover attached by two screws which hides the microSD card slot (and again, it’s limited to the 64GB which I don’t find near enough for a proper video storage since it’s very easy to get filled).
As expected, the support offers a limited amount of movement and you can only adjust it from 0 to 90 degrees vertically (using the hex key) which is fine for most situations, but if you need more flexibility, you could give the dome-shaped RLC-522 a chance since it offers a very similar video performance (but it only has 3x zoom). From the bottom end of the stand, there’s a short cable that gets divided into three separate ends, one end being suitable for connecting a power adapter (in case you don’t want to use PoE), one end for connecting an Ethernet cable (it’s 10/100Mbps and it supports PoE 802.3af) and the third extremity has a Reset button attached to its end (press and hold the button for about 10 seconds to return the device to its factory default settings). When I tested the RLC-522, I noticed that the metallic body did get warm while functioning, but only near the stand.
Hardware Installation and Setup
Mounting the Reolink RLC-511 to a wall or ceiling is a straight-forward process requiring nothing more than drilling three holes and using the provided screws to securely attach the base of the camera to the desired surface. The cable can be directly fed through a hole in the ceiling or you can let it outside the wall (there is a small opening in the metallic base especially made for the cable). As I said before, you get multiple options available for powering the device and the traditional way is to rely on a power adapter (DC 12V 2A) and no, there isn’t one in the package since the focus was towards the PoE technology.
I do suggest that you use PoE instead since it will use a single cable for both the power and the data transmission and perhaps the easiest way to use this technology is by relying on the Reolink PoE NVR. I doubt that many of you truly need an NVR, so you can also use an 802.3af 48V active PoE adapter or a PoE Ethernet switch. If you do end up using a switch, you only need two Ethernet cables, one for connecting the router to the switch and another for connecting the camera to the Ethernet switch, while the PoE adapter installation can be a bit more complicated.
Reolink RLC-511
-
Pros
- Excellent video quality
- 4x zoom
- Fast zoom-in and focus
- It uses the PoE technology
- Is weatherproof
Cons
- It supports microSD cards only up to 64GB
- The only adjustment available is vertically and it needs to be done manually
Mark is a graduate in Computer Science, having gathered valuable experience over the years working in IT as a programmer. Mark is also the main tech writer for MBReviews.com, covering not only his passion, the networking devices, but also other cool electronic gadgets that you may find useful for your every day life.