
The Selpic Star A is among the latest mini 3D printers to have hit the market and yes, the manufacturer has relied on a Kickstarter campaign to quickly develop it which suggests that there is more than meets the eye with this compact device.
Indeed, besides being incredibly inexpensive (at the time of writing, you can get it for $99 without any add-ons), the Selpic Star A is very lightweight (weighing about a third of the Monoprice Mini), making it very easy to move around and it can pause and resume the printing process at a push of a button, something that you don’t usually see on the entry-level models. This is available for the base model, but you can go further and add a laser engraving module (which works with wood, plastic and cardboard), a touchscreen module and a heating bed, for a better performance.
A heated bed would have been a great default option, but then again, even as add-on option, it’s not that expensive, all extra modules (along with the base printer) amounting to a bit over $150 and this shows just how much the 3D printers have changed over the years. That’s right, a decade ago, you would get a sub-par experience from a far more expensive device, but, thankfully, the technology got both cheaper and more refined, which gets us to this point in time when you can get a 3D printer that costs the same as a regular ink printer. That being said, there have been a few other manufacturers that tried to deliver a decent performance for a low price, so I am curious about what Selpic brings to the table, especially considering that this is the first 3d printer that the company has developed – it’s true that they did release a few portable (regular) printers before, such as the Selpic P1.
Note: As you will see, I had some trouble with the TPU filament, but I will continue to try and find the suitable settings for the Selpic Star A to print a successful model, so expect some updates over the coming weeks.
Design and Assembly
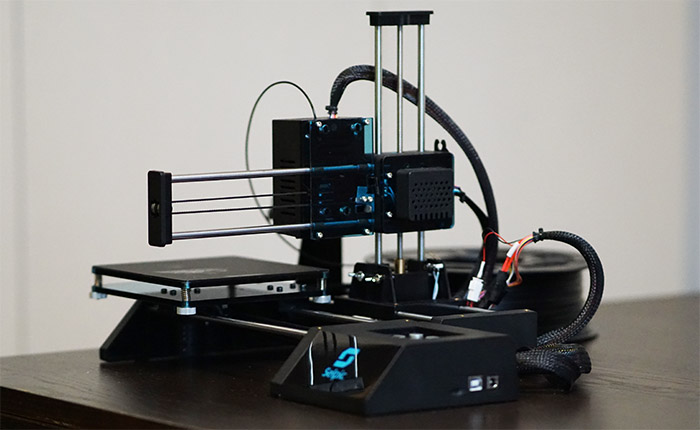
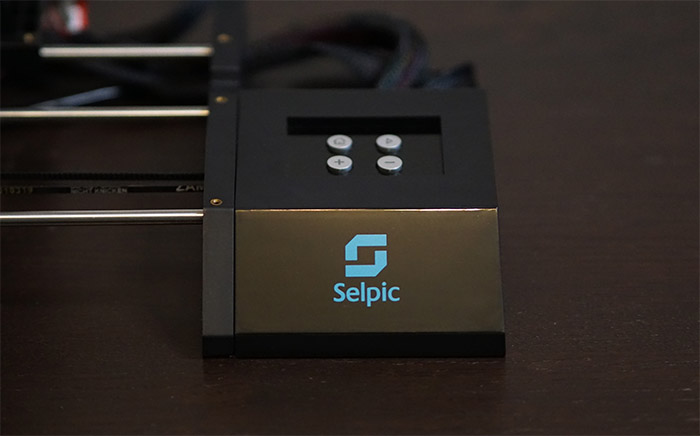
The Selpic Star A comes neatly packaged and, similarly to the EasyThreed X1 Mini 3D printer, the device comes almost fully assembled, requiring very little time to put together. Even so, there are three main (separate) parts that are held together by some cables (grouped by a black mesh cover). First, there’s the print platform with the Y Axis section which is the base of the printer and then there’s the printer head that’s already attached to the X-Axis which in turn is connected to the Z-Axis motor and poles. Both of these sections are attached to the aforementioned cable that goes towards the last section which is the Control Box. I mentioned the EasyThreed X1 Mini 3D printer because I continue to see some similarities even on the Control Box, such as the four buttons (and their layout), but Selpic went for a far more refined look since the box is made of a matte black plastic with a glossy finish on the logo section.
Within the control box, the manufacturer has added a Power connector (you can use the one added into the package – it’s 12V and has a power switch on it, since the printer lacks an On/Off button), a USB-B port (there is a USB-B to USB-A in the box) for connecting the printer to a computer and a microSD-card reader. Inside the package, Selpic has added an 8GB microSD card, a card reader, as well as an installation kit (contains a screwdriver, two screws, etc). In order to assembly the Star A, you need to put the print platform section (with the Y-Axis motor) in proper position and then take the printer head module and slide the Z-Axis poles into the available slot.
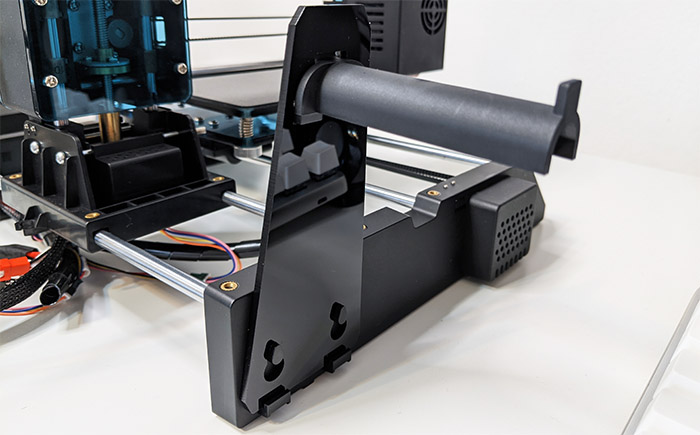
Selpic has added a few images on its installation guide to make it more clear, but what I suggest is that before sliding in the X and Z axis module, to simply push the wires with the connector through the small hole since it may be a bit more difficult doing so afterwards. Next, take the two long screws and slide them through the dedicated holes and use the nuts to tightly attach the module to the platform (use the included screwdriver to keep the screw in place while tightening up the nuts). Inside the package, there are two parts which need to be connected in order to form the filament holder and then simply slide it into the dedicated holes next to the print platform motor.
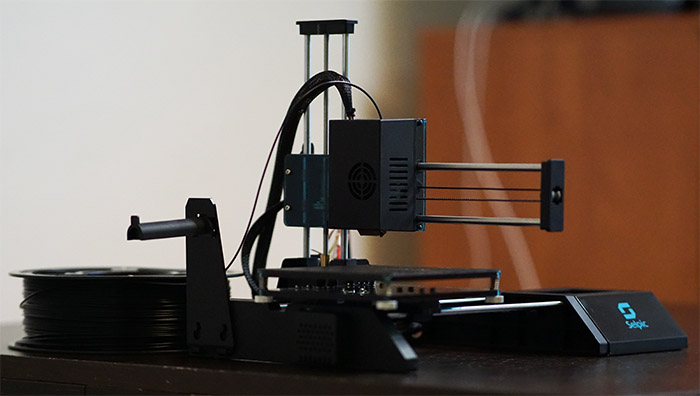
Selpic has included a white PLA filament (10M) without a plastic core which made me realize that the filament holder does not stay properly in place unless you place a heavier filament. Or so I thought since adding a heavier filament roll will bend the holder to an unnatural angle and will most likely break it – if you use larger and heavier rolls, the manufacturer has suggested to invest in a separate filament holder.
Lastly, take the control box, slide it into the hooks from the side of the platform base and that’s about it. A few things to mention about the Selpic Star A would be that it does not have a heated bed (the base model), so you can’t rely on it to un-stick your model. Unless you want to torture the model and the printing platform with a spatula (and/or alcohol), I suggest getting one of those platform stickers (some come in tempered glass) which can help you easily remove and detach your model.
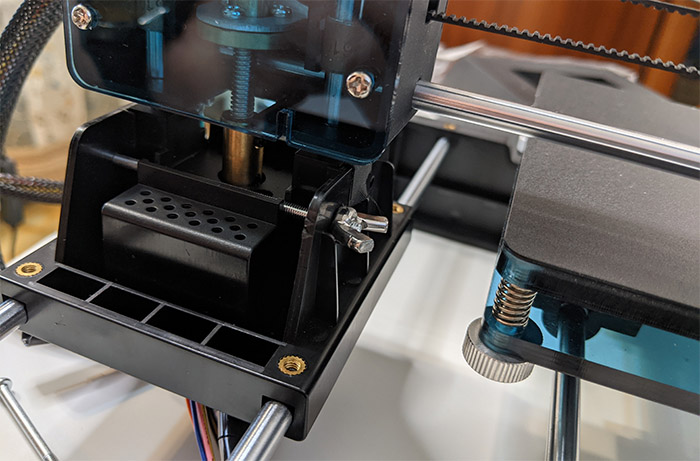
Furthermore, I know that a lot of entry-level 3D printers do not have a part cooling fan and the good news is that Selpic did saw this as a weakness and has added one to the Star A printer. A part cooling fan has the role to quickly cool off the extruded plastic that gets out from the nozzle, virtually eliminating any possibility of plastic warping. That being said, after you got everything sorted, just plug in the power adapter and wait until the Start button lights up. Since it’s the first time you’re going to use the 3d printer, you should calibrate the platform leveling. To do so, quickly press the Home button – the LED should start flashing and, when it gets solid, press and hold the Home button for 5 seconds – the LED should start flashing again.
Now, you need to use the four screws underneath the platform to make sure that the nozzle is neither too close, nor too far from the platform. To make this process painless, simply slide a piece of paper and when there is only a bit of resistance, you know that that point is properly leveled – do this for all four points (short press the home button to go from one point to the other) and after it’s done, the LED will automatically stop flashing. Afterwards, you will have to insert the filament and the process is very simple: click the Plus button from the control box – the LED should start flashing fast up until the extruder has managed to heat up and, as it starts flashing slowly, take one end of the filament and insert it into the section with the printer head (there should be a hole at the top). Wait until the plastic starts dripping from the other end and press the Plus button again. And that’s about it, you can now load up new prints on the microSD card and the Selpic Star A should immediately print the latest model (there is already a model inside the card if you simply want to give the 3D printer a try).
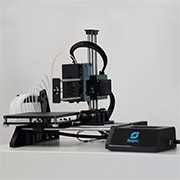
At this point, you should have the entire Selpic Star A 3D printer assembled and ready, so let’s talk about its look, dimensions and weight. The Selpic Star A seems made out of proper materials, the black plastic and metal gives it a premium look and I know that most of you will be surprised by just how little space it requires from your desk. Indeed, the entire 3D printer measures just 10.2 x 9.4 x 9.8 inches and it’s also incredibly lightweight, weighing only 4.4lbs. This makes it one of the lightest on the market (for now). I did notice that Selpic has added a few zip ties and I immediately understood why. Sure, the printer looks good, but the cables will still hang around, so use them to get a cleaner look.
Note: Some manufacturer have opted for an open power supply and it seems that Selpic has made sure to put the PSU inside the control box, therefore eliminating the potential safety risk.
The Software
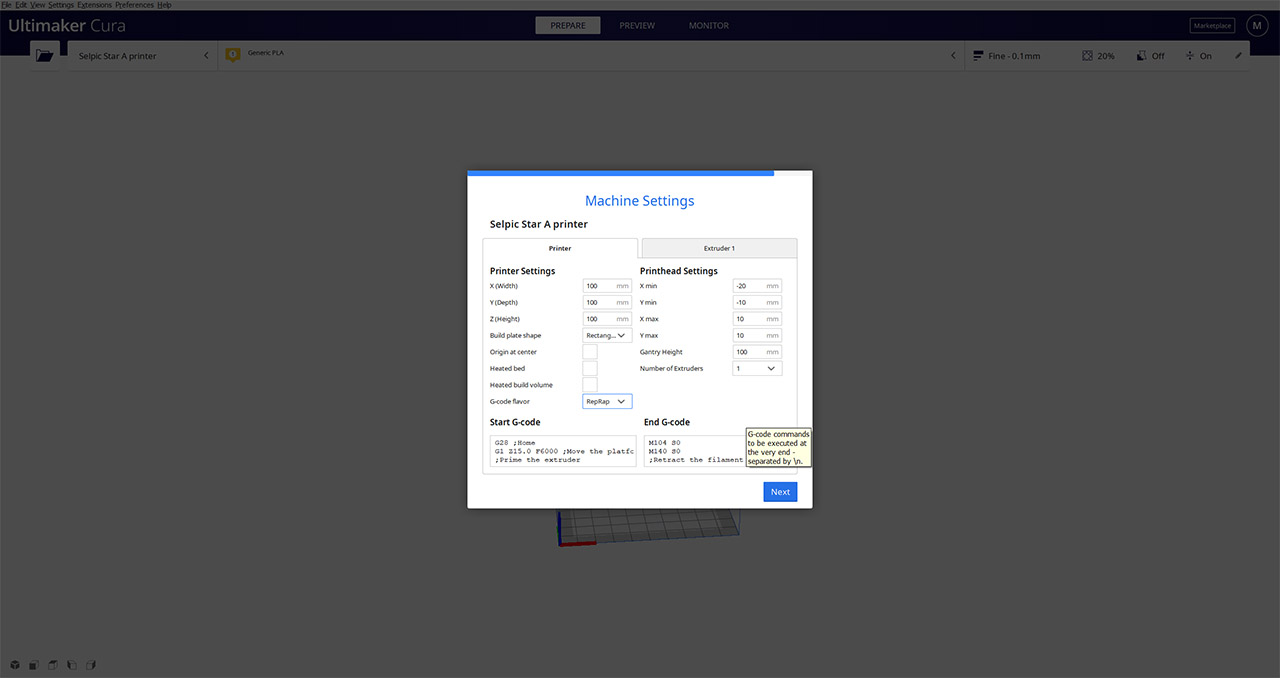
You should be able to use any preferred slicing software, but Selpic recommends to go with the license-free Acura from Ultimaker. The version that was available when I tested the Selpic Star A was 4.8 and I downloaded the one that was compatible with the Windows OS 64-bit (there is also support for MacOS and Linux, both 64-bit). The installation process is as expected with any other software – I assume everyone is familiar with installing Windows OS programs, but with Android being the more common OS nowadays, know that you simply need to click next a few times and install some additional modules (automatically). After that’s done, simply run Cura and you will be greeted by a minimalist looking interface which is very intuitive. The first thing that you need to do is to add the 3D printer that you’re going to use, but, since you’re not going to find the Selpic Star A in the list, select Custom > Custom FFF printer and give it a name. Click Next and you can now change the Printer settings – leave everything by default except for the G-code flavor which, the manufacturer suggests, should be set to RepRap.
You can change the printer settings at any time but clicking on the printer name (should be the second tab from the top) and selecting Manage printers. This way, you can go to the Extruder settings and adjust the Nozzle size (it should be set at 0.4mm), the Compatible material diameter (I use a 1.75mm filament, so that’s the suitable value). The next step is, of course, adding a 3D model and to slice it up. So, make sure the view is set to Prepare (there is also Preview and Monitor) and then click on the open folder icon on the left to upload any preferred 3D model. After the model has been loaded, you should be able to click it and adjust its position and even its size (use the instruments from the left). You can just change the view from the bottom left or use the keyboard arrows to move the model around. On the right side, you can adjust the way your model will be printer and here, things get a bit more complicated since you can ruin the model if you get the settings wrong.
Selpic Star A
-
Pros
- Has a compact design and it's lightweight
- Has a part cooling fan
- Has a Pause/Resume function
- Easy to assemble
- Comes with some useful add-ons
Cons
- The filament holder is flimsy
- I could not make it work with a TPU (flexible) filament
Mark is a graduate in Computer Science, having gathered valuable experience over the years working in IT as a programmer. Mark is also the main tech writer for MBReviews.com, covering not only his passion, the networking devices, but also other cool electronic gadgets that you may find useful for your every day life.