
The IMILAB C22 is the newest member of the indoor camera C series and it can be considered an upgrade over the C21, but the whole naming scheme is a bit chaotic. The C22 is actually better than the C30, sporting a bigger sensor, 5-megapixel and 3K resolution versus the 1440p resolution of the C30, and there is also support for WiFi 6, while the C30 could connect to the 2.4GHz or the 5GHz radios, 802.11ac.
| IMILAB C22 | |
|---|---|
| ImilabGlobal.com | Check Product |
This is actually one of the highlighted features of the IMILAB C22 and it’s important because the support for WiFi 6 on most client devices, let alone WiFi cameras, has not really been see as a priority. But, considering that we’re already moving past the WiFi 6E and on the newer WiFi 7 standard, it’s good to see that smart home devices will be able to make use of some of the more advanced features.
To be more specific, if the IMILAB C22 supports OFDMA, it could make a difference in a very crowded WiFi environment. Besides this exotic feature and the increased resolution, the camera prides itself with low-light color night vision and 360 degree auto cruise.
Additionally, the manufacturer has included some algorithms for human detection and motion tracking, as well as an interesting smart sound detection system which I haven’t yet seen on other cameras. Obviously, the question is whether the processing is done locally, so let’s put the IMILAB EC22 to the test and find out.
Design and Build Quality
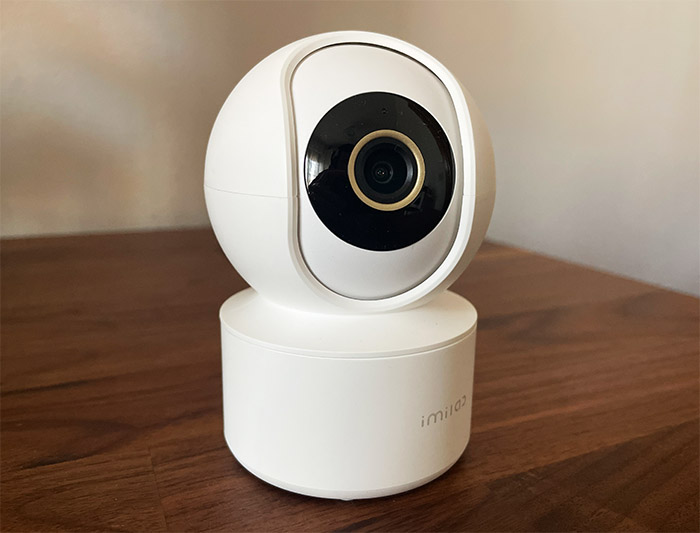
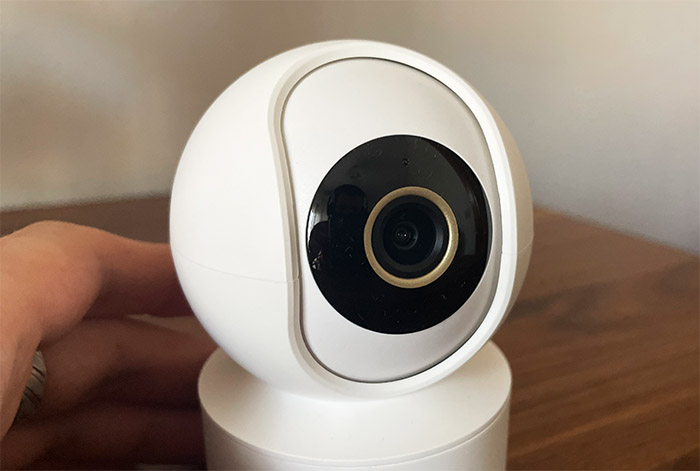
Design-wise, the IMILAB C22 is almost identical to the C21, both featuring a full-plastic body divided into a cylindrical base and a spherical top. It’s the same type of look that most indoor cameras go for since I suppose it’s the most ergonomic approach. The IMILAB C22 measures 4.2 x 3.0 x 3.0 inches (or 10.8 x 7.6 x 7.6cm) and pretty much the entire plastic case is covered by a white matte finish.
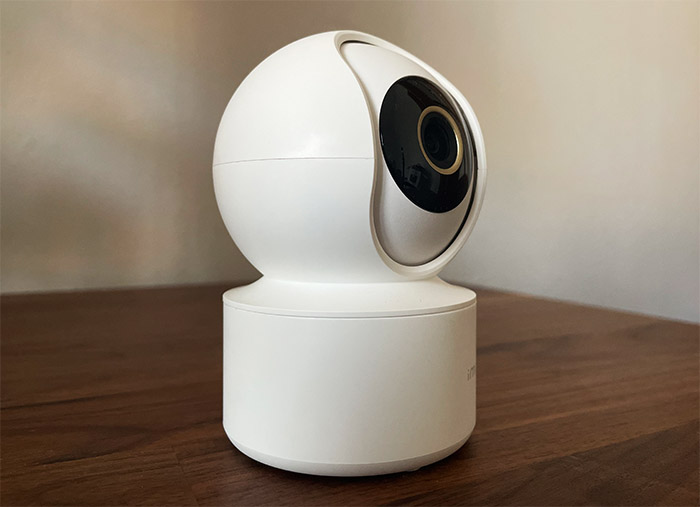
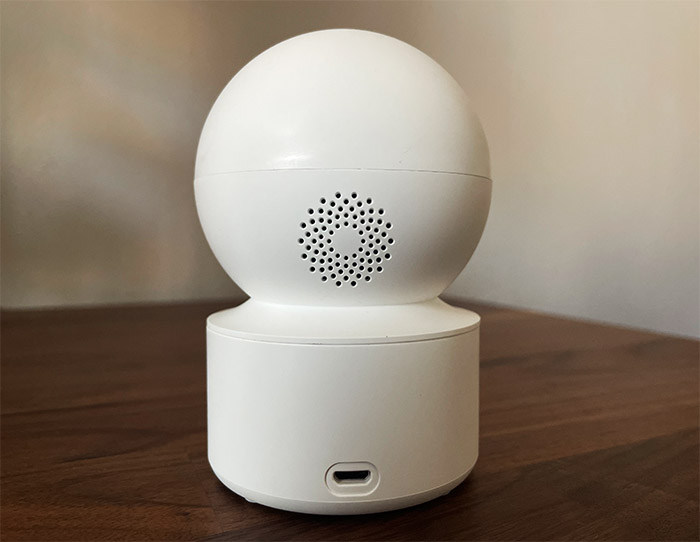
Usually, the manufacturers prefer to make the inner sphere (which is operated by a tilt motor) glossy black, but IMILAB preferred to add a small black circle around the lens, as well as a ceramic ring which I guess increases the aesthetic value of the camera. The base is thick enough for the device to remain stable when the motors are moving and there are four silicone feet to keep it in place when the cable is connected to the microUSB port. This is the second newly released indoor camera that comes with a microUSB port after the ANNKE Crater Pro and I have no idea what is going on here.
Have we gone back in time? I did check whether it’s cheaper to go with microUSB and yes, USB-C is more expensive due to the increased difficulty to add it to the board. But at the same time, USB-C is the new universal standard and even if the device ends up costing a few dollars more, it should still be implemented. Just like on the Crater Pro, I also noticed a slight wobble between the base and the spherical top, but that’s to be expected considering the price tag of the camera.

Moving forward, I checked around the case for any cut-outs and I found a pattern on the rear side of the upper piece which allows the speaker to vibrate through. And, as expected, we also get a microphone underneath the lens, allowing the user to have proper conversations with anyone that sits in front of the camera. I also saw some holes at the bottom of the device that are partially hidden by the bracket and it goes to show that the IMILAB EC22 is indeed an indoor-only camera.
Its operating temperature ranges between 14 and 104 degrees F (-10 and 40 degrees C), so it could be positioned in a patio, but I would be careful to not let water reach the enclosure of the C22. As on other indoor cameras, you need to point the lens upwards in order to gain access to the microSD card slot and the recessed Reset button. IMILAB says that the ceiling for the microSD card is 64GB, but apparently it will work with cards up to 256GB – it’s just the official statement due to extra costs (?).
IMILAB C22 Teardown
I assumed that there would be four screws underneath the silicone feet, but it appears that in order to open up the IMILAB C22 all I needed was a prying tool. I used it to detach the base section and my assumption was correct that it was mostly hollow. There’s only the pan motor and some minor circuits for the microUSB port. I wanted to also see what’s inside the spherical section, so I detached the top part and then I carefully took out the cables.
But a strange thing happened. While removing one of the cable connectors, the entire piece detached from the PCB. Sigh, let’s take the soldering gun and fix it or reinforce it, whatever you want to call it. Since I got to this point, let’s see if I can identify some of the main components.
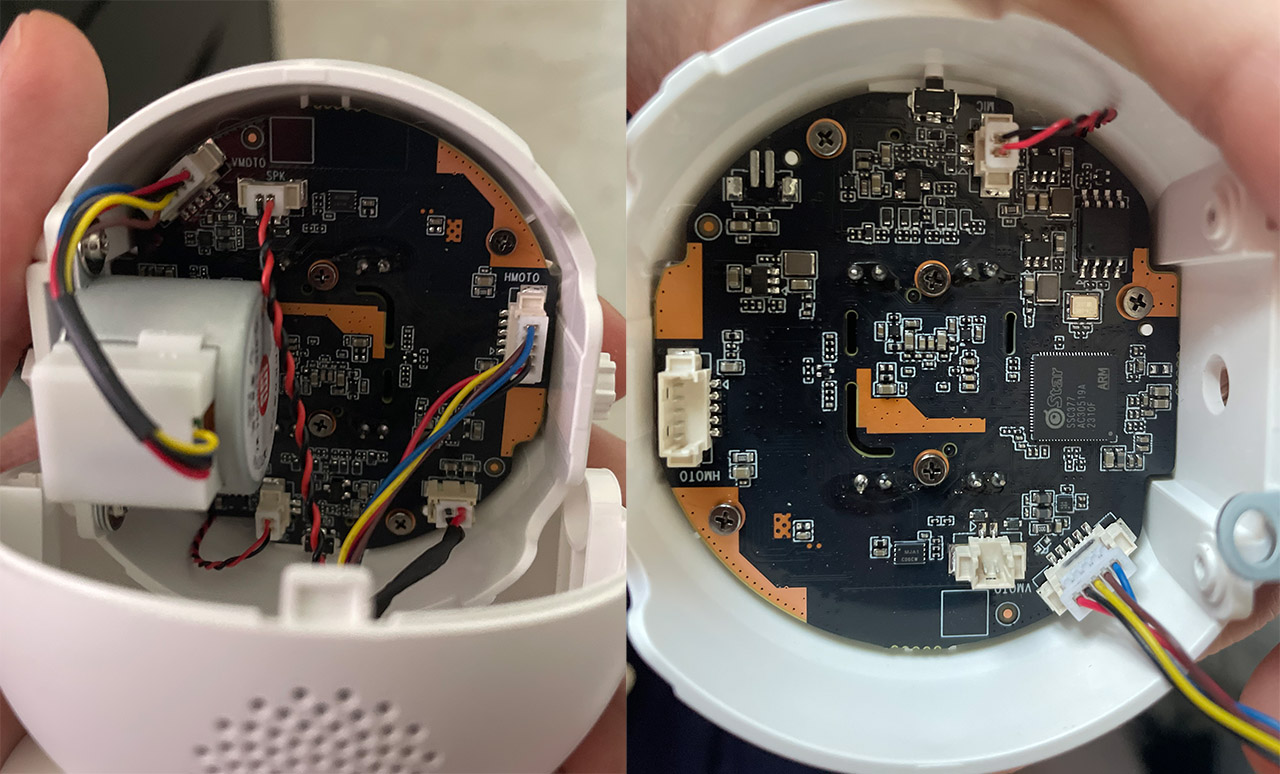
I could identify the Star SSC377 (AC30519A 2310F) single-core Cortex A7 with 64MB of DDR2 which is the same as on the IMILAB C21 and I could also see the cFeon 0X128A IC. The bad news is that my soldering skills are terrible, so I ended up having to use a secondary unit to continue the review.
The Installation
You could immediately connect the IMILAB C22 to a power source, but bear in mind that the ‘Waiting for connection’ line will be played continuously, so it’s better to first install the app. I assumed that it’s the IMILAB Home app, but after trying to scan the QR code, I noticed that it required the Xiaomi Home app (this was a prompt from the IMILAB app). I already had an account from when I tested the Dreame robot vacuum cleaner, but I still got asked to accept the Terms & Services, as well as the Privacy Policy.
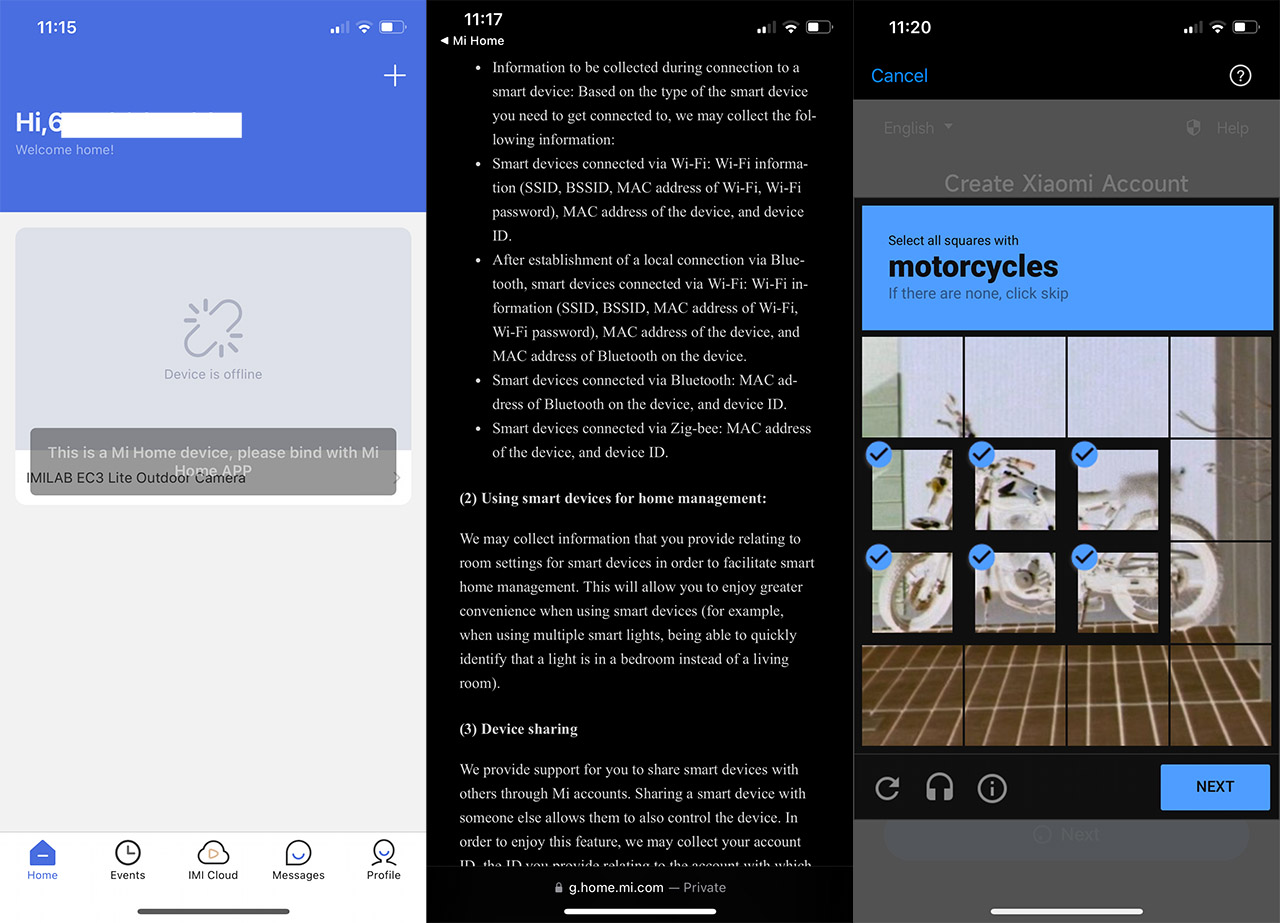
The latter does reveal that there will be some data collection: location info, mobile phone identifiers, the rooms where the device is located, info about other smart devices in the network and more. This info can be shared with their third-party partners, so it’s pretty much the standard practice (not that I am a fan of it). After that, I was asked to accept Notifications, which makes sense with a security camera, and then the app wanted to track my activity across other apps, which I politely declined.
Afterwards, the app wanted access to Bluetooth (which I allowed), to the Location (which I declined) and to the Home data (again, denied). It will ask again several times, but I declined every time until I got to the User Experience Program to which I said no. After that, I could finally tap on the plus sign and power up the IMILAB C22. I decided to rely on the QR code and, since I declined everything, I had to enter the WiFi credentials manually – not that big of a deal. The manufacturer says that the IMILAB C22 supports WiFi 6 and it is true that the camera does support 802.11ax, but it does connect to 2.4GHz, while the 5GHz networks are not supported.
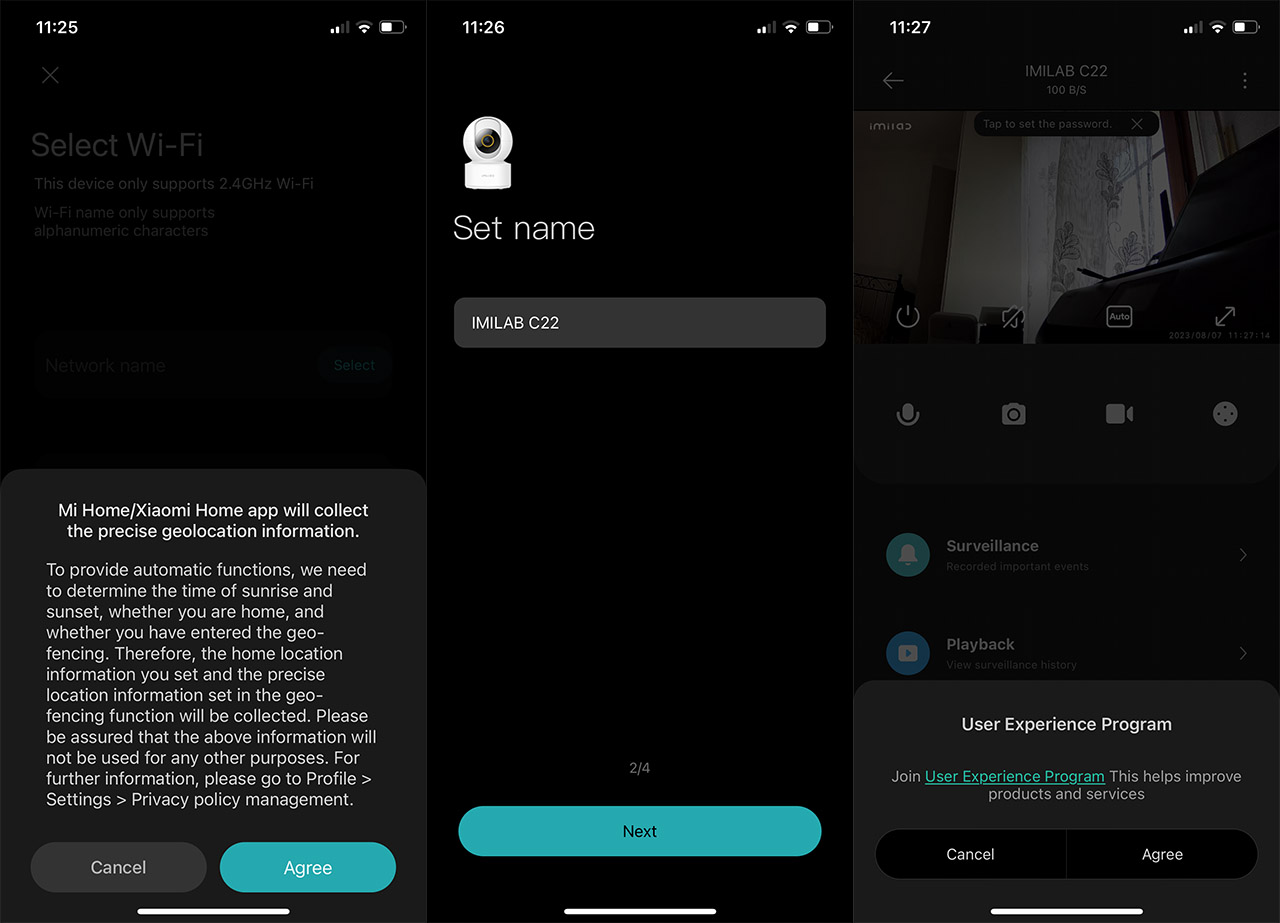
I have tested quite a few WiFi 6 routers and, as long as the client device supports it, there is an obvious improvement in throughput. Lastly, I had to choose the room, the name and whether I wanted cards on the homepage, and all was set.
The Mobile Application
The app’s user interface is simple and intuitive. About a quarter of the screen is occupied by the live stream, but you do have the option to push it to full-screen. There are four icons immediately underneath the live view screen (or on the right side, if the view is in fullscreen), the first allowing you to talk to any person in front of the camera – as I mentioned before, there is a speaker for two-way communication. Next, there’s the capture photo and record video button, followed by the Pan/Tilt control.
Tapping on this last icon will summon the PT control on the bottom half of the page, but you can always just swipe on the screen to move the lens section around. The maximum angle is actually 360 degrees when panning the device (I checked it and it’s true) and as for the tilt movement, the angle is approximately 100 degrees.
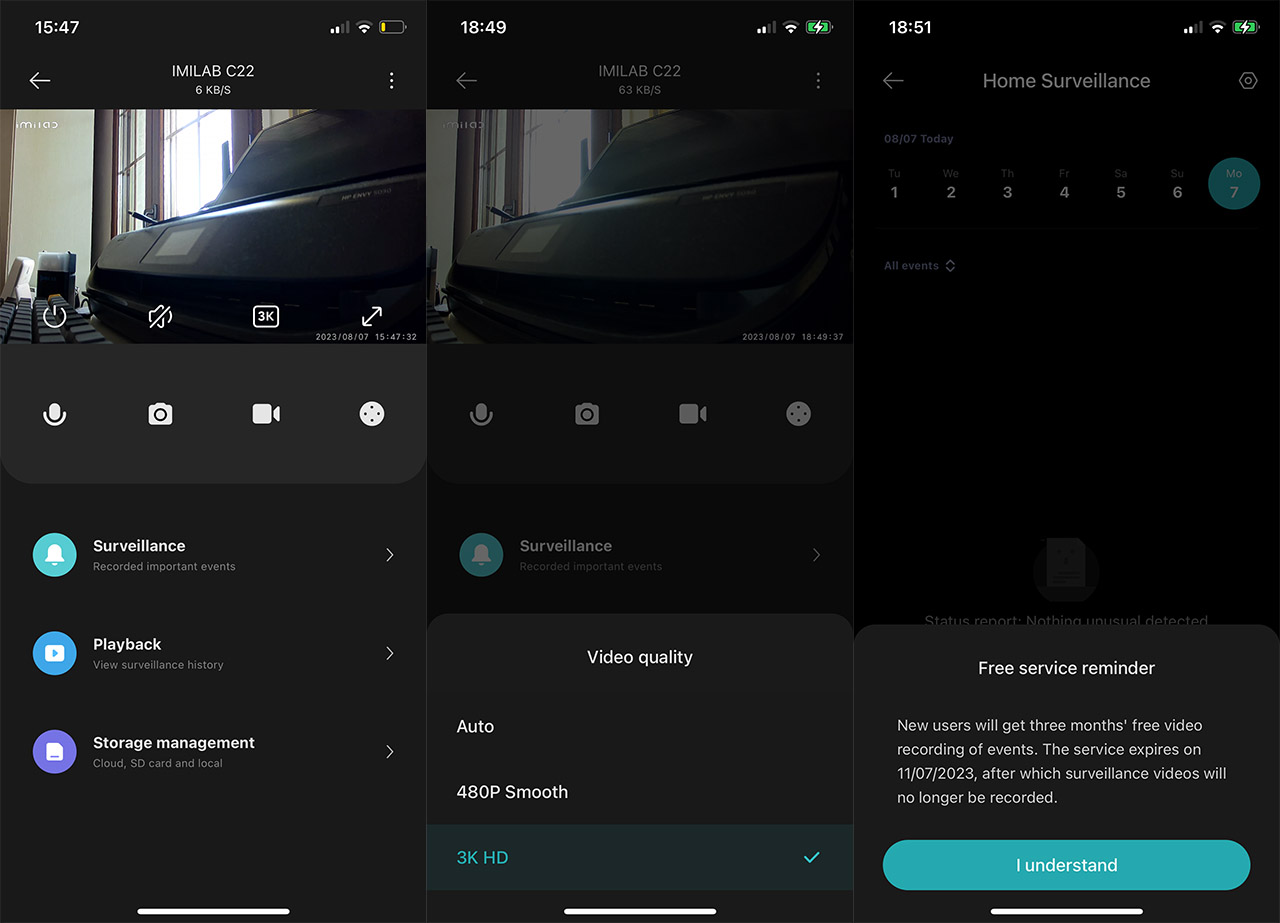
If you tap on the screen, we can see a new set of icons appearing for a short period, the most important being the Image Quality which can push the resolution to 3K (2,880 x 1,620 pixels). The lower half of the screen offers three main tabs, the first will take you to the Surveillance area which allows you to enable notifications and you can also check for events detected on specific days. The second section is the Playback where you will be asked on whether the videos should be stored on the Cloud (subscription, of course) or on an SD card.
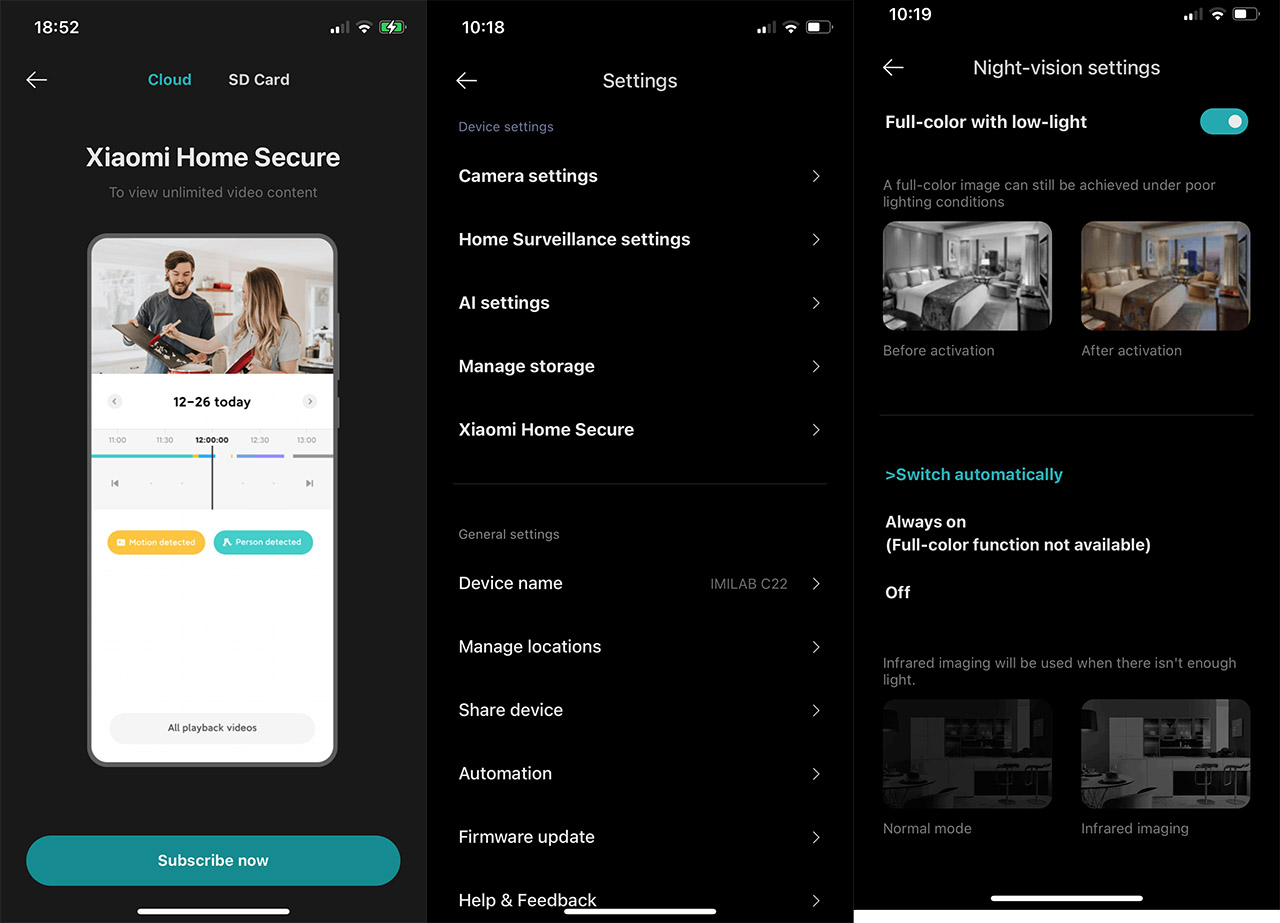
The maximum that the IMILAB C22 officially supports is 64GB, but it seems that the actual support goes up to 256GB (some certification thing). The last tab will let you access the Storage management, where you can see the stored video files (Cloud, SD card and local). There is also a Settings section and under the Camera settings, you can create a schedule for when the IMILAB C22 will be enabled, turn on WDR, as well as enable the Full color night vision (with low light). Additionally, I saw that here you can enable the Human tracking which will ensure that when the camera detects a person, it will attempt to follow them around.
Next, there’s the Home Surveillance settings where, besides setting up the notifications behavior, it will also let you set the sensitivity. The curious thing is that it includes sound detection, so it’s not limited only to movement. Afterwards, you can set up a specific area which will trigger the notifications and it’s also possible to create automation scenes to ensure that the IMILAB C22 will play nicely with other smart devices.
The Image Quality
The IMILAB C22 uses a 5-megapixel lens with an aperture of F/2.0 and, as I mentioned before, the resolution goes up to 3,326 x 1,620 pixels. Pretty much all other indoor-suitable cameras have been tested in the kitchen, so, for the consistency sake, I decided to record a video of the same room using the IMILAB C22. I have tested other inexpensive cameras, such as the ANNKE Crater Pro and the SwitchBot 2K, and, while the footage was relatively clear, there was still a very much noticeable amount of noise; the colors were also slightly undersaturated.
The extra bump in the resolution of the IMILAB C22 does help a bit considering that the image is clearer and more detailed. But there is also a noticeable amount of grain, especially with farther-away objects. Then again, some will argue that it’s not really necessary for indoor security cameras to be crystal clear when the point is detection and the rooms are usually small enough to clearly see what’s going on from any angle. This does not mean that I won’t appreciate a clear footage, it’s just that it’s not yet doable at this price point. Returning to the footage, we can see that there are no distortions at the edges and, while there is a slight amount of undersaturation here as well, it’s less severe than on the other two cameras I mentioned before.
What about the night vision? Well, in black and white, it’s fine. I could see all the details in the room even if there was pretty much no light, so the IR LEDs do a very good job. But I was curious about the low-light colored night vision, so I turned on the lights in a near room, but the IMILAB C22 didn’t really care and remained in black and white mode. I turned on additional lights and you can see in the video how the room gets brighter, but the colored night vision did not seem to want to work.
Bear in mind that the setting was enabled, so I assume it needs even more light which at that point, is more light afternoon vision. Lastly, let’s talk about the signal strength and if the WiFi 6 truly matters. The camera was not near the router, but the image quality did not suffer even if it was set to maximum quality. At the same time, I didn’t have any issues with other cameras that were using the 2.4GHz radio plus the bitrate on the IMILAB C22 is not that high, so I suppose it would have worked fine even without the support for WiFi 6, right? It depends.
If you have a solid WiFi network in your home with a normal amount of interference then WiFi 6 will not bring any benefit. But, in really crowded areas where there are lots of APs and lots of client devices all overlapping over each other then yes, a WiFi 6 camera will be a better choice as long as the wireless AP or router supports this standard as well.
Motion Tracking and Motion Detection
The IMILAB C22 does offer what it calls Human tracking which can be enabled from underneath the Camera settings, but you don’t really get much control over its functions. I could set up the sensitivity and the area or interest which I suppose, it could be enough for most people. But how well does it work?
I captured a quick video to get a general idea and, as you can see, it does have a very particular behavior. The camera quickly detects that something is moving in front of it, but it is moving left and right continuously until it locks on the subjects. Even after that, it easily loses focus on the person and tries to find it again. Also, I am fairly sure it does not check for the face, since it pretty much ignored the head and tried to follow the body without raising the lens high enough. I admit that I have seen better implementations (especially on the SwitchBot 2K), so IMILAB needs to polish their algorithms a bit more. Now let’s talk about the notifications.
I walked in front of the camera and the phone reacted after about two seconds, so while fast, I suspected that the processing is not done locally, but on the manufacturer’s server. Pretty much in a similar manner to the Reolink cameras. It will be dependent on the WiFi quality, of course, but my router was about 20 feet away on a different floor and like I said, the notifications were fast. Then again, when I disconnected from my local WiFi, the notifications arrived about 4-5 seconds later, so yeah, there will be a noticeable delay.
The Conclusion
The IMILAB C22 is proof that the budget-friendly indoor cameras are getting better. We get higher resolution and it seems that the human detection algorithms are now becoming a standard. The night vision is excellent and we do have support for WiFi 6. I know that it’s not necessary in a lot of scenarios, but it is there for particular situations (areas with lots of WiFi APs and clients). The local storage is more than enough, but you can always go with the Cloud storage and the notifications are quick as long as you’re in the range of the router. So, overall, the IMILAB C22 is definitely worth checking out and most likely one of the best options in its price range.
IMILAB C22
-
Pros
- Good image quality with a fair amount of details
- Can connect to WiFi 6 network (2.4GHz-only)
- Good night vision quality in black and white
- 3K resolution
Cons
- MicroUSB port
- The human detection algorithm can be better
Mark is a graduate in Computer Science, having gathered valuable experience over the years working in IT as a programmer. Mark is also the main tech writer for MBReviews.com, covering not only his passion, the networking devices, but also other cool electronic gadgets that you may find useful for your every day life.