
Taking into consideration the complexity of the RouterOS, setting up a Mikrotik access point or router as a wireless repeater is a bit more difficult than on other networking devices (from other brands), that is unless you’re already very familiar with the Mikrotik’s ecosystem. And, since most are not, I decided to take one of the newest outdoor access points from the Latvian manufacturer, the NetMetal ac2 and try to make it repeat the signal from my main router (currently, an Asus RT-AX82U).
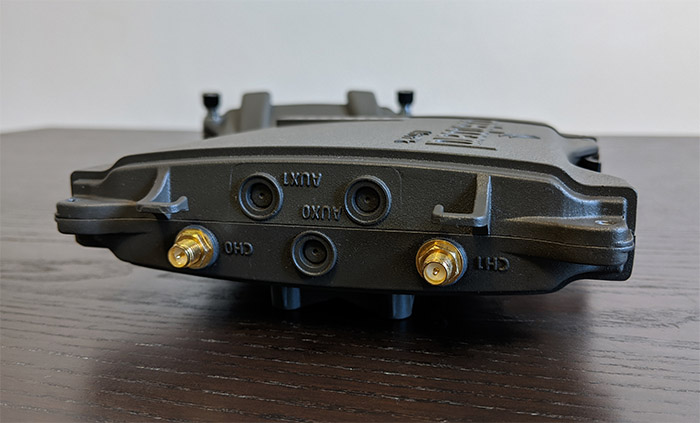
By default, the NetMetal ac2 works as a wireless access point which means that it is connected to the router via an Ethernet cable (apparently, the NetMetal ac2 can also work as a router), but, at the same time, not everyone has the means or the desire to run cables outdoors from one property to another (or to a pole), so, despite its major drawbacks, I know that a lot of people still prefer to rely on a good ol’wireless repeater to gain Internet access outdoors.
One of these drawbacks refers to the severe cut of the available bandwidth by at least a half because the repeater has to receive the signal, process it and then transmit back from the client to the router and vice versa – which is why most people are against this type of system. But it still works fine for some use cases and, considering that Mikrotik devices are rarely expensive, it may be worth setting some of them up as a wireless repeaters (even the fully rugged NetMetal ac2 is weirdly budget-friendly for the performance and the amount of varied configurations that it can offer).
Check out the wireless testing and the full analysis of the Mikrotik NetMetal ac2.
1. Access the RouterOS GUI.
After connecting the Mikrotik device to a power source and to your router (use an Ethernet cable), you will need to enter the RouterOS interface and this can be done in two way: either by entering the IP address given to the Mikrotik device by the router into the URL bar of any browser (in which case, enter the router software and check all of the connected clients) or by using the WinBox utility.
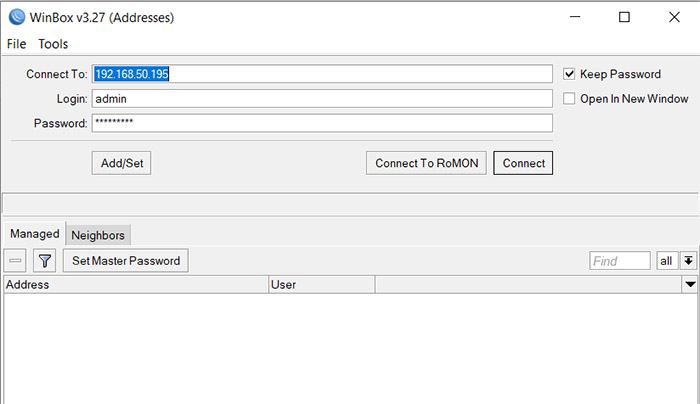
The latter will require the IP or MAC address of the Mikrotik device, as well as the login username and password. Every setting and options (and even the GUI) are essentially identical regardless of the chosen way so, for the purpose of this guide, I decided to simply enter the IP address in the URL bar.
2. Optional: Disable any previous configuration.
In case this is the first time you access the RouterOS with this particular device, then move to the next step, otherwise, if you have already created some WiFi interfaces and, most likely an Ethernet bridge, you will have to disable them.
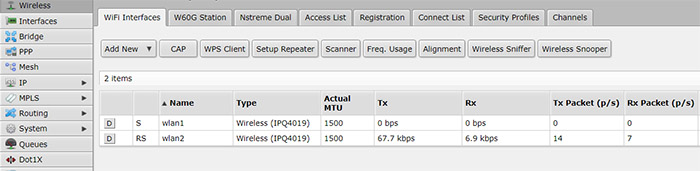
The beauty of RouterOS is that you don’t have to delete the previous configuration, simply navigate to Wireless > WiFi Interfaces and uncheck the Enabled box for each wlan interface and then head out to Interfaces and do the same for the Ethernet Bridge.
3. Detect the SSID of the network that you wish to repeat/extend.
While the Mikrotik device is still connected to the router via an Ethernet cable (in our case, the NetMetal ac2 – you can use a PoE switch for simplicity or rely on the PoE injector provided in the box), click on Wireless (from the left menu) > WiFi Interfaces and click on Scanner. Click on Start and wait until the SSID of the network that you want to repeat appears in the list.
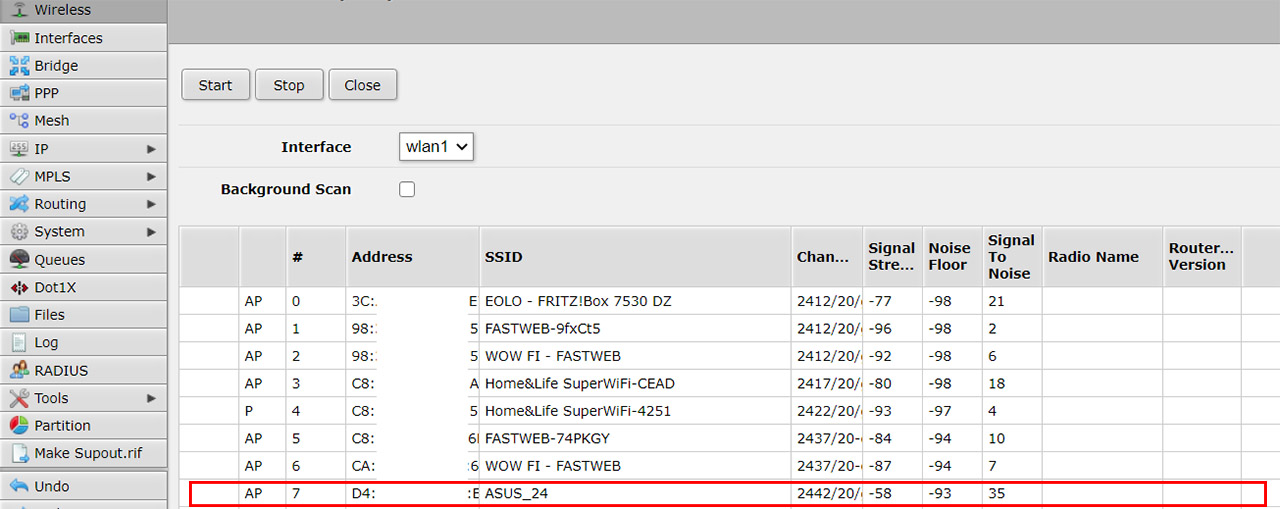
When it does, click on Stop, select it to view more options and then copy the exact SSID (it’s going to be lowercase sensitive). Click on Close to return to the WiFi Interface section.
4. Set up the wireless repeater.
From the WiFi Interfaces section, click on the Setup Repeater which will require the Interface, the Address, the SSID and the Passphrase. Since the NetMetal ac2 is dual band, I could choose between the wlan1 or the wlan2, but, if your Mikrotik device only has one radio band, you will have only one choice available. I did not touch the Address section, but I did enter the SSID that I previously copied and I also had to enter the passphrase – you will need to know it from the router (yes, you can’t extend an unknown wireless network).
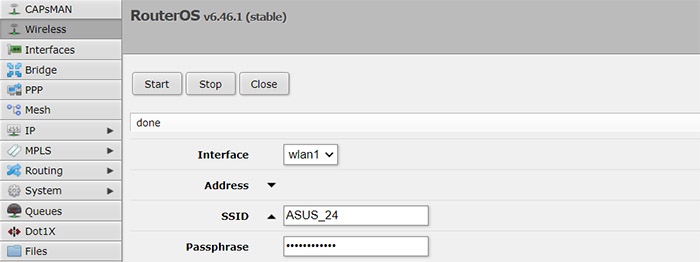
Click on Start and wait until you get the message ‘done’. Click on close and check if everything is in order: you should now see a new wlan in the WiFi interface – in my case, it was wlan3 – which needs to have been set as an ap bridge, while the wlan1 needs to be set as the station pseudobrige. These settings should appear automatically, so you don’t have to do anything more.

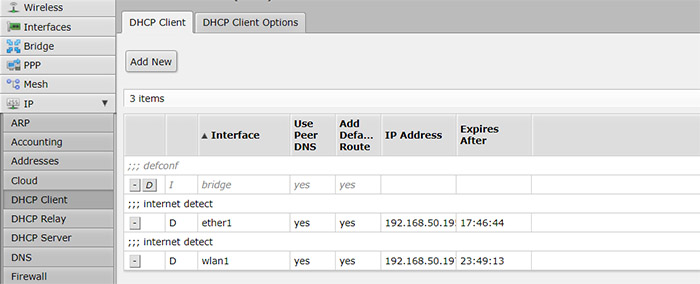
5. Check out the IP address of the new wireless repeater.
Before disconnecting the Ethernet cable from the router, it’s wise to see what IP address you will need use in order to connect to the GUI of the Mikrotik device in case any additional configuration is required. To do so, navigate to IP > DHCP Client and here, you should see two different IP addresses, one for the Ethernet connection and the other for the wlan1, which you will use after you disconnect the Mikrotik repeater from the router (only the cable).
Mark is a graduate in Computer Science, having gathered valuable experience over the years working in IT as a programmer. Mark is also the main tech writer for MBReviews.com, covering not only his passion, the networking devices, but also other cool electronic gadgets that you may find useful for your every day life.