
Whether it’s for security reasons or if you simply want to check on your kids (or pets) from time to time, a compact indoor camera should do the trick and since these devices have gotten quite affordable, why not get one with a great image quality. I have recently tested a couple of Reolink cameras from the new E1 series, the Reolink E1 Pro and the E1 Zoom and I was impressed by the quality of the live footage during the day, as well as during the night (the manufacturer has borrowed the term Super HD to show that the videos are less compressed), but there are some significant differences between these two models feature-wise, as well as in terms of price.
| Reolink E1 Pro | |
|---|---|
| Amazon.com | Check Product |
| Reolink E1 Zoom | |
|---|---|
| Amazon.com | Check Product |
The Reolink E1 Pro is the ‘mid-range’ model which offers a better resolution than the base E1 model and it’s probably the device most people will prefer due to its compact size and decent performance (depending on the set image quality and your Internet connection, you can experience some lag). The Reolink E1 Zoom is slightly bigger and due to its zooming capabilities, it may not be that useful in a house; sure, there are certain applications that zooming three times can be helpful even inside a smaller room, but I do think that it will sit better inside a larger office (or warehouse). For this reason, let’s have a look at the Reolink E1 Pro and the E1 Zoom and see how each performs and if the E1 Zoom is worth the extra cash (or if you should stick with the E1 Pro).
Note: You can also check out the individual analysis of each camera here: Reolink E1 Pro and Reolink E1 Zoom.
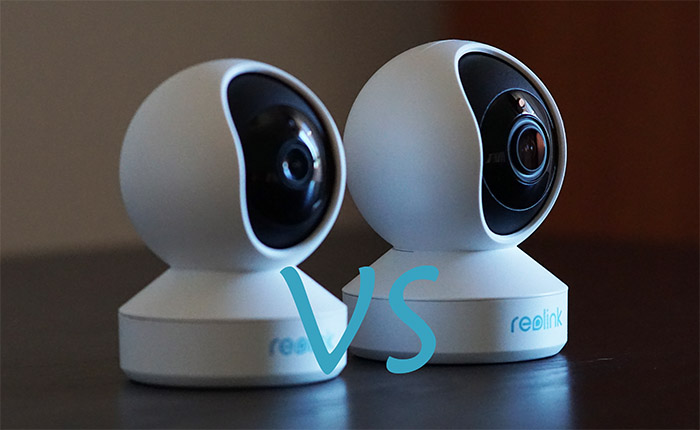
Design and Build Quality
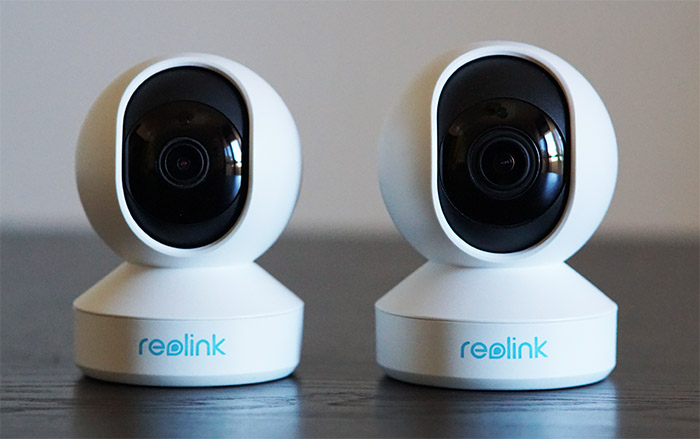
As it usually happens with a camera series, some traits are going to be shared among the models and in the case of the Reolink E1 Pro and the E1 Zoom, they look pretty much the same, both featuring a white plastic case (with the sphere on a stand design approach) and both have a front cut-out to let a black internal semi-sphere with the lens to move up and down. But there is a noticeable difference between the two cameras and that’s the size. While the Reolink E1 Pro measures 4.2 x 3 inches (height x base diameter), the E1 Zoom is slightly bulkier, measuring 4.37 x 3.11 inches; the difference is clearly very small and both devices are pretty much equally compact and will not take that much from your desk (both should also easily blend in with any type of room due to their minimalist design).
If you want to mount the cameras on the wall or ceiling, you certainly can using the provided mounting kit – there are some screws and a small bracket that rotates into a special section on the bottom of the camera. The Reolink E1 Zoom is also a bit heavier than the E1 Pro (which weighs 7 ounces as opposed to the 8.81 ounces of the E1 Zoom) and both cameras feels solid and the plastic is hard to the touch (which does give them a premium feel). One annoyance that is shared by both cameras is that they have a proprietary Power connector instead of the USB-C or microUSB standards, but the cable is white and it’s long enough to reach reasonably far (it’s 10 feet long). I also noticed that there is no Ethernet port (neither cameras support PoE) and there is also no visible microSD card slot. The reason for this is because the slot is hidden on the black ceramic sphere.
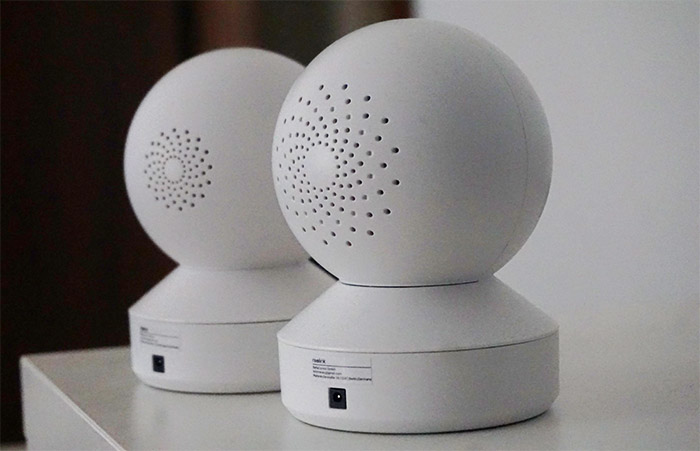
To get access to it, you need to gently push upwards the black section on any of the two cameras, revealing a small microSD card slot (supports up to 64GB of storage) and a Reset button (click and hold it for about 5 seconds to return the camera to its default factory settings). While the slot can be easily accessed on the Reolink E1 Pro, I found it very awkwardly placed on the E1 Zoom and I understand that the reason for it is the fairly large CMOS sensor that eats up a lot of the internal case, but this situation could have been easily solved by placing the slot on the rear side, next to the power connector. Other than that, both cameras have a status LED underneath the lens (has identical functions on both cameras), a microphone and a brightness sensor underneath the lens and there’s also a speaker on the rear side of the spherical section.
It’s worth noting that the E1 Pro has eight IR LEDs, while the E1 Zoom has ten IR LEDs surrounding the lens. But the differences don’t end here since the Reolink E1 Pro features a 4-megapixel sensor and the display resolution is 2560 x 1440 pixels (Super HD), while the E1 Zoom features a 5-megapixel CMOS sensor with the resolution at 2560 x 1920 pixels and yes, there’s 3x optical zoom support. I also had to open the case of both cameras to see their internal components and the Reolink E1 Pro is equipped with a Novatek NT98513MBG SoC and 16MB of flash memory (GigaDevice 25Q127CS1G); the Reolink E1 Zoom is equipped with a Novatek NT98515MBG and the same 16MB of flash memory from GigaDevice (25Q127CS1G).
Verdict: At first glance, there isn’t a significant difference between the two wireless cameras since they both have the same minimalist look and both are very compact; if I were to nitpick a bit, I would say that the microSD card slot is not ideally placed on the E1 Zoom, but even so, the internal hardware seems a bit better than on the E1 Pro, so it does win by a small margin.
Installation and the App
The installation process is identical for both cameras and all you have to do is to connect them to a power source and then install the Reolink application on a mobile device (be it Android or iOS). Like I said before, there is no Ethernet port, so you can only connect to the router via wireless. After installing the app, you can add a new camera by tapping the Plus sign and following the wizard instructions: scan the QR code from the bottom of the camera, connect to the router SSID, scan the QR code from the mobile device using the camera, set a name for it and a password. Both cameras will have a very loud voice that will tell you the state of the device every few seconds (and yes, it gets very annoying) and I know that Reolink has advertised that the E1 Pro and the E1 Zoom support dual-band WiFi, but be aware that it doesn’t truly support 802.11ac. Instead, you can connect to routers that support the 802.11n WiFi standard (2.4GHz and 5GHz, which is not that common with consumer-grade routers, but it can be found on some 4+ years old wireless access points).
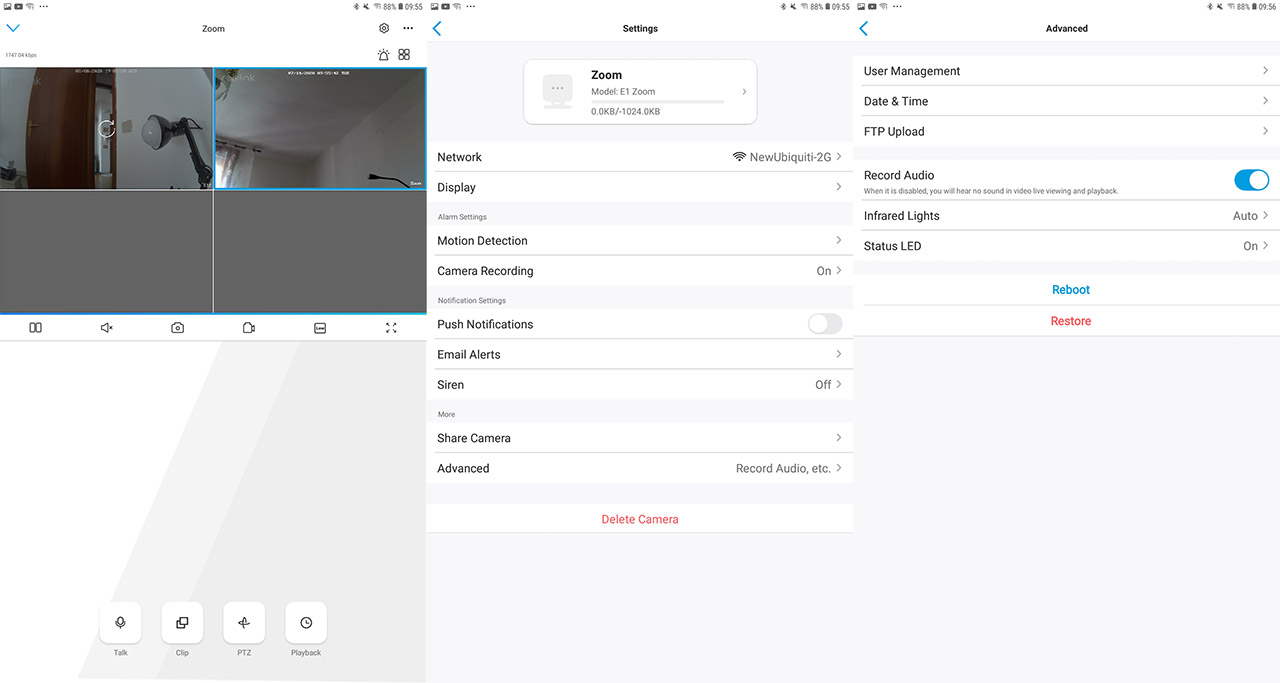
So, if the cameras fail to connect to the 5GHz network in your home, this is most likely the reason and to fix it, just use the 2.4GHz network (I also connected both cameras to an AX router – the Asus RT-AX58U – and it worked perfectly fine). After that’s done, you get access to the app’s main page where you can see all the paired cameras and to view the live footage, simply tap on any of them; on the live video window, you can swipe left and right to quickly go to the next/previous camera. At first glance, the options are identical for both the E1 Pro and the E2 Zoom and indeed, you get to see the bit rate on the top left corner (both cameras can go up to 4Mbps) and underneath the live footage, you can start/pause the video, take a quick photo or record a video, change the image quality and maximize the footage. It’s worth noting that the image quality on the E1 Pro can only go up to 4MP, while the E1 Zoom goes to a maximum of 5MP.
At the bottom of the page, you can use the Talk feature to have a conversation with someone near the camera (or to scare off a trespasser), use the Clip section to maximize a specific part of the footage, the PTZ to adjust the angle of the camera and, in the case of the Reolink E1 Zoom, to zoom in or out of the footage; lastly, there’s the Playback section where you can check any recorded videos (either scheduled or when triggered by the motion detection – you will need to either use the Cloud storage or insert an SD card to store the footage). Both cameras also have some more general settings available (the small gear on the top right corner of the UI) where you can adjust the Network options, change the Image Quality (there are in-depth options here), set the refresh rate, the backlight, the 3D DNR and more.
The Angle Adjustments
All three models from the E1 series support very wide angle adjustments and, in the case of the Reolink E1 Zoom, you can pan/tilt the camera lens 355 degrees horizontally and 50 degrees vertically (the viewing angle can go from 37 to 75 degrees vertically and from 48 to 98 degrees horizontally), while the Reolink E1 Pro allows you to adjust the angle in the same manner (355 degrees horizontally and 50 degrees vertically), but the viewing angle is a bit more limited, going up to 87.5 degrees horizontally and up to 47 degrees vertically. It is also very important to know that there is some latency when moving the camera from the app: it’s usually about 2 seconds on the E1 Pro when it’s set at the highest image quality, but the E1 Zoom can require a few seconds more if you zoom all the way out (3x) – about 5 seconds to move and 2 seconds to focus when the quality is set to 5MP.
The Motion Detection
The motion detection is enabled by default and will start recording videos the moment someone passes in front of the camera. Using the dedicated Settings, you can adjust the sensitivity from 0 to 50 and, by default, it’s going to be set at 41. The motion sensor seems to be the same on both the E1 Pro and the E1 Zoom which is fine since the detection functions really well: keeping the sensitivity at 41, the camera could easily detect any changes in scenery at more than 30 feet away; also, if you’re zooming in (using the E1 Zoom), you can set a specific portion of the footage to trigger the alarm (the same can be done with the E1 Pro minus the zoom option).
The Image Quality
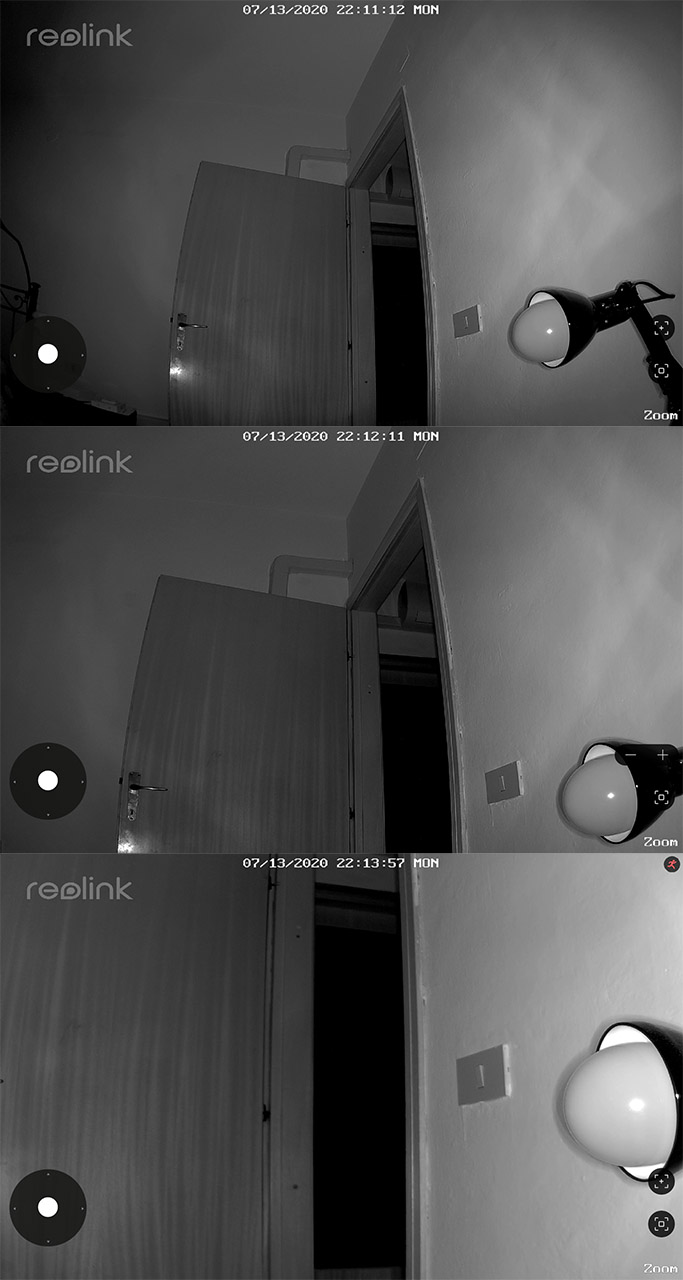
As I said before, you can set the image quality to low, medium or high (each mode will go up to a certain bitrate) and the first two modes are very similar to what you get on most entry-to-mid-range level indoor cameras; switch to the highest setting and things change significantly since during the day (not necessarily a very sunny one), I could easily see all the details in the image and there was very little noise. This is true for both the E1 Pro and the E1 Zoom and truth be told, I haven’t actually seen a significant difference between the footage of these two cameras. But the 5-megapixel sensor does come in handy when you start zooming (using the E1 Zoom, of course) since when going to about 50%, the footage still remained crispy clear and I could see all the details in the image; things don’t change much even after zooming to 100%. During the night, both the Reolink E1 Zoom and the E1 Pro performed really well and again, the details are all there even if there is very little light coming from outside (light poles or the moon).

The E1 Zoom is a bit special in this regard since the image quality maintains its clarity up to about 50-60 percent (which is very good), but I did noticed that going to 100% zoom, some noise has managed to creep in and the footage quality was slightly impacted.
Verdict: The application interface is mostly the same for both devices (the E1 Zoom supports 3x zoom and that’s the only difference), so the user experience doesn’t differ from one camera to the other. The motion detection also performs identical and as for image quality, both the E1 Pro and the E1 Zoom performed really well; there could be a difference in reaction time since the zoom in/out action does take a few seconds to register, but, since the E1 Pro doesn’t have this feature, this round ends in a tie.
Conclusion
Putting the Reolink E1 Pro and the E1 Zoom next to each other, it’s clear that these two cameras have a lot in common, but the zooming ability of the E1 Zoom does manage to put this camera in a different category. The E1 Pro is compact, has an excellent image quality (yes, even during the night), a good motion detection and the app is easy to use which is enough to make it perfect for home use. The E1 Zoom costs a bit more than the E1 Pro (at the moment of writing) and I think that the extra cost is only justified if you want to cover a larger area, such as a smaller warehouse or a larger office (not just a room in your house). The image quality is also excellent on the E1 Zoom and yes, there is some latency when zooming in/out (as well as when adjusting the viewing angle), but that’s something that I saw on pretty much all other cameras that I’ve tested in this price tag. If I were to choose one camera over the other, I think that the Reolink Pro is going to be perfect for the large majority of people, but, if you need the special zooming abilities of the E1 Zoom, only then should you go for the larger model.
Mark is a graduate in Computer Science, having gathered valuable experience over the years working in IT as a programmer. Mark is also the main tech writer for MBReviews.com, covering not only his passion, the networking devices, but also other cool electronic gadgets that you may find useful for your every day life.
Hi, having come across your review on the E1 Zoom, I already have the E1 pro, you have pretty much nailed all the features but there is one important feature that you perhaps didn’t know about and that should be included, the E1 Zoom has the FTP storage feature and more importantly, a http feature where the Pro does not, I’m not sure if you know what im talking about, if not, it means you can access the camera using the url in a browser or included within a Web page or action tiles, to name a few, for example, http://192.168.1.216:%5Bportnumber%5D the pro cannot do this due to a limitation with the chip. I hope this helps as it’s a quite a decent feature and the reason I bought the camera.
Please find the info [url=https://support.reolink.com/hc/en-us/articles/360003452893-How-to-Access-Reolink-Cameras-Locally-via-a-Web-Browser]here[/url] on the Reolink website