
Specifically, you need to connect the LAN port from the adapter to the router (using one of its LAN ports) and then use the PoE port (from the adapter) to connect a cable to the Reolink camera. Inside the package, I noticed that there is a waterproof lid but, just as with the RLC-522, the Ethernet cable needs to be crimped after you fed it through the lid, otherwise it won’t fit through. After the camera is powered, you will hear it zooming and focusing (there is no LED to let you know it’s powered), so it should be ready to be paired to the app. Download and install the Reolink app and the main interface will immediately show the camera as an ‘Uninitialized device’ – tap on it to start the setup wizard.
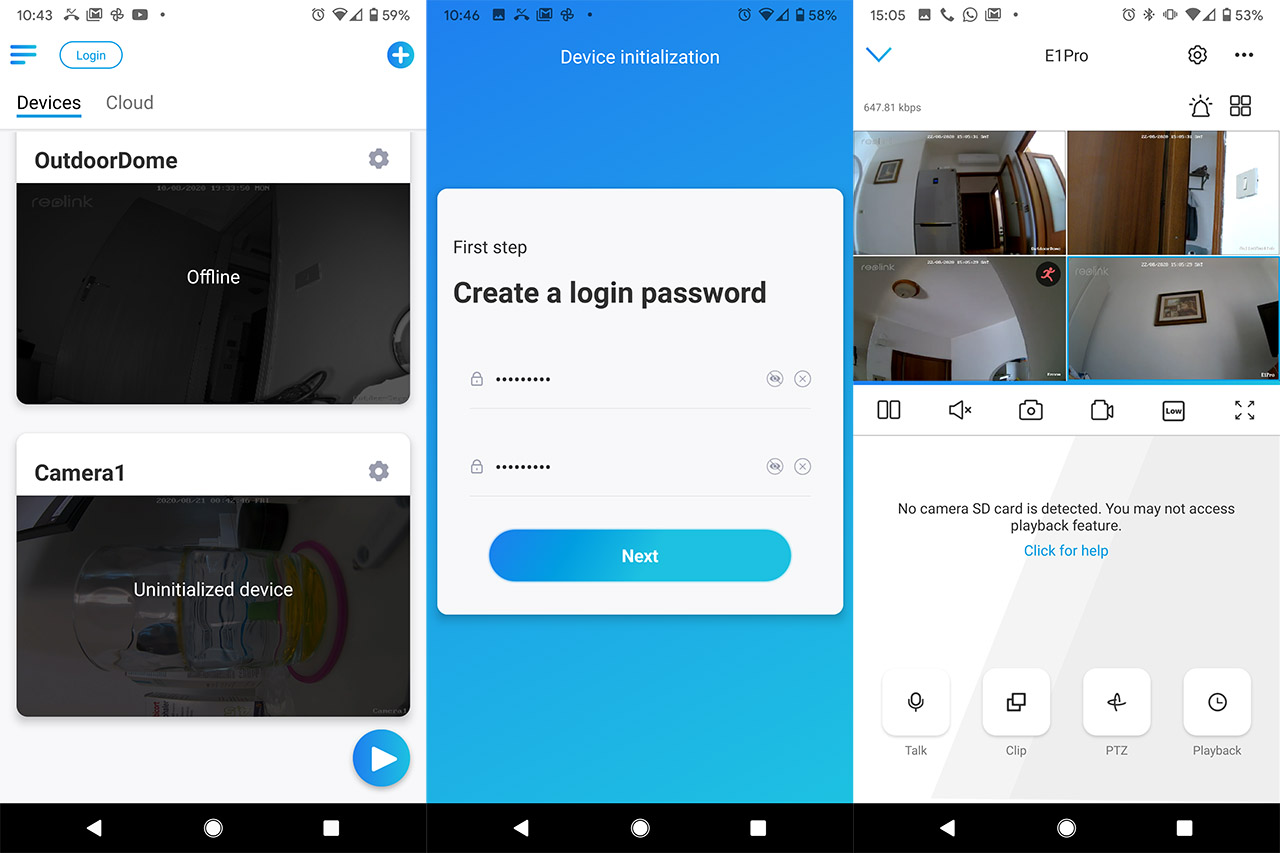
The Reolink E1 Zoom and E1 Pro required from the user to scan a QR code and there was an annoying voice as the guide, but the RLC-511 (and the RLC-522) seem to be a lot more simple to install. That being said, the wizard will require the creation of a login password (unfortunately, the admin account name cannot be changed), to give the camera a name and that’s about it, you should be now able to view the live footage from the camera.
Software and Functionality
The software interface looks the same for any Reolink camera with some minor differences depending whether they have the automatic tilt/pan feature or the possibility to zoom into the footage. So, after you finish the setup process, you should be able to see the live footage covering the middle top part of the screen while underneath it, there’s the usual set of quick access icons. From the left, there’s Play/Pause icon followed by Mute, Capture photo, Record video, set image quality and expand. The image quality can be set to three different values: either Fluent, which is the lowest quality, but also the fastest (close to 0 delay) and has the lowest bitrate; there’s Balanced which is the medium quality and lastly, there’s 5MP which is the highest image quality (the Super HD) and which will also have the highest bitrate. The main stream can go from 1024 Kbps to up to 8192 Kbps, but in my case, it would hover at an average of 6,200 Kbps.

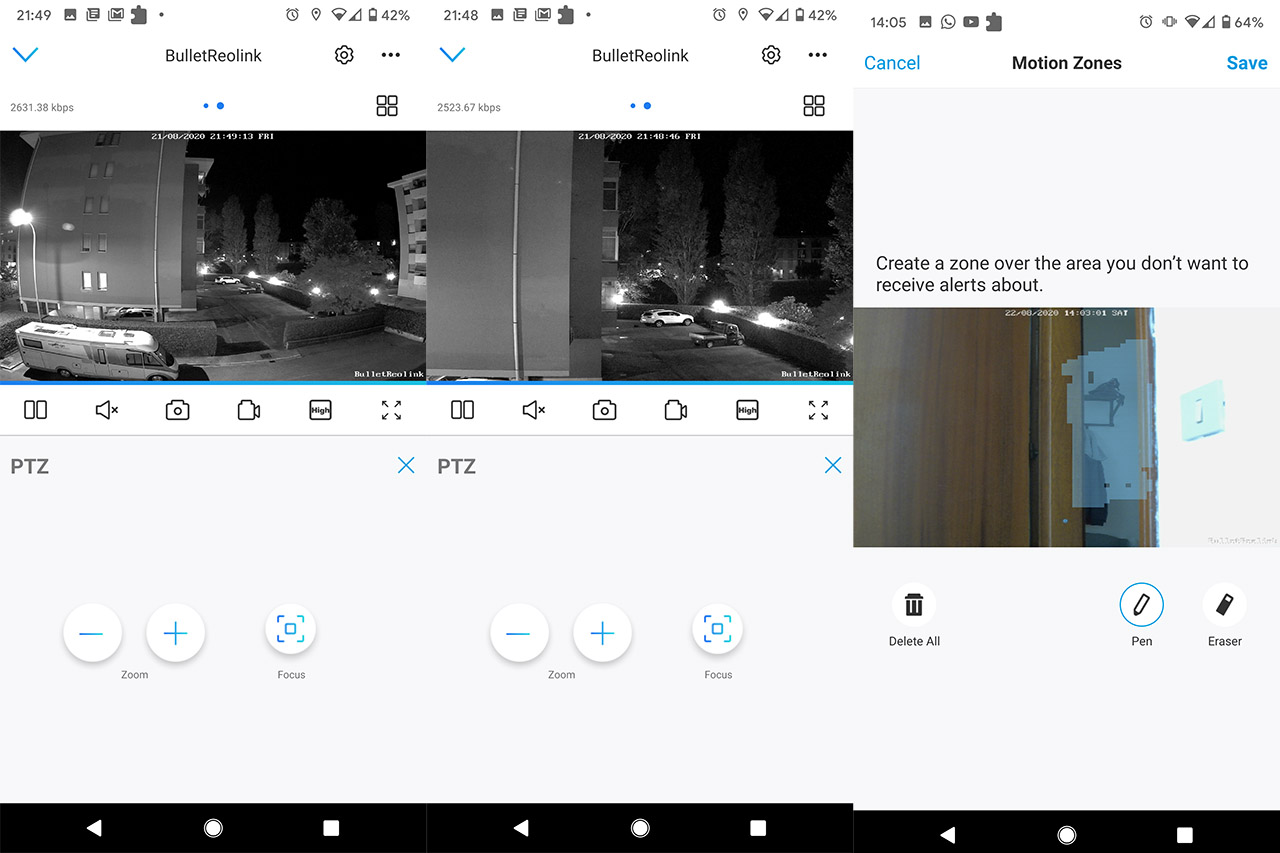
Furthermore, the Super HD quality is something that’s being highlighted as a major feature for the E1 series as well and it’s a way to let the users know that you don’t only get a high resolution (2560 x 1920p), it’s also the best compression to keep the image quality as high as possible. Indeed, when having a look at the footage, the image quality is very good, identical to the RLC-522 since it’s the same 5-megapixel sensor (1/2.7″ CMOS and F/1.6 lens) and the angle of view is also excellent (90 to 31 degrees horizontally and 67 to 24 degrees vertically). Further to the bottom, there are three main tabs, the first for clipping into the video (zooms only on a specific area), followed by PTZ and Playback. PTZ has different functions depending on the Reolink model and in the case of the RLC-511, there are two options: Zoom and Focus. When I tested the RLC-522, I was impressed by the image quality after the footage was fully zoomed (3x), but both the zooming and especially the focusing process took a few seconds (5s+ in total) when the image quality was set to maximum.
The good news is that both the zoom-in action and the focus are quick even on the 5MP setting, requiring about a second in total, so you can quickly capture a more dynamic event (someone passing through or a bike). The image quality remains excellent even after fully zooming in during the day, but the camera also prides itself with an above-average night vision performance. Again, I already know that the sensor performs great during the night from the RLC-522, but it did have some trouble when zooming during the night (significant latency and some digital noise crept in).
The 4x zoom on the RLC-511 is fast during the night (the same as during the day) and the image quality seems to be better than on the RLC-522. The last tab on the app UI is the Playback and it works in the same manner as on the E1 series and the RLC-522: the footage that gets recorded by a schedule or when the motion detection gets triggered can be viewed here, but you do need to have enabled some form of storage beforehand. On the main UI is also worth mentioning that you can press on the four squares icon to see multiple camera views (up to four at the same time).
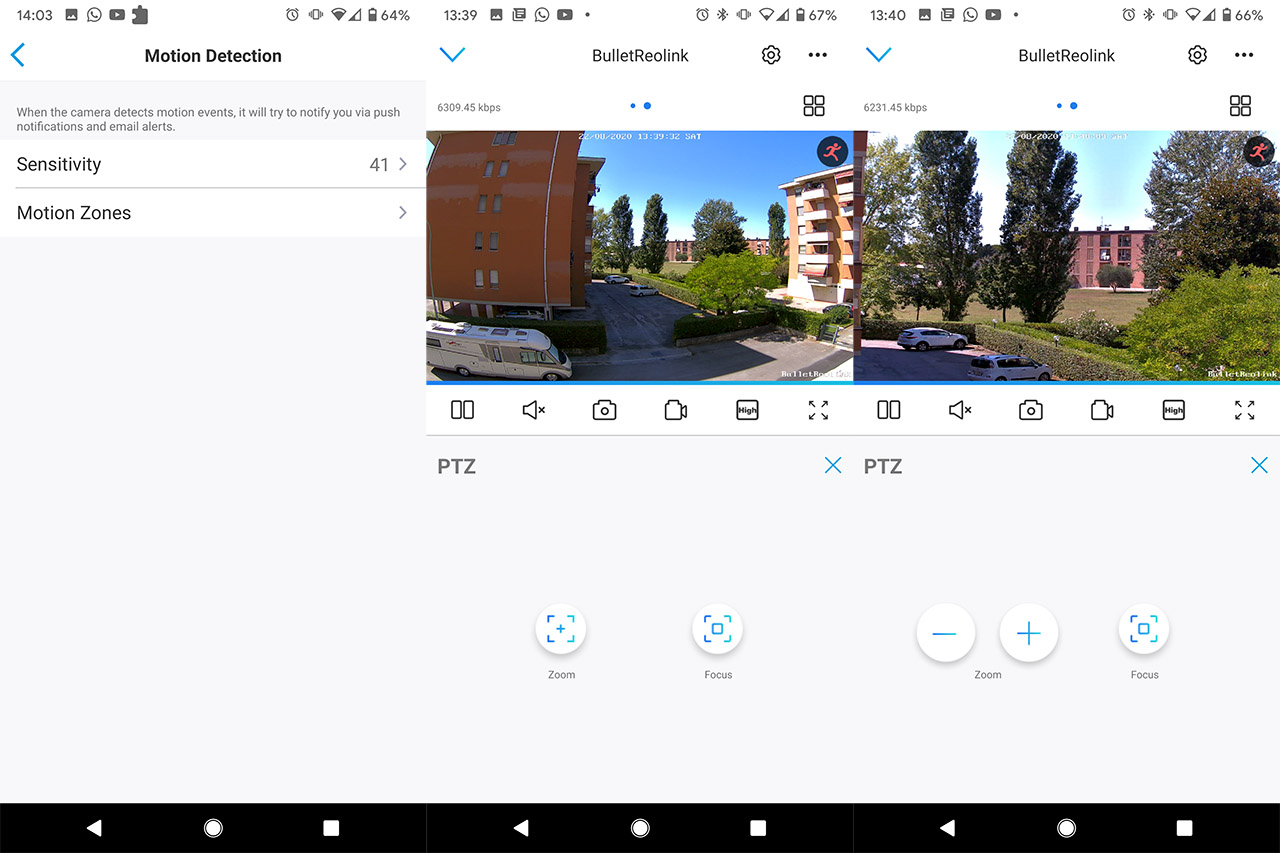
That being said, the Motion Detection is the same as on the E1 series and the RLC-522, so you can adjust it from the Settings menu (the cogwheel on the top right corner) and by default it’s set to 41 which is a suitable level for longer distance triggers, but if the area of interest is closer than let’s say 30 feet, you should set the sensitivity to a lower level. It’s worth noting that rain does indeed trigger the sensor and you can set Motion Zones by painting on the actual footage. The app will also allow you to set up the Notifications and some Display settings, such as the exposure, the white balance, the backlight, the 3D DNR (dynamic noise reduction), the refresh rate, you can set a Watermark and a Privacy Mask as well. If you don’t like using the app, you can download and run the Reolink utility on your computer which will have all the options from the app and a few additional ones (the utility is pretty much identical to the one seen with the E1 Pro and the E1 Zoom).
Note: The Reolink RLC-511 does not support a wireless connection to the router.
Conclusion
I was impressed by the image quality of the dome-type camera RLC-522 and, while the Reolink RLC-511 delivers the same quality, it does outperform it in terms of zoom. And it’s not only the ability to zoom farther, it’s how quickly it zooms in and focuses on a subject or scene, making it very useful not only for static objects (such as a gate), but also on a busier, more dynamic street. Furthermore, the RLC-511 is weatherproof, doesn’t overheat and the app works great, supporting multiple camera views at the same time (got to love that NVR look). It’s also quite affordable for the feature it offers, so, from my point of view, it’s a best buy.
Reolink RLC-511
-
Pros
- Excellent video quality
- 4x zoom
- Fast zoom-in and focus
- It uses the PoE technology
- Is weatherproof
Cons
- It supports microSD cards only up to 64GB
- The only adjustment available is vertically and it needs to be done manually
Mark is a graduate in Computer Science, having gathered valuable experience over the years working in IT as a programmer. Mark is also the main tech writer for MBReviews.com, covering not only his passion, the networking devices, but also other cool electronic gadgets that you may find useful for your every day life.