
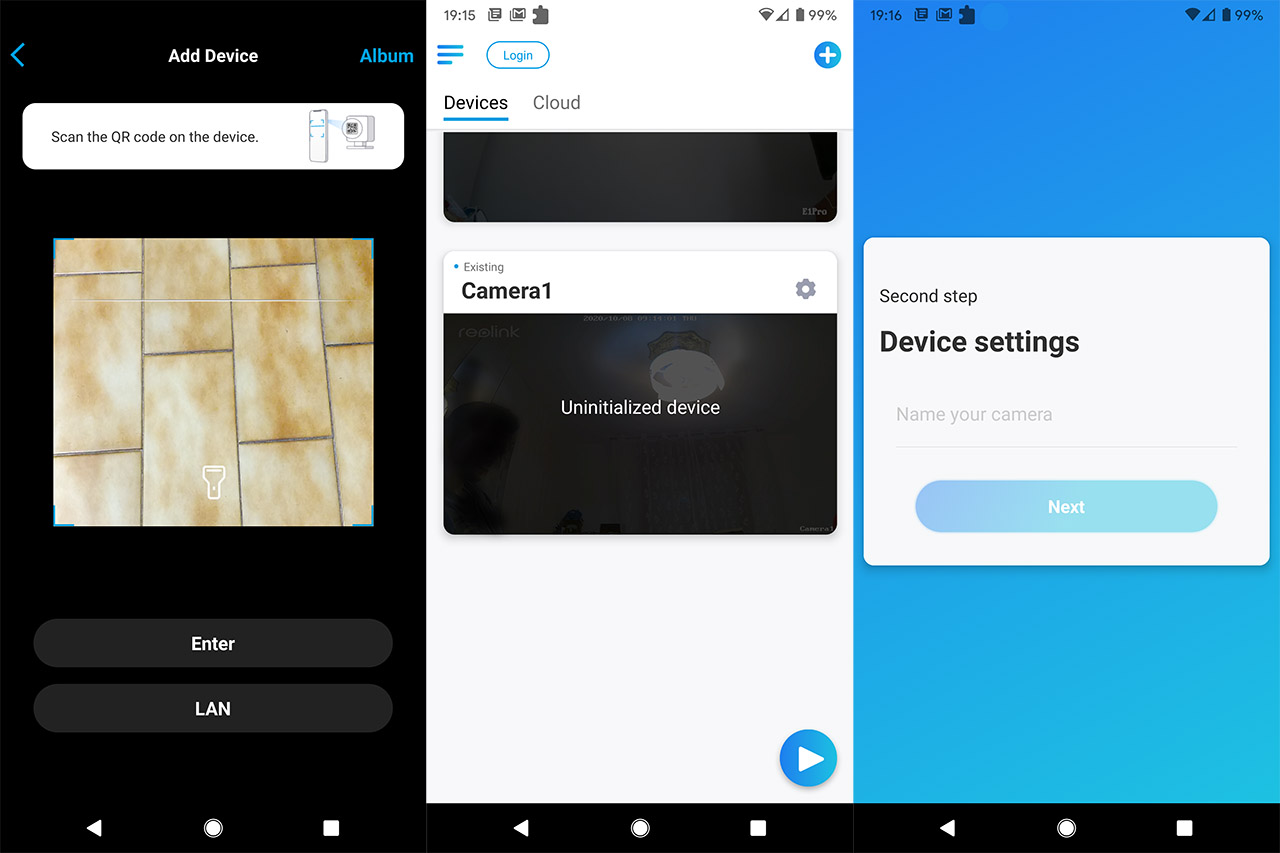
After the device is connected to a power source and to your router, it’s time to download and install the Reolink app (available on both Android and iOS store). The application will require the access to your media files and then you’ll be greeted by a simple interface where you can start adding Reolink cameras. This is not the first time I use this app and I have added multiple other cameras, so the main window is already populated and, to add new devices, click on the Plus sign which will open the camera to scan for the QR code. You can find it on a label on the rear side of the camera, but you also have the option to detect the RLC-520 via LAN. At this point, the camera will appear as Uninitialized and tapping it, will start the configuration wizard. Following it will allow you to create a Login password and to give the RLC-520 a name.
Software and Functionality
The application does look the same for every Reolink camera with some additional (or missing) features, depending on the model and, in the case of the RLC-520, there’s the live footage covering most of the top half of the screen and underneath it, you can find the usual quick action tabs. From the left, there’s the Start/Pause icon, followed by Mute (in case you don’t want to hear the sound that accompanies the video) and the photo Capture icon (captures a frame from the live footage). Further to the right, there’s the video Capture icon, the image Quality and the Enlarge icon. Similarly to all other Reolink cameras that I tested, there is the Fluent quality (the lowest, but which requires the least amount of bandwidth), the Balanced quality and the 5MP quality which is the maximum and will require up to 8,192kbps. In my case, it would rarely go above 6,500kbps which also suggests that you will see a bit of latency, depending on the connection quality. I used an Asus RT-AX82U while testing the camera and there still was some noticeable latency (sometimes up to 2 seconds).
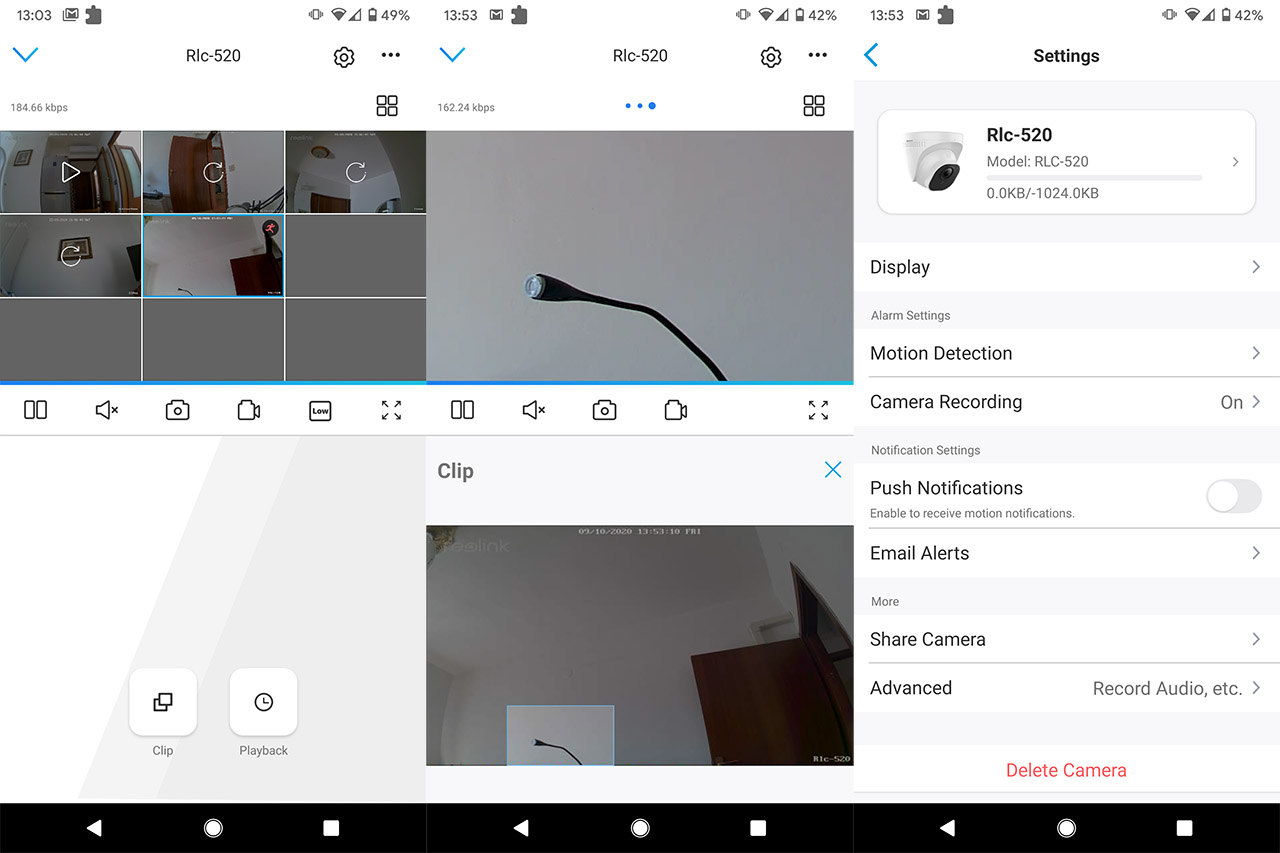
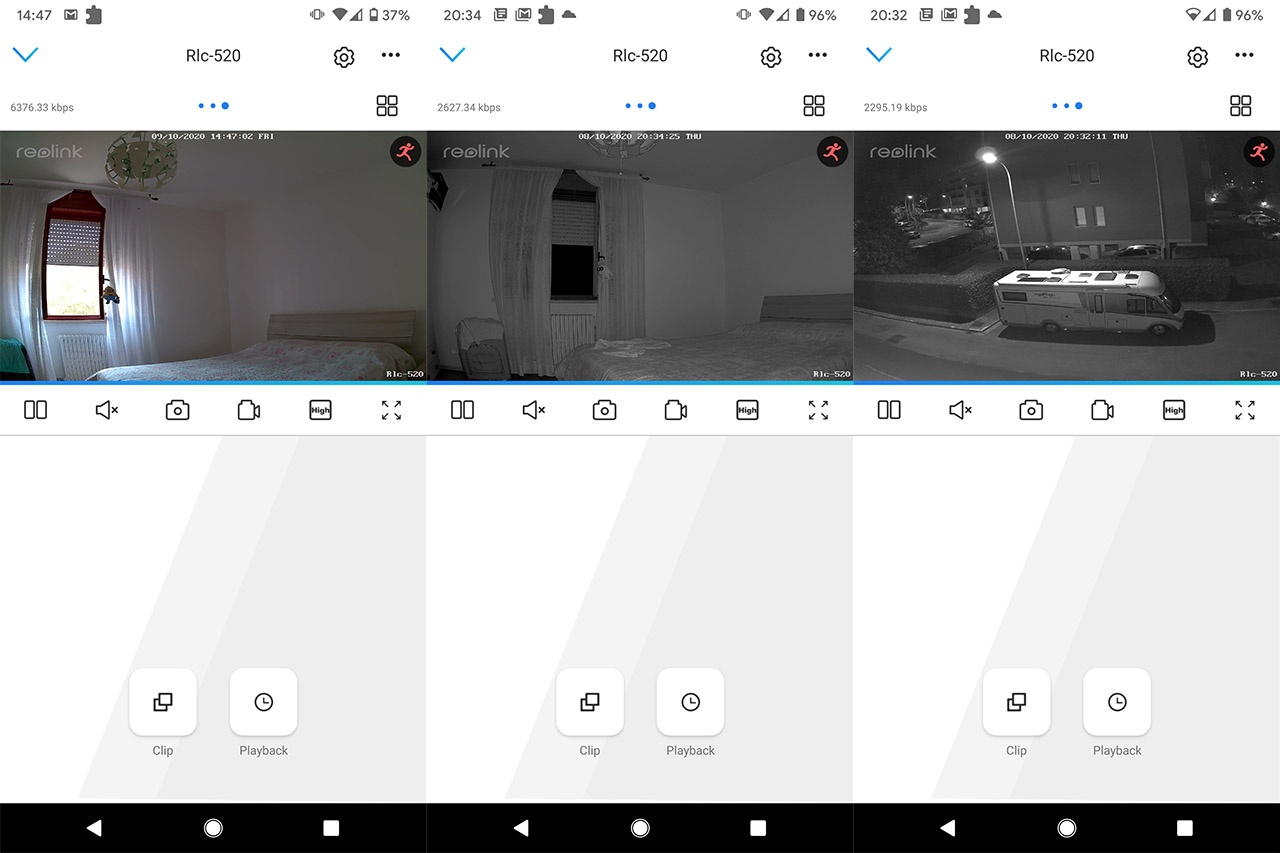
The good news is that using the 5MP mode, the image quality is really good and that’s because the resolution is not only quite high (2560 x 1920 pixels), but also because of the SuperHD aspect which ensures that the footage quality isn’t heavily affected by compression (this term has been first used by Netflix to let its users know that they get the best image quality for that specific resolution). During the day, many cameras can deliver a good image quality, but what about during the night? It’s pretty much the same as on the RLC-522 (before zooming), so everything is very clear and you can see cars and people from a considerable distance (Reolink says that the clarity suffers after 100 feet, but, depending on the light sources, it can go farther than that). Returning to the user interface, there are two areas of interest, on the left, where you can see the current bitrate and on the right, where you can change how many cameras you see at the same time (this effect works best on a tablet or on a larger monitor). At the bottom of the page, there are two icons, one for Clip and the other for Playback.
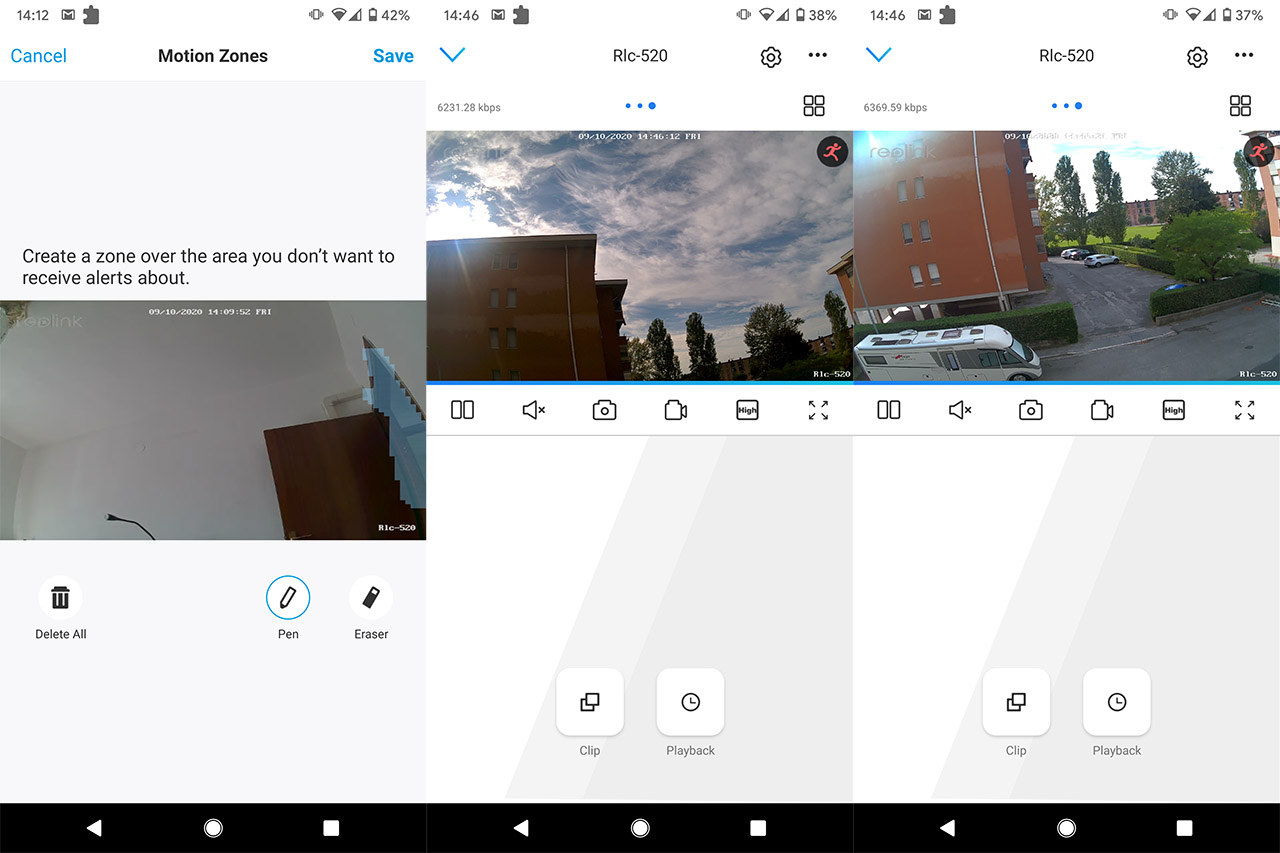
The Clip tool allows you to zoom into a specific portion of the footage (yes, this camera does not have dedicated zoom hardware, such as the RLC-522 or E1 Zoom) and the Playback allows you to check any recorded videos captured by either a scheduled event or after triggering the motion sensor (you can also select the speed of the video). To adjust the motion sensor and other settings, you need to click on the cogwheel icon from the top right corner and enter the Settings panel. Here, you will be able to adjust various Display-related features, such as the footage quality, the refresh rate, the watermark, privacy mask and more). But there are some Advanced options available as well, such as the Exposure, the White Balance, the Backlight and the 3D DNR. Further down, you can adjust the Motion Detection sensitivity (by default, it’s set to 41 which is quite high, so, if the object of interest is closer, you may want to keep it lower) and the Motion Zones – areas that will trigger the alarm. It’s worth mentioning that the newer RLC-510A and the RLC-810A use a smart detection technology that reduces the false triggers by a significant amount.
Under Settings, you can also enable Push Notifications, set Email Alerts, configure the Date & Time, the Infrared Lights and more. As for storage options, besides the microSD addition, you can also use the Cloud servers to store your footage, but there’s also the NVR option available (the RLC-520 is compatible with Reolink NVRs) and there’s even the possibility to use a NAS.
Conclusion
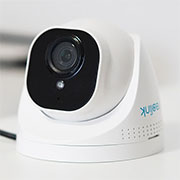
Considering that I first tested the RLC-522 and then the RLC-520, it made more sense to compare these two models, instead of the RLC-410, despite it being the actual predecessor to the RLC-520. The reason for that is because both devices share the same design which looks great on the ceiling (or wall) and will withstand the elements, and the captured footage is pretty much identical, minus the zoom ability (of the RLC-522). So yes, if you need a camera that will capture a clear footage of your home or its surrounding and which offers multiple storage options, then the RLC-520 can be a great solution. If I was to compare it to the RLC-522, if you don’t care for the zooming feature, then the RLC-520 is the better choice, especially considering the price tag.
Reolink RLC-520
-
Pros
- Very good video quality (multiple modes available)
- Relies on the PoE technology
- IP66-rated
- Multiple storage solutions available
- The app is very user-friendly
Cons
- No automatic pan and tilt movements
- It supports microSD cards up to 64GB
Mark is a graduate in Computer Science, having gathered valuable experience over the years working in IT as a programmer. Mark is also the main tech writer for MBReviews.com, covering not only his passion, the networking devices, but also other cool electronic gadgets that you may find useful for your every day life.