
Ever since the market has gotten flooded by IoT devices, a lot of people have looked past the traditional DVR surveillance systems and fully embraced the far more affordable stand-alone IP cameras as a means to keep intruders away from their properties. The problem is that only a few are able to offer a very good image quality while keeping the price affordable and even fewer can provide a proper scalable security solution (to monitor and configure multiple cameras from the same software). I have taken a look at a few Reolink cameras over the past few months and while the interior-only devices had some interesting features, the outdoors PoE cameras were the most impressive due to their ability to survive harsher conditions, while also providing an excellent image quality.
Note: You can also check out the individual analysis of each outdoor camera here: Reolink RLC-520 and Reolink RLC-522.
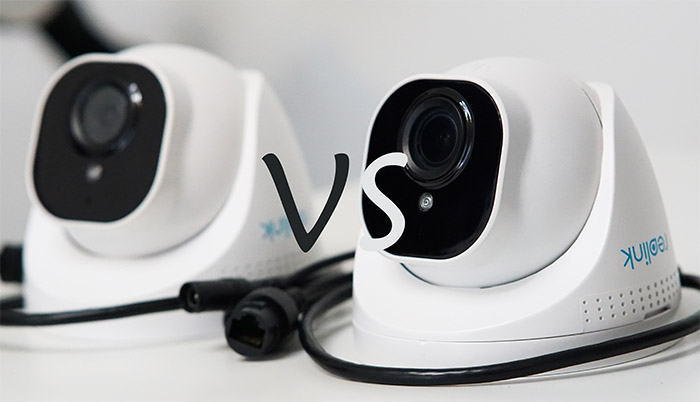
Of course, you could also add multiple units to a single app and check the footage at the same time (you could also connect them to a NVR, Cloud or NAS). The Reolink RLC-522 went a step forward and added the ability to zoom onto a specific (preferably static) subject which is a feature that will cater to a particular niche, but, if you didn’t need this feature, you could opt to use the RLC-520. The problem is that both the Reolink RLC-522 and the RLC-520 share the same design and, since that seems to confuse a lot of people, let’s a have a closer look at both security cameras and see why you should choose one over the other.
Design and Build Quality
When building an outdoor-suitable surveillance camera, the manufacturers usually go for either the bullet or the dome shape, the former being great for actively discouraging potential trespassers to enter your property, while the latter is a bit more unobtrusive, but a lot better at handling bad weather (including rain, snow and even the occasional bird that may want to make its nest on your camera). The Reolink RLC-520 and RLC-522 are both dome-type cameras and, if we ignore the lens, these two devices are completely identical. Both have the main camera body made of a metallic alloy (I assume it’s zinc), with a plastic support that holds the circular case into place. And yes, neither the RLC-520, nor the RLC-522 support automatic pan and tilting, so every type of adjustment needs to be done by hand.
On the bottom of the plastic base, there is a mounting bracket already attached (rotate it counter-clockwise to detach it) and inside the box, you will be able to find some screws to help you mount the cameras either on the ceiling or on the wall – the bracket has a canal that you can use to guide the cable in case you can’t feed the cable directly at the bottom of the cameras. In terms of size, the two cameras are also identical, both measuring 4.14 x 3.66 inches and yes, they both weigh the same – 12.3 ounces. Since I had the feeling I was checking the same device twice, I decided to open up both cameras and see whether on the inside, things get different. They do, but not by much. The Reolink RLC-522 and the RLC-520 are equipped with the Novatek NT98515MBG SoC, but, considering that the RLC-522 has a zoom motor, the internal circuitry does look a bit different.
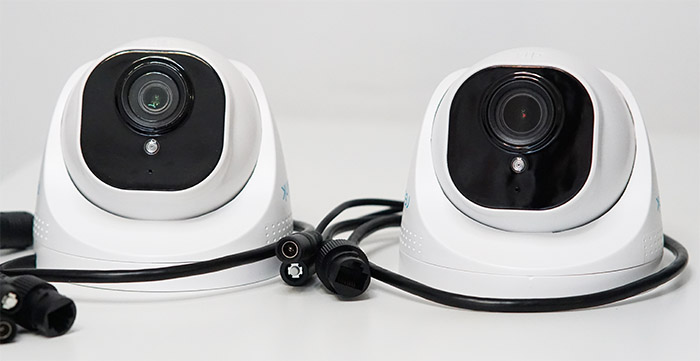
Since both share the same chip, the internal temperature is going to be similar and, as expected, the case of each camera does indeed get warm to hot while functioning. Everything else is, again, similar on both devices, so expect the 18pcs IR LEDs to shine through the black glossy front section when the brightness sensor detects that the light intensity goes under a certain level. Furthermore, the cameras are also equipped with a microphone and no speaker, so a two-way communication is not possible (as on the E1 Pro or E1 Zoom), but you still get the possibility to listen to the background noise that accompanies the footage. Both cameras will also provide multiple means of receiving power and the recommended option is to rely on PoE since there is an Ethernet cable inside the package (yes, the RLC-520 and the RLC-522 support PoE 802.3af).
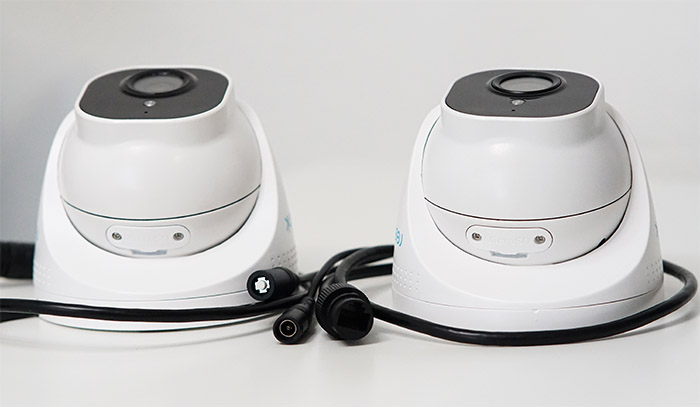
You also get the possibility of connecting the cameras directly to a router and then use a separate power cable to power the device (there is none provided in the packages). It’s worth mentioning that the manufacturer offers a waterproof lid for each camera that you can use to ensure that the Ethernet cable connector is kept protected from the elements. Lastly, I need to mention the microSD card slot that you can access by pointing the camera lens upwards and removing the two screws that keep the cover shut – you can add microSD cards up to 64GB.
Verdict: Both the Reolink RLC-520 and the RLC-522 are well protected against the external weather (the cameras carry the IP66 rating, so they’re water and dust resistant), but overall, in terms of design, there really isn’t much difference between the two device. If it wasn’t for the zoom mechanism, the RLC-522 and the RLC-520 would be essentially the same device, so the round ends in a tie (which was to be expected).
Installation and the App
As expected, you get the same installation process for both cameras, so, you need to connect the RLC-520 (or the RLC-522) to a power source, be it a power adapter, a PoE switch or a PoE adapter. The last option can be a bit more complicated since you will have to use two Ethernet cables, the first from the LAN port (on the adapter) to the router and the second from the PoE port (again, from the adapter) towards the camera. Be aware that you can only connect to the router using an Ethernet port since WiFi is not an available option. Afterwards, install the Reolink mobile app (either on an iOS or an Android device) and, after being welcomed by the main page, you can tap on the Plus sign which will then ask for the QR code (you can find it on a small label near the rear of each camera) or you can simply manually enter the S/N code (if you choose the LAN route). Afterwards, the camera will appear as Uninitialized – tap on it to start the wizard which will guide you through giving the RLC-522 (or RLC-520) a name and to create a Login password.
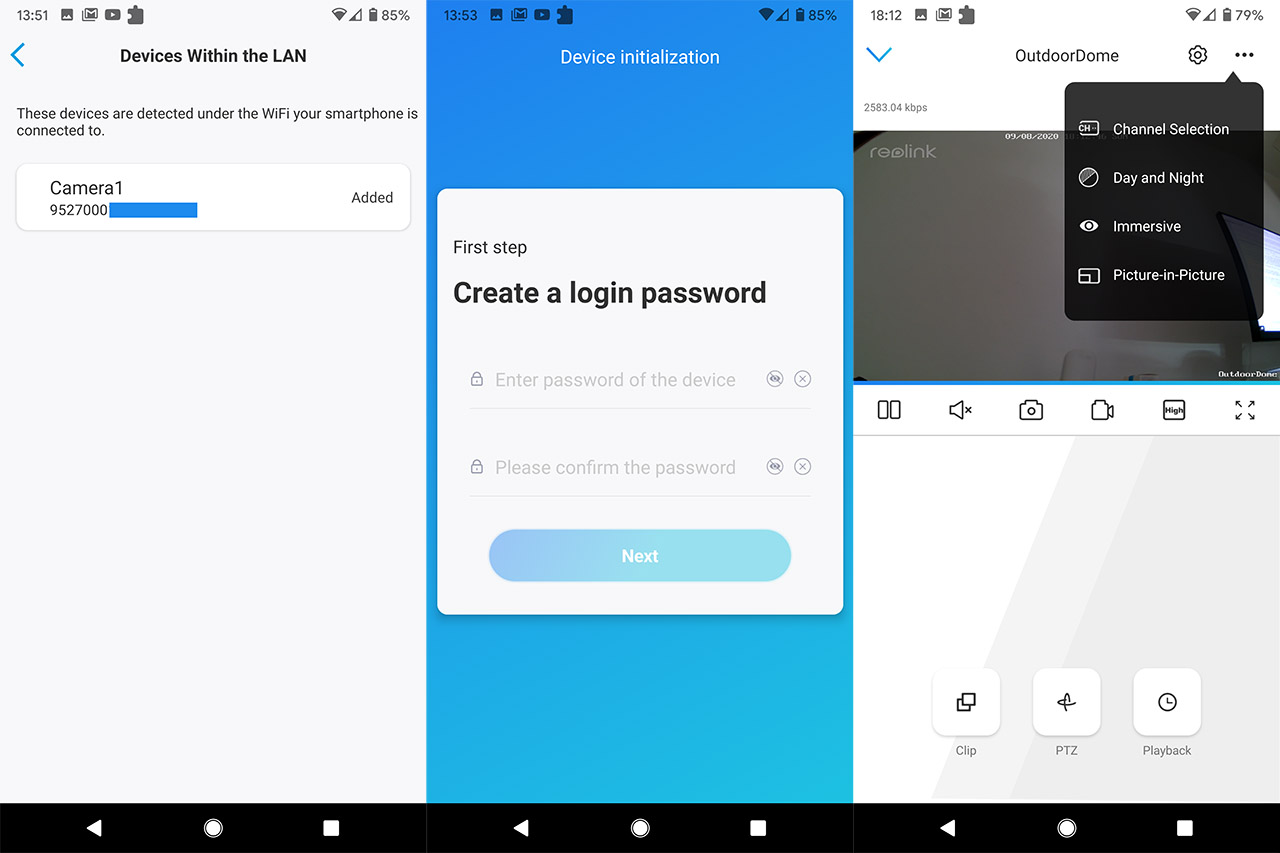
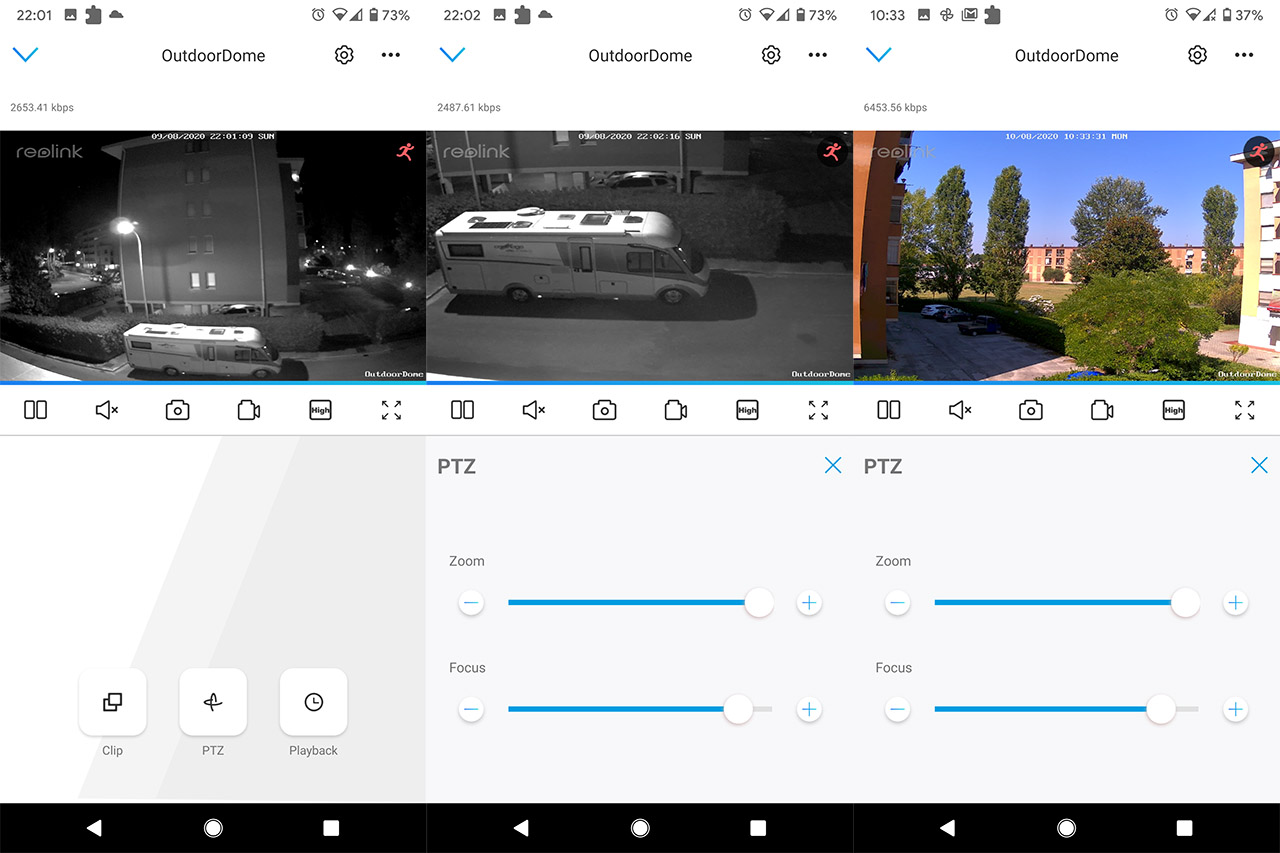
After adding both cameras, you’ll be able to see the live footage (covering the top half section of the screen) with some action icons underneath for pausing or playing the video, for enabling the microphone, to capture a photo, to start recording a video, change the image quality or to view the live footage in fullscreen mode. The image quality for both cameras can be set as Low, Balanced or 5MP (yes, the sensor has the same MP) and, as expected, the 5MP mode is going to provide the best video quality, but with the highest latency as well (it could go up to 2 seconds which gets quite noticeable). Above the live video, to the left, you will be able to see the current bitrate and both cameras have shown an between 6,200kbps and 6,500kbps, while the maximum is set to 8,192kbps.
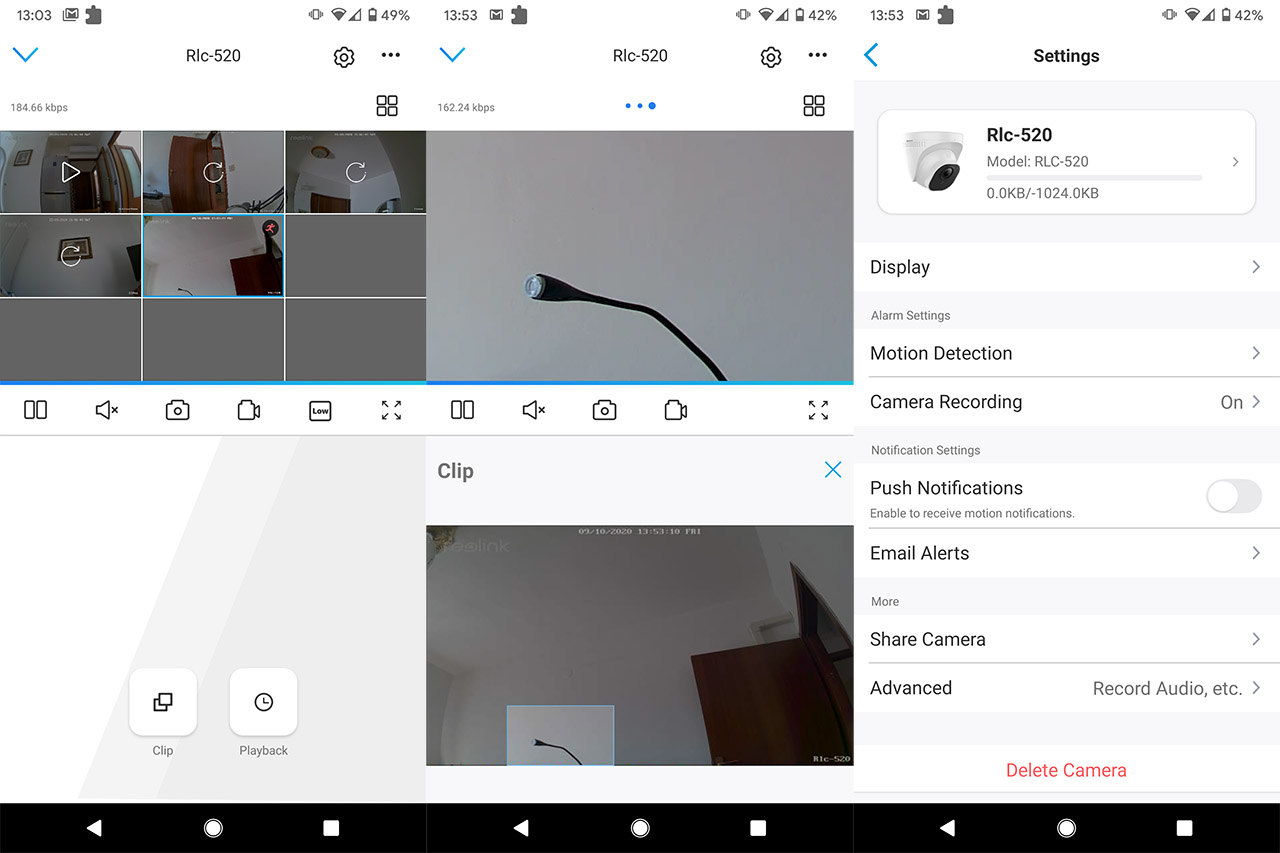
At the bottom of the page, you get a different set of options for each camera. Well, kind of, since you can find the Clip icon (which is useful for zooming on a specific section of the video) and the Playback (for checking on recorded footage) on both devices, but, since the RLC-522 has the 3x zoom feature, there is also a PTZ icon available. Accessing it, will allow you to zoom in and adjust the focus bar – by default, the focus bar will move automatically depending on how much the image has been zoomed, but you can also adjust it manually. Lastly, the app will allow you to change various other settings by clicking on the gear icon from the top right corner. Doing so, will give the option to adjust some Display features, the refresh rate, add a watermark or a privacy mask, the Motion Detection and more.
The Motion Detection
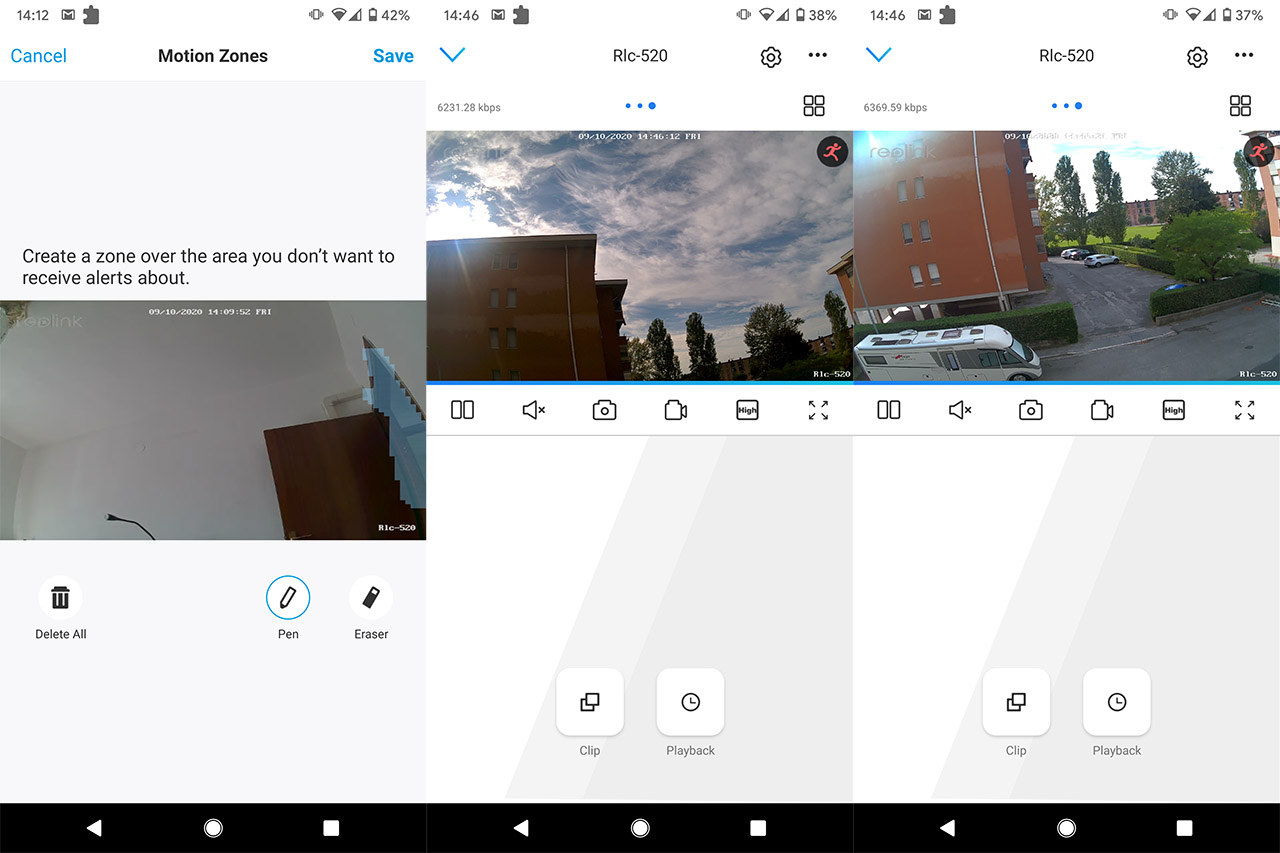
This section is pretty much identical for all Reolink models (that I have tested so far), so, from the Advanced Settings (the gear icon), you can set the Motion Detection sensitivity between 0 to 50. By default, it’s set to 41 on both cameras and that’s going to be fine if the trigger zone is between 20 to 30 feet – anything closer and you will have to lower the sensitivity a bit. If you decide to zoom in using the RLC-522, you could set an even higher sensitivity. And, to make matters a bit more precise, Reolink has added the possibility to set motion zones which, when triggered, will start the recording.
The Image Quality
Pretty much all Reolink cameras that have been released the last year (or so) deliver an excellent image quality due to the implementation of what the manufacturer calls Super HD resolution. This term has been first used by Netflix and it means the same thing on the Reolink RLC-520 and the RLC-522: you get the best 1080p image quality due to a better video compression. And indeed, after testing both the RLC-522 and and the RLC-520, the video quality is clearly above average with little to no noise during the day. If you don’t use the zoom function on the RLC-522, you’re not going to see any difference in the image quality between the two cameras neither during the day, nor during the night. If that’s all that you need, you can stop right here and just go with the RLC-520, but, if you need to check a far away area (such as a gate), the 3x zoom of the RLC-522 will come in handy. But, there are a few particularities that you need to be aware of.
During the day, the footage quality will remain pretty much unchanged even after zooming 3 times, but, during the night, there is a slight quality degradation at maximum zoom – nothing dramatic, but you will see some amount of noise. Furthermore, the zooming mechanism is a bit slow (and the focusing may require a second or two until pointing at the subject), so it’s not really suitable for dynamic areas where there is lots of movement and instead, the RLC-522 will work best when the area of interest is static.
Verdict: Reolink has provided the same application for pretty much all its newest camera models, so it’s not surprising that the RLC-522 and the RLC-520 will offer a very similar experience when navigating the application. Well, it’s actually identical if we don’t take into account the zoom function of the RLC-522. As for the image quality, again, you get the same excellent footage from either device, but, since the RLC-522 has that 3x zoom feature and considering that the image quality is not impacted in a dramatic way (even at max zoom), then the Reolink RLC-522 wins this round.
Conclusion
After putting the Reolink RLC-522 and the RLC-520 next to each other, it’s clear why some people may get confused when trying to choose between the two models, especially since the RLC-522 comes with a higher price tag (at the moment of writing). You get the same design (with only the lens being different), the resistance to the weather, multiple means of connecting to a power source and more than one type of storage is available. What’s different between the two models (and the reason for the higher price tag) is only the 3x zoom, so, if you don’t need this specific feature, you should go for the Reolink RLC-520, otherwise, the RLC-522 is going to do well for checking on far-away areas (the RLC-511 is also a good option to keep in mind considering that it works better with highly-trafficked, dynamic areas).
Mark is a graduate in Computer Science, having gathered valuable experience over the years working in IT as a programmer. Mark is also the main tech writer for MBReviews.com, covering not only his passion, the networking devices, but also other cool electronic gadgets that you may find useful for your every day life.